Pumpkin Sourdough Bread Recipe – Cozy, Hearty, and Perfect for Fall
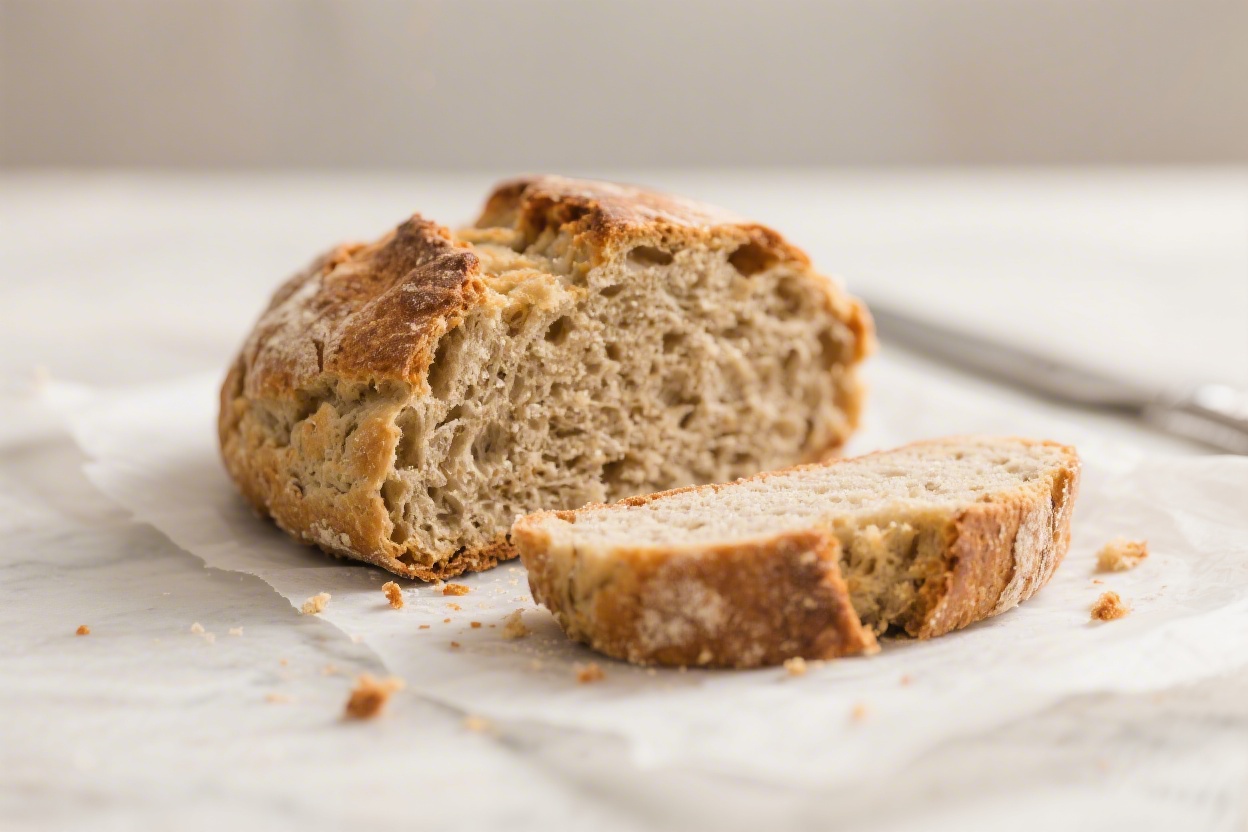
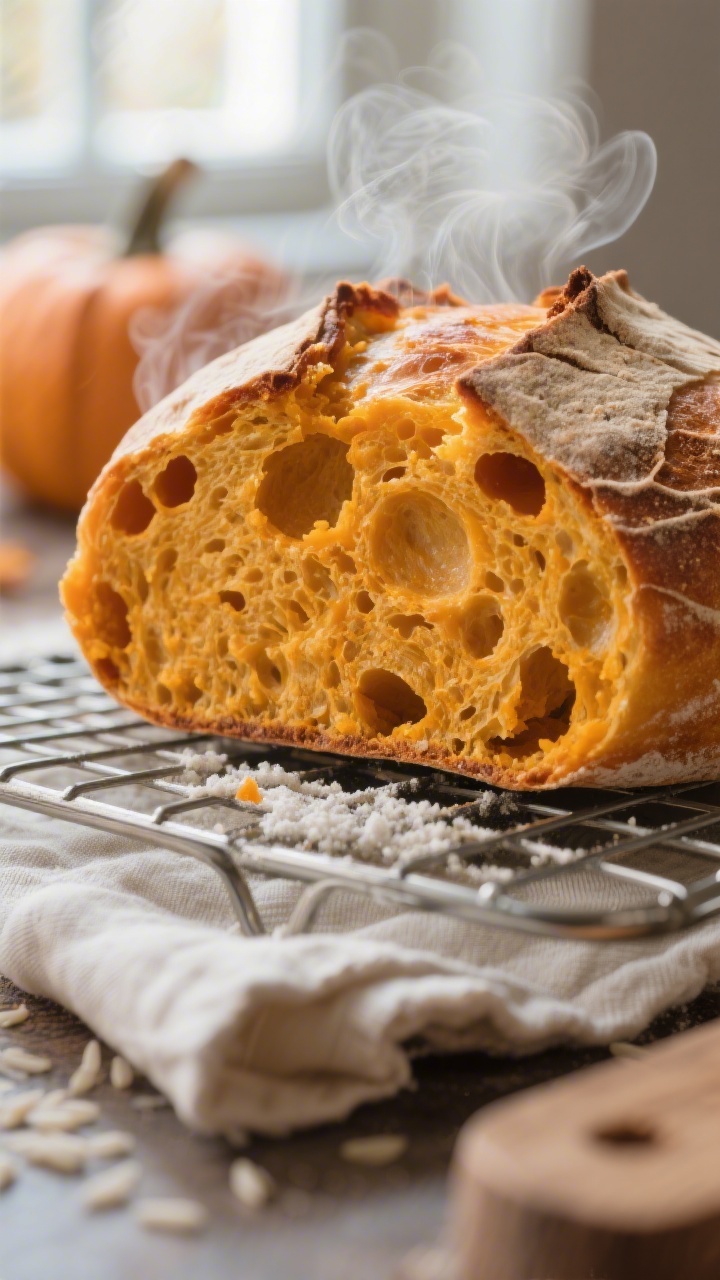
Pumpkin sourdough bread brings together warm spice, golden color, and the satisfying tang of naturally leavened bread. It’s rustic, cozy, and surprisingly simple once you get the rhythm. The pumpkin keeps the crumb tender and moist, while sourdough gives it depth and character.
Whether you’re a seasoned baker or just curious, this loaf feels special without being fussy. It’s perfect for breakfast toast, hearty sandwiches, or alongside a bowl of soup.
What Makes This Recipe So Good
- Moist, tender crumb: Pumpkin purée adds natural moisture and a soft texture that stays fresh longer.
- Balanced flavor: You get sourdough tang, gentle sweetness, and warm spice without the bread tasting like dessert.
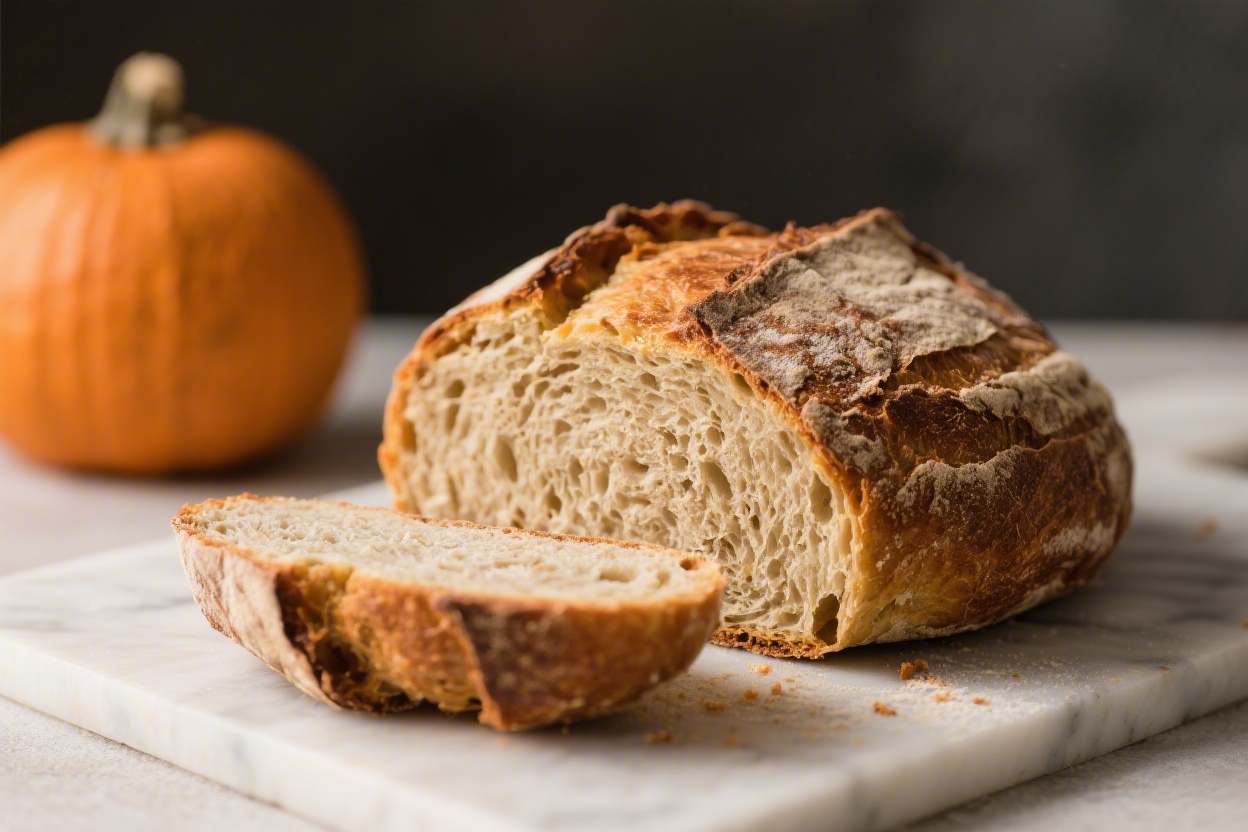
- Beautiful color: The loaf bakes up a rich golden-orange, making it a showstopper on any table.
- Flexible timing: The dough is forgiving and works well with overnight proofing.
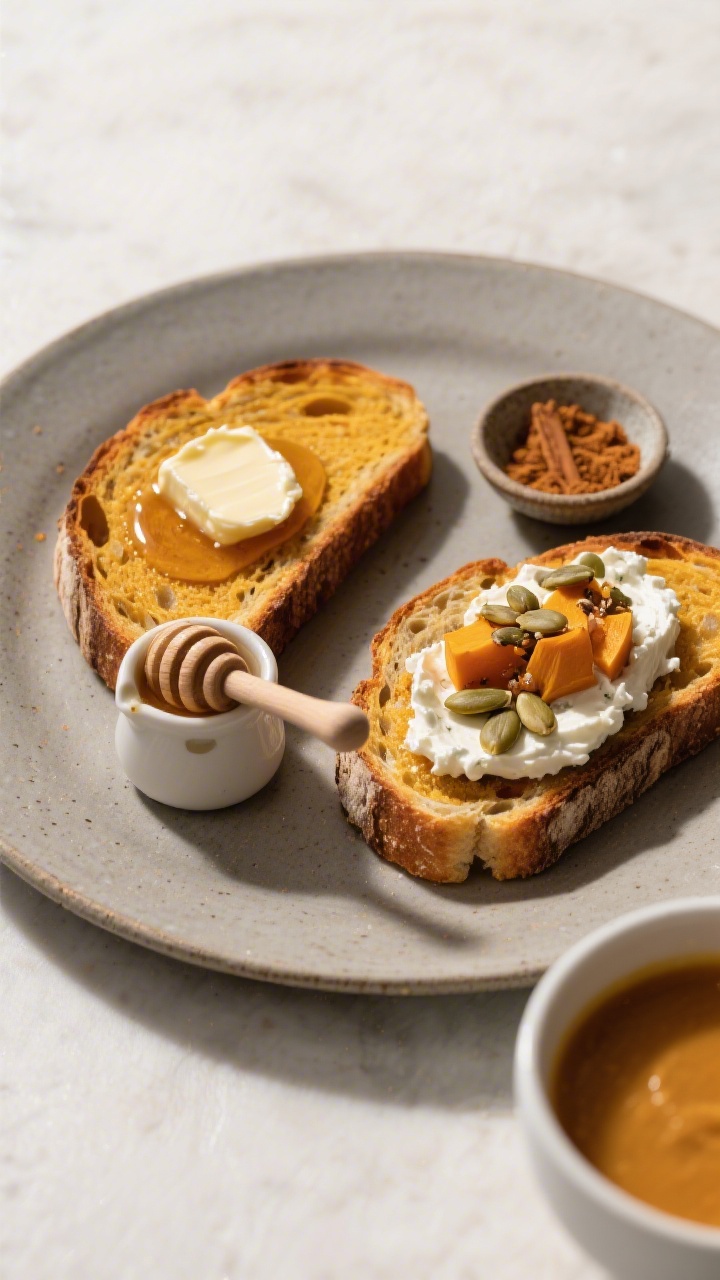
- Great for sweet or savory: Toast with butter and honey, or pair with cheese and roasted veggies.
Ingredients
- 300 g active sourdough starter (100% hydration, bubbly and risen)
- 380 g bread flour (plus extra for dusting)
- 70 g whole wheat flour
- 260 g pumpkin purée (plain, not pumpkin pie filling)
- 120 g water (room temperature; adjust as needed)
- 10 g fine sea salt
- 20 g honey or maple syrup (optional but recommended)
- 20 g olive oil or melted butter (optional, for extra tenderness)
- 1–2 tsp pumpkin pie spice or a mix of cinnamon, nutmeg, and ginger (optional, to taste)
- Rice flour for dusting the proofing basket (helps prevent sticking)
How to Make It
- Make sure your starter is ready. Feed it 4–8 hours before mixing, depending on your routine. It should be puffy, doubled, and pass the float test when a small spoonful is dropped into water.
- Mix the wet ingredients. In a large bowl, whisk together the pumpkin purée, water, honey or maple syrup, and oil or butter if using.
Stir in the active starter until it’s mostly dissolved.
- Add the dry ingredients. Sprinkle in the bread flour, whole wheat flour, salt, and spices. Mix with a dough whisk or your hand until no dry bits remain. The dough will be sticky but should hold together.
- Rest for 30 minutes (autolyse). Cover the bowl and let the dough rest.
This helps hydrate the flour and makes the dough easier to handle.
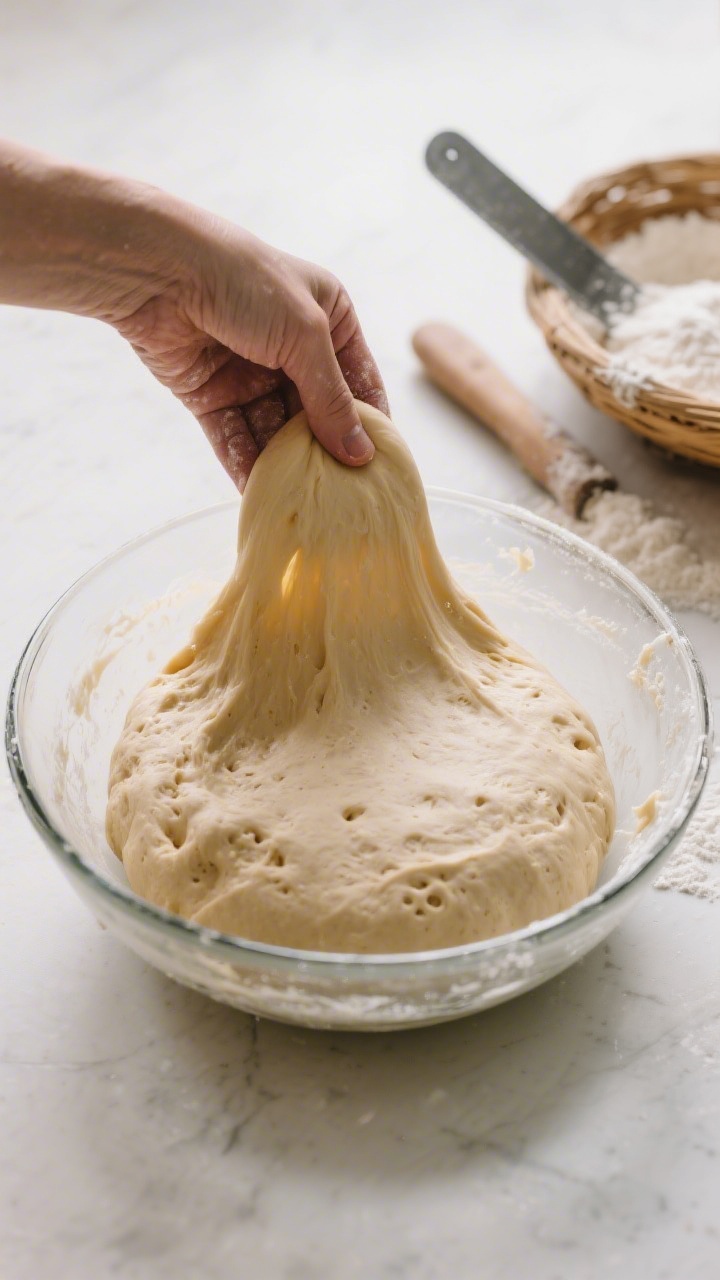
- Begin gluten development. Over the next 2 hours, do 3–4 rounds of stretch-and-folds, spaced 30 minutes apart. With damp hands, grab a portion of the dough, stretch it up, and fold it over itself. Turn the bowl and repeat 4–6 times per round.
The dough should become smoother and bouncier.
- Bulk ferment. Cover the bowl and let it rise at room temperature until it increases by about 50% and shows bubbles along the edges. Depending on room temperature, this takes 3–6 hours. Aim for dough that’s airy but not collapsing.
- Pre-shape. Lightly flour your work surface.
Turn out the dough and gently shape into a loose round. Let it rest, seam-side down, for 15–20 minutes to relax the gluten.
- Final shape. Shape into a tight boule or batard. Use a bench scraper to build surface tension without tearing the dough.
Dust a proofing basket (banneton) generously with rice flour and place the dough seam-side up in the basket.
- Proof. Cover and refrigerate for 8–16 hours for a slow, cold proof. The dough should look slightly puffy and hold its shape when pressed gently.
- Preheat the oven and Dutch oven. Place a lidded Dutch oven inside and preheat to 450°F (232°C) for at least 30 minutes.
- Score and bake. Turn the dough onto a piece of parchment, seam-side down. Score with a sharp lame or knife.
Transfer carefully to the hot Dutch oven, cover, and bake for 22–25 minutes. Remove the lid and bake another 18–22 minutes, until deep golden and the internal temperature reaches about 206–208°F (97–98°C).
- Cool completely. Let the loaf cool on a rack for at least 1–2 hours before slicing. Sourdough finishes setting as it cools; cutting early can make the crumb gummy.
Keeping It Fresh
- Room temperature: Store cut-side down on a board for the first day.
After that, place in a paper bag or wrap loosely in a clean kitchen towel for up to 3 days.
- Freezing: Slice the cooled loaf, wrap tightly, and freeze for up to 2 months. Toast slices straight from the freezer.
- Avoid plastic on the counter: It traps moisture and softens the crust. If you prefer a softer crust, use plastic but expect the exterior to lose its crunch.
Health Benefits
- Nutrient boost from pumpkin: Pumpkin is rich in beta-carotene (vitamin A), fiber, and potassium, which support eye health and heart health.
- Better digestion: Sourdough fermentation can make bread easier to digest for some people and may improve mineral absorption.
- Less added sugar: This loaf relies on pumpkin’s natural sweetness, with just a touch of honey or maple for balance.
- Whole grains: A portion of whole wheat flour adds extra fiber and nutrients without making the loaf heavy.
Pitfalls to Watch Out For
- Over-hydration: Pumpkin adds moisture, so resist the urge to add more water early on.
The dough should be tacky, not soupy.
- Under-fermentation: If the loaf bakes up dense, your starter might have been weak or the bulk ferment too short. Look for bubbles and a lighter feel before shaping.
- Excess spice: Too much spice can overpower the sourdough flavor. Start small; you can always add more next time.
- Sticky proofing basket: Use rice flour and a well-dusted banneton to prevent sticking, especially with moist doughs like this.
- Cutting too soon: Let it cool fully.
Warm bread can seem gummy even when perfectly baked.
Alternatives
- No-spice version: Skip the spices for a neutral loaf that pairs well with savory toppings.
- Rye twist: Swap the whole wheat for rye flour for deeper flavor and a slightly tighter crumb.
- Seeded crust: Roll the shaped dough in pumpkin seeds, sesame, or sunflower seeds before the final proof.
- Sweet swirl: Before final shaping, spread a thin layer of cinnamon sugar over the dough and roll up for a subtle swirl.
- Gluten-free approach: Use a gluten-free sourdough starter and a trusted gluten-free bread mix, adding pumpkin for moisture. Note the process and hydration will differ.
FAQ
Can I use canned pumpkin?
Yes. Choose plain pumpkin purée, not pumpkin pie filling.
If it looks very wet, blot with paper towels to avoid over-hydrating your dough.
How do I know my starter is strong enough?
It should double within 4–6 hours after feeding, smell pleasantly tangy, and feel airy. A small spoonful should float in water. If not, give it a few days of regular feedings.
Can I bake without a Dutch oven?
Yes.
Preheat a baking stone or sheet at 450°F (232°C) and place a pan of hot water on the lower rack for steam. Bake until deeply colored, adding more steam in the first 10 minutes if needed.
Why is my loaf gummy in the center?
It was either underbaked or cut too soon. Check for an internal temp around 206–208°F (97–98°C) and let the loaf cool at least 1–2 hours before slicing.
How do I adjust for warmer or cooler kitchens?
In warm rooms, fermentation speeds up, so shorten bulk and proofing times.
In cool rooms, extend them. Use the dough’s look and feel—bubbles, rise, and softness—over the clock.
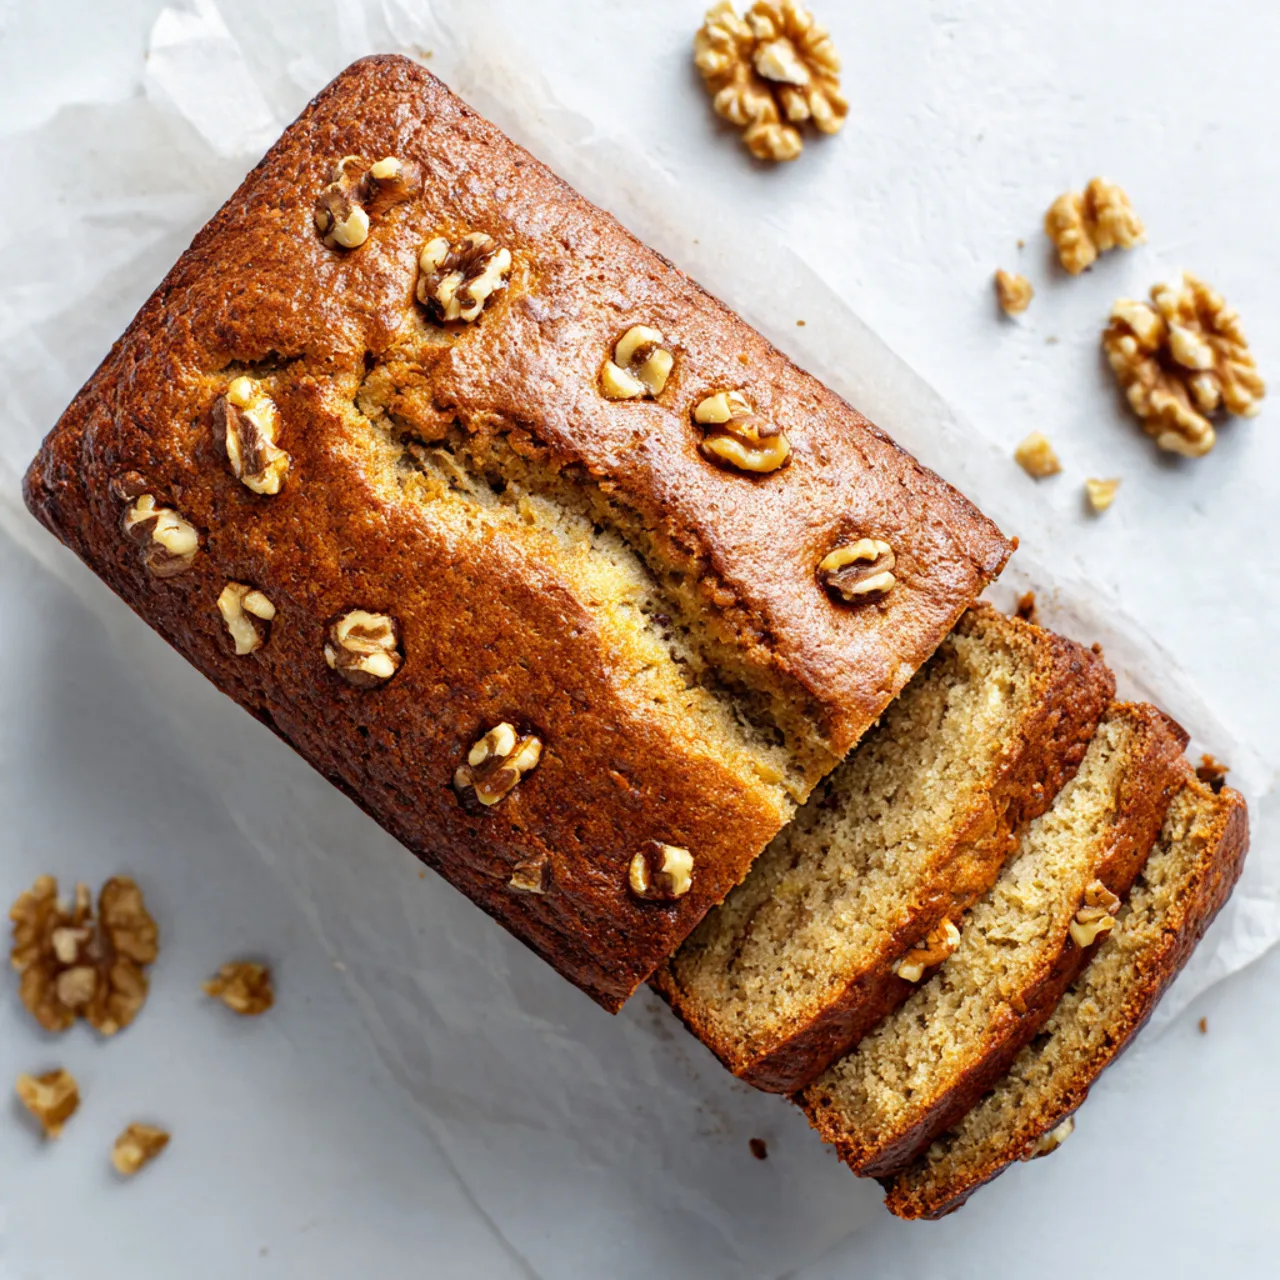
Can I add mix-ins like nuts or chocolate?
Absolutely. Fold in up to 100–150 g of toasted pecans, walnuts, cranberries, or chocolate chips during the last round of stretch-and-folds to distribute evenly.
What if I don’t have pumpkin pie spice?
Use 1 tsp cinnamon, 1/4 tsp nutmeg, and 1/4 tsp ginger to start.
Adjust to taste next time.
Is honey or maple syrup necessary?
Not essential, but a small amount enhances browning and rounds out the flavor. You can omit it if you prefer a less sweet loaf.
Wrapping Up
Pumpkin sourdough bread is comforting, flavorful, and practical. The pumpkin keeps it soft, the sourdough brings character, and the process fits easily into a home baker’s routine.
Once you bake it a couple times, you’ll find your ideal spice level and timing. Slice it thick, toast it well, and enjoy that golden crumb with whatever you’re craving.
Pumpkin Sourdough Bread Recipe - Cozy, Hearty, and Perfect for Fall
Ingredients
Method
- Make sure your starter is ready. Feed it 4–8 hours before mixing, depending on your routine. It should be puffy, doubled, and pass the float test when a small spoonful is dropped into water.
- Mix the wet ingredients. In a large bowl, whisk together the pumpkin purée, water, honey or maple syrup, and oil or butter if using.Stir in the active starter until it’s mostly dissolved.
- Add the dry ingredients. Sprinkle in the bread flour, whole wheat flour, salt, and spices. Mix with a dough whisk or your hand until no dry bits remain. The dough will be sticky but should hold together.
- Rest for 30 minutes (autolyse). Cover the bowl and let the dough rest.This helps hydrate the flour and makes the dough easier to handle.
- Begin gluten development. Over the next 2 hours, do 3–4 rounds of stretch-and-folds, spaced 30 minutes apart. With damp hands, grab a portion of the dough, stretch it up, and fold it over itself. Turn the bowl and repeat 4–6 times per round.The dough should become smoother and bouncier.
- Bulk ferment. Cover the bowl and let it rise at room temperature until it increases by about 50% and shows bubbles along the edges. Depending on room temperature, this takes 3–6 hours. Aim for dough that’s airy but not collapsing.
- Pre-shape. Lightly flour your work surface.Turn out the dough and gently shape into a loose round. Let it rest, seam-side down, for 15–20 minutes to relax the gluten.
- Final shape. Shape into a tight boule or batard. Use a bench scraper to build surface tension without tearing the dough.Dust a proofing basket (banneton) generously with rice flour and place the dough seam-side up in the basket.
- Proof. Cover and refrigerate for 8–16 hours for a slow, cold proof. The dough should look slightly puffy and hold its shape when pressed gently.
- Preheat the oven and Dutch oven. Place a lidded Dutch oven inside and preheat to 450°F (232°C) for at least 30 minutes.
- Score and bake. Turn the dough onto a piece of parchment, seam-side down. Score with a sharp lame or knife.Transfer carefully to the hot Dutch oven, cover, and bake for 22–25 minutes. Remove the lid and bake another 18–22 minutes, until deep golden and the internal temperature reaches about 206–208°F (97–98°C).
- Cool completely. Let the loaf cool on a rack for at least 1–2 hours before slicing. Sourdough finishes setting as it cools; cutting early can make the crumb gummy.
Printable Recipe Card
Want just the essential recipe details without scrolling through the article? Get our printable recipe card with just the ingredients and instructions.