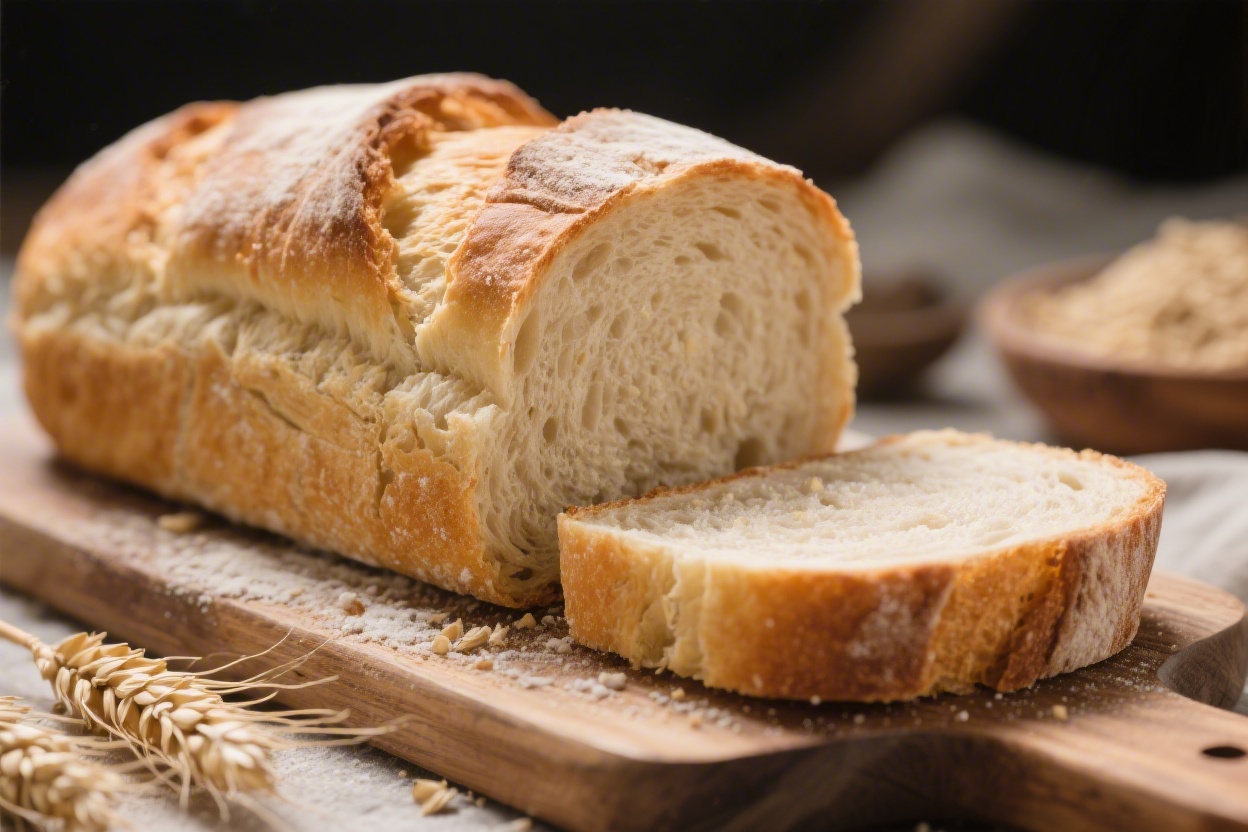

White Bread Recipe
White Bread Recipe
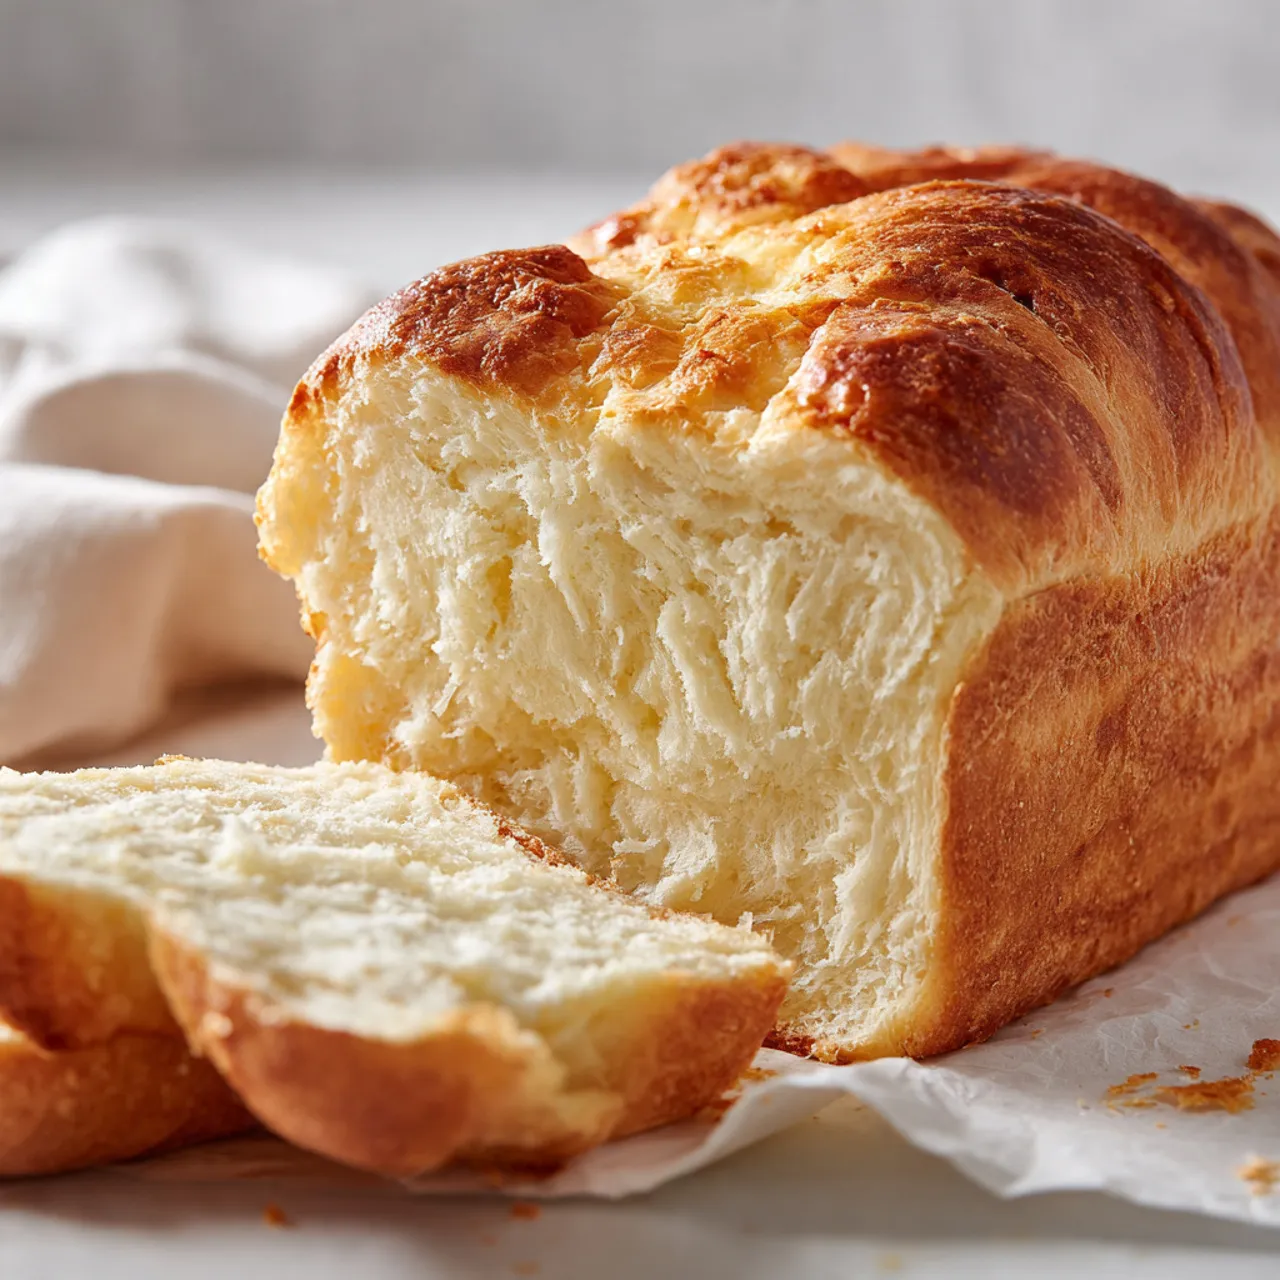
There’s something deeply comforting about a loaf of homemade bread cooling on the counter, filling the kitchen with a soft, warm aroma. This white bread recipe is simple, familiar, and made for everyday life. It’s the kind of bread you reach for in the morning, stack into sandwiches, or serve warm with dinner on busy evenings. People love it because it uses basic pantry ingredients and doesn’t feel complicated or fussy. I usually make it when I want something reliable and homemade without spending the whole day in the kitchen. Whether it’s for family meals, cold nights, or quiet afternoons, this loaf fits right in.

Why You Will Love This Recipe
This bread is tender, lightly fluffy, and just sturdy enough for slicing without crumbling. It’s easy to make, even if baking feels a little intimidating, and it doesn’t require fancy tools or rare ingredients. The dough comes together calmly, rises without drama, and bakes into a loaf that feels cozy and familiar. It’s budget-friendly, freezer-friendly, and works for toast, sandwiches, or simple buttered slices. This white bread recipe also adapts well to your schedule, which makes it weeknight-friendly and great for planning ahead. It’s the kind of loaf you’ll want to save, make again, and quietly rely on.
Ingredients
Tip: Use fresh, active yeast for the best rise and soft texture.

Instructions
Step 1: Preparation
In a large bowl, stir warm water and sugar together, then sprinkle in the yeast. Let it sit until the surface looks foamy and smells slightly sweet. This shows the yeast is awake and ready to work.
Step 2: Main Cooking Process
Add flour, salt, and oil to the bowl. Stir until a soft dough forms and pulls away from the sides. It should feel slightly sticky but manageable, not dry or crumbly.
Step 3: Combining Ingredients
Turn the dough onto a floured surface and knead gently. Press, fold, and turn until it feels smooth and elastic, with a soft bounce when you poke it lightly with your finger.
Step 4: Finishing & Final Simmer
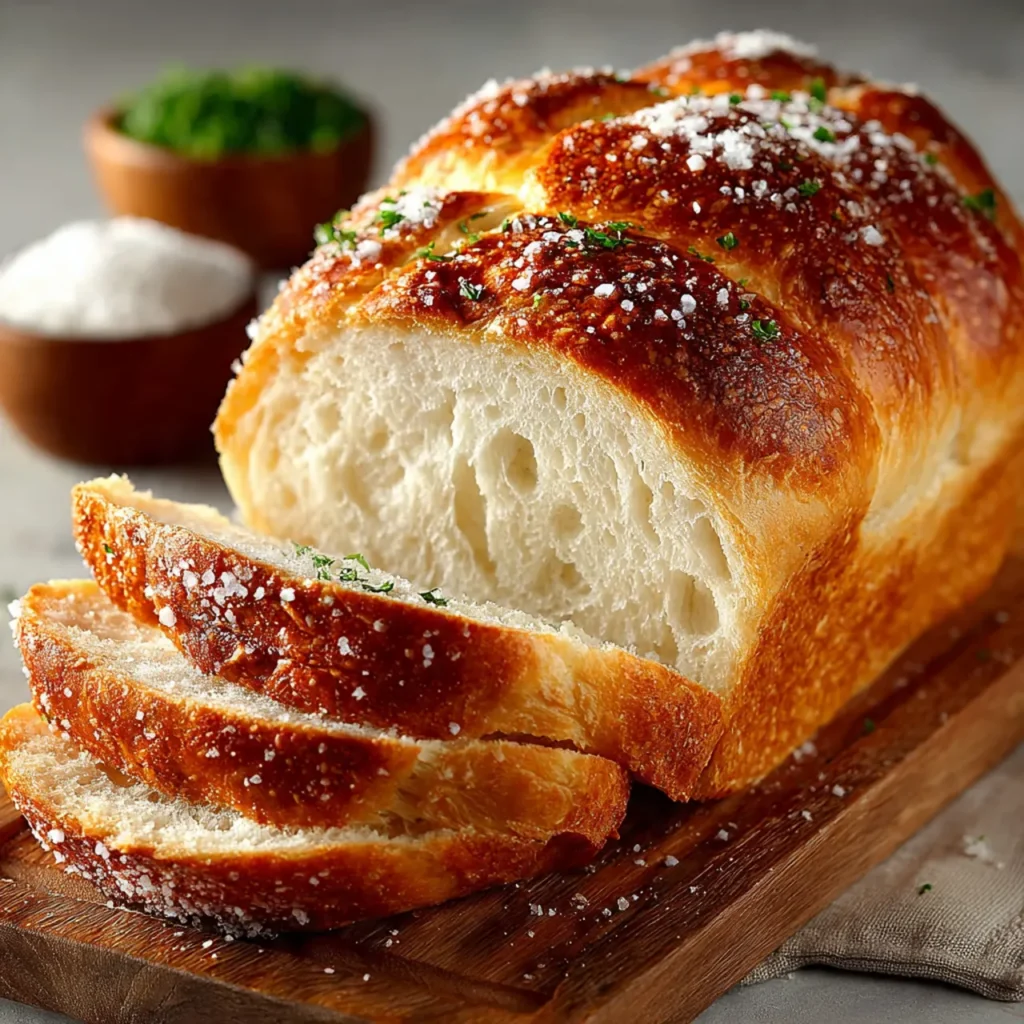
Place dough in a greased bowl, cover, and let rise until doubled. Shape into a loaf, rest briefly, then bake until golden and hollow-sounding when tapped. Cool slightly before slicing.
Why This Recipe Works for Busy Days
This bread fits into real schedules. Most of the time is hands-off, and the steps are easy to pause between. You can bake once and enjoy slices for days, which makes mornings and lunches simpler. It’s a comforting option to save now and bake later.
Tips & Tricks
Variations
Serving Suggestions
Storage Instructions
Recipe Timing
Nutrition Information
Each slice contains roughly 130–160 calories and about 4–5 grams of protein. It also provides carbohydrates for energy and small amounts of iron and B vitamins from the flour. Values are estimates and may vary based on ingredients, slice size, and portion choices.
FAQs
Conclusion
Homemade bread doesn’t have to feel complicated or overwhelming. This loaf is meant to be simple, reliable, and easy to make again and again. You can tweak it, toast it, freeze it, or turn it into something new each time. That flexibility is what makes this white bread recipe such a quiet kitchen favorite. It fits into everyday routines and brings a small sense of comfort with every slice. Bake it when you have time, enjoy it when you need it, and let it become one of those recipes you reach for without thinking.

White Bread Recipe
Course: Bread Recipe10
servings20
minutes30
minutes300
kcalSoft, simple homemade bread made with basic pantry ingredients. This loaf is lightly fluffy, easy to slice, and perfect for toast, sandwiches, or serving warm with meals.
Ingredients
3½ cups all-purpose flour
2¼ teaspoons active dry yeast
1 cup warm water
2 tablespoons sugar
1½ teaspoons salt
2 tablespoons vegetable oil or melted butter
Directions
- Mix warm water and sugar in a bowl. Sprinkle yeast on top and rest until foamy.
- Add flour, salt, and oil. Stir until a soft dough forms.
- Knead on a floured surface until smooth and elastic.
- Place in a greased bowl, cover, and let rise until doubled.
- Shape into a loaf and place in a greased pan.
- Bake at 350°F (175°C) for about 30 minutes.
- Cool slightly before slicing.
Printable Recipe Card
Want just the essential recipe details without scrolling through the article? Get our printable recipe card with just the ingredients and instructions.