
Velveeta Mac and Cheese
Velveeta Mac and Cheese
Velveeta mac and cheese is one of those comfort meals that feels familiar, warm, and reliably satisfying. It’s creamy without being fussy and comes together with simple steps that fit easily into everyday life. People love it because it delivers that smooth, cheesy texture without extra effort, making it perfect for busy evenings, quick family dinners, or cold nights when you want something cozy. This recipe keeps things straightforward and forgiving, even if you’re cooking while multitasking. I usually make this when time is short but everyone still wants a real, homemade meal that feels comforting and filling without a sink full of dishes afterward.

Why You Will Love This Recipe
This recipe is all about ease and comfort. The cheese melts smoothly, the pasta stays tender, and the whole dish feels rich without complicated steps. It’s weeknight-friendly, made in one pot, and easy to scale up if you’re feeding more people. Leftovers reheat well, which makes it great for next-day lunches or busy evenings later in the week. The ingredients are budget-aware and easy to find, so you don’t need a special shopping trip. Velveeta mac and cheese also works as a base recipe, letting you add extras or keep it plain. It’s cozy, crowd-pleasing, and freezer-friendly, which makes it worth saving for later.

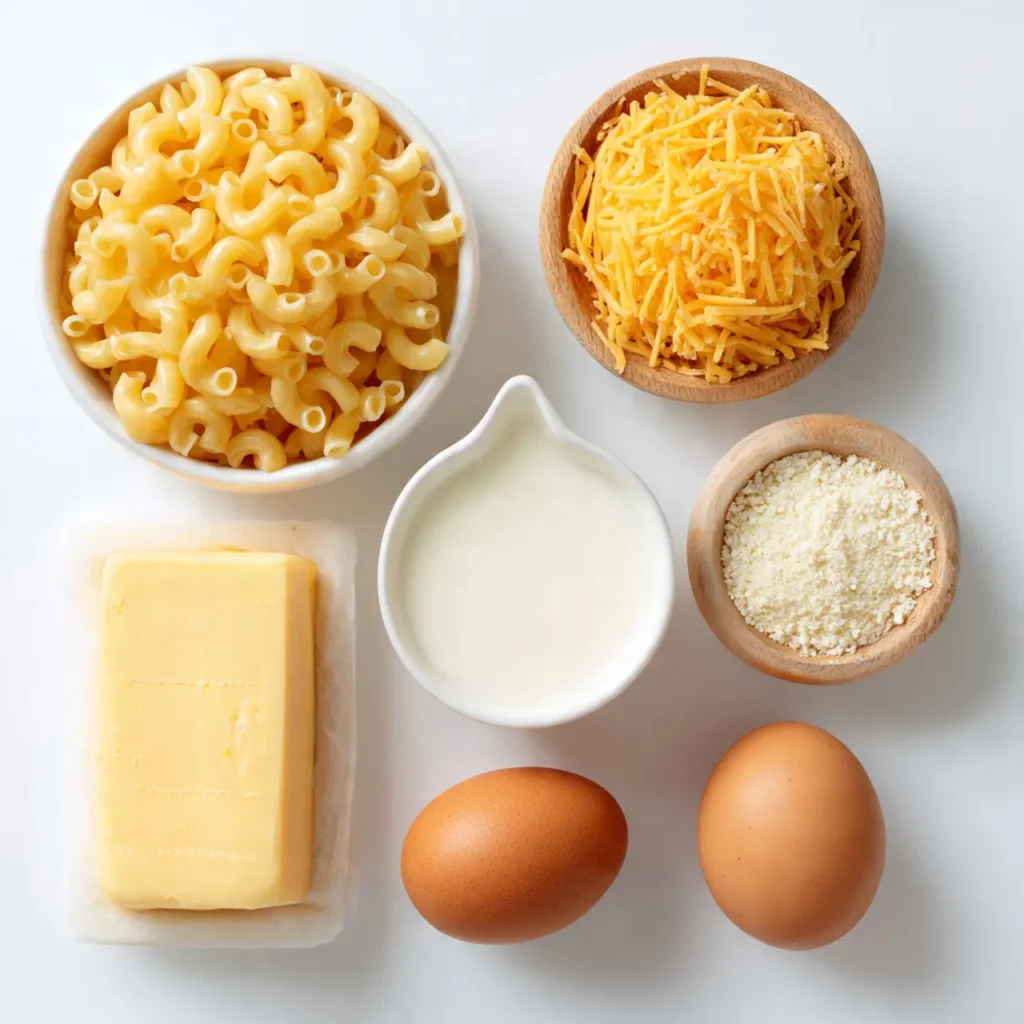
Ingredients
Tip: Use block-style Velveeta cheese for the smoothest melt.
Instructions
Step 1: Preparation
Bring a large pot of water to a boil and salt it lightly. Measure and cube the cheese so it melts evenly later. Keep the milk nearby and ready, since everything comes together quickly once the pasta drains.
Step 2: Main Cooking Process
Cook the macaroni until tender but not mushy. It should feel soft with a slight bite. Drain well, then return the warm pasta to the pot so it stays hot and ready for the sauce.
Step 3: Combining Ingredients
Add butter to the hot pasta and stir until it melts and coats the noodles. Pour in the milk and add the cubed cheese. Stir gently as the cheese softens and turns glossy.
Step 4: Finishing & Final Simmer
Lower the heat and stir slowly until the sauce looks smooth and creamy. Sprinkle in salt and pepper, tasting as you go. Once the sauce clings to the pasta and smells rich, remove from heat.
Why This Recipe Works for Busy Days
This recipe saves time without sacrificing comfort. Everything cooks in one pot, which keeps cleanup easy. The steps are flexible, so it’s forgiving if dinner gets interrupted. It reheats well and holds its texture, making it ideal for meal prep or planned leftovers later in the week.
Tips & Tricks
Variations
Meaty Version
Stir in cooked ground beef or diced ham at the end. The meat adds heartiness without changing the creamy base. This variation works well for bigger appetites or when you want the dish to stand alone as a full meal.
Vegetarian Option
Add steamed broccoli or peas just before serving. The vegetables bring color and texture while keeping the dish comforting. It’s a simple way to make the meal feel more balanced without losing its cozy feel.
Ingredient Swap
Use evaporated milk instead of regular milk for a slightly thicker sauce. This swap keeps the flavor familiar while giving the sauce extra richness, especially helpful if you like your mac and cheese extra creamy.
Flavor or Herb Boost
Add a pinch of paprika or dry mustard for warmth. These small additions deepen the flavor without overpowering the cheese, making the dish taste a little more grown-up while staying familiar.
Serving Suggestions
Storage Instructions
Recipe Timing
Nutrition Information (Approximate)
Each serving contains about 420–480 calories, depending on portions. Protein ranges from 14–18 grams per serving. This dish provides calcium and vitamin B12 from the cheese. Values are estimates and may vary by ingredient brands and serving sizes.
FAQs
Conclusion
This recipe is simple, familiar, and comforting in the best way. It fits into busy routines while still feeling like a meal everyone looks forward to. You can keep it plain, add extras, or save leftovers for later without losing that creamy texture. Velveeta mac and cheese is the kind of dish that quietly becomes a regular favorite, especially on nights when cooking needs to feel easy. Make it your own, enjoy it warm, and keep it in your back pocket for cozy meals that never feel complicated.

Velveeta Mac and Cheese
Course: Cheese Recipes4
servings10
minutes15
minutes300
kcalA quick, creamy mac and cheese made with simple ingredients. Smooth, comforting, and perfect for busy weeknights or family meals.
Ingredients
Elbow macaroni – 12 ounces
Velveeta cheese, cubed – 12 ounces
Milk – 1 cup
Butter – 2 tablespoons
Salt – ½ teaspoon
Black pepper – ¼ teaspoon
Directions
- Boil macaroni in salted water until tender. Drain.
- Return pasta to the pot while still warm.
- Add butter and stir until melted.
- Pour in milk and add cubed cheese.
- Stir over low heat until smooth.
- Add salt and pepper.
- Serve warm.
Printable Recipe Card
Want just the essential recipe details without scrolling through the article? Get our printable recipe card with just the ingredients and instructions.