
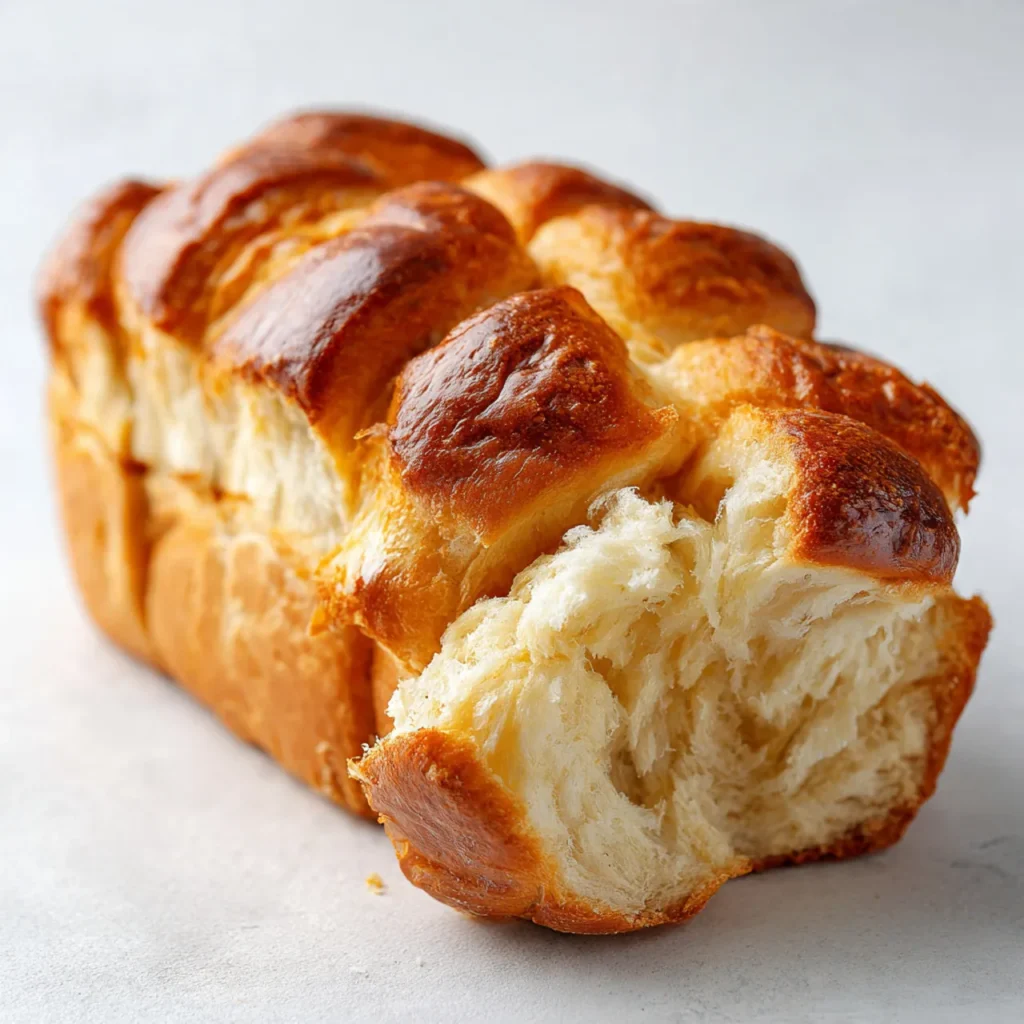
Pull Apart Bread
Pull Apart Bread
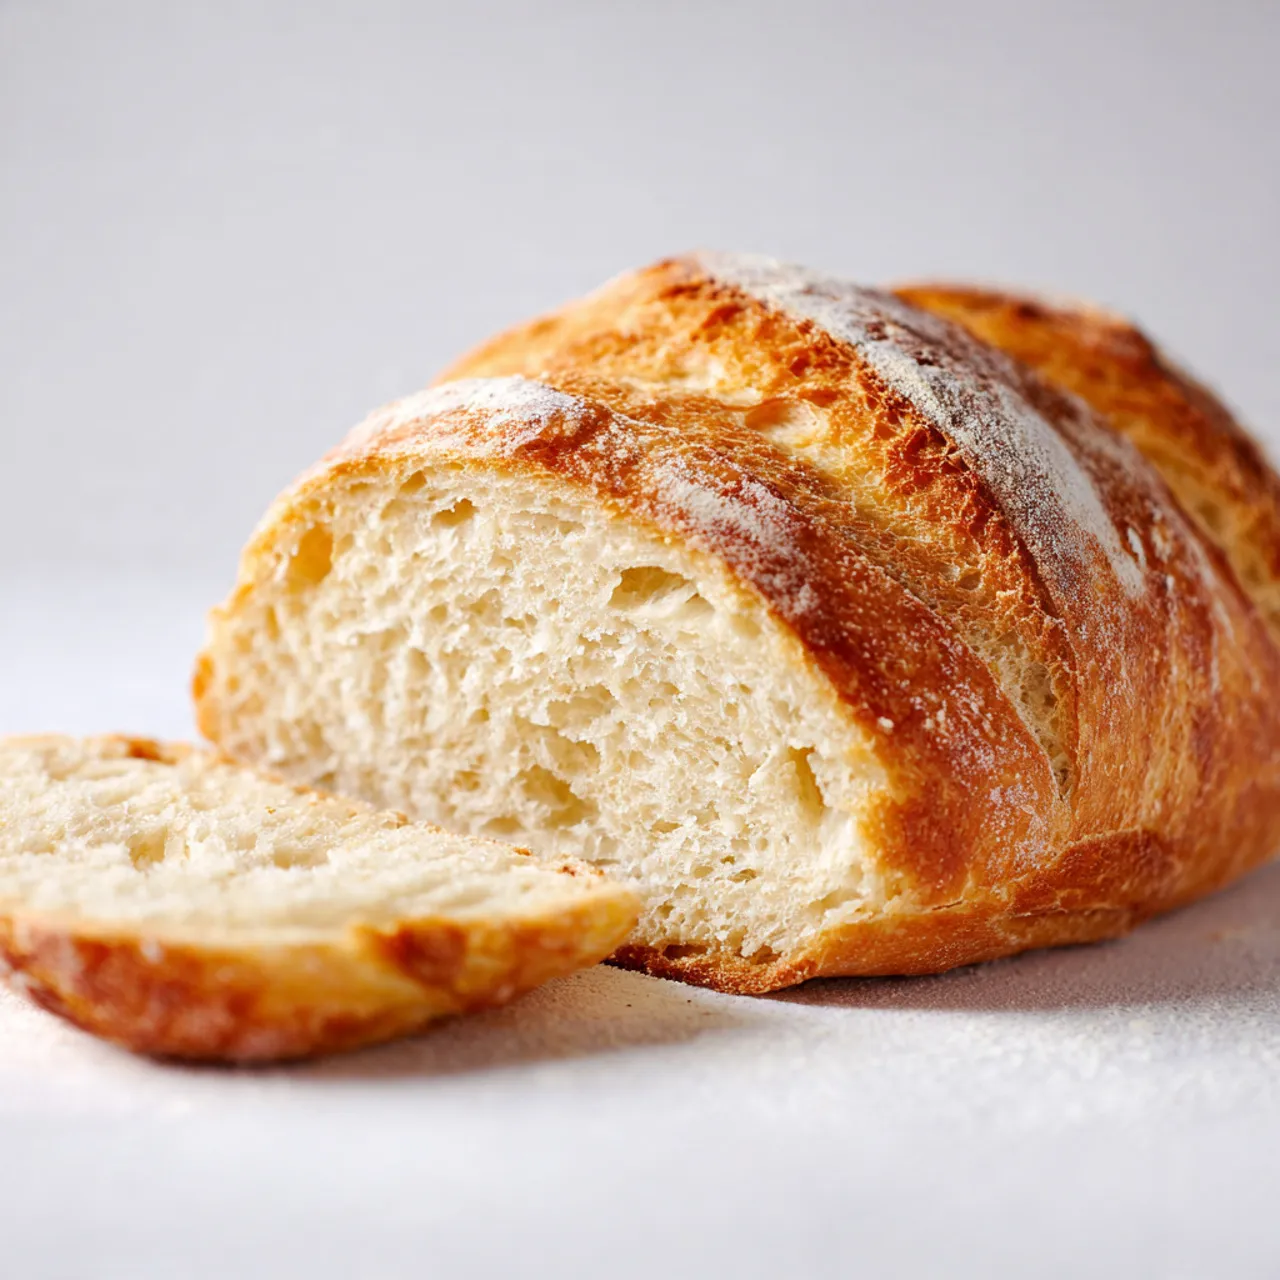
Pull apart bread is one of those cozy bakes that instantly makes a kitchen feel warmer. Soft on the inside, golden on top, and full of buttery flavor, it’s meant to be shared right from the pan. People love it because it looks impressive but feels surprisingly easy to make. It fits real life beautifully—busy evenings, casual family meals, or those cold nights when everyone hovers near the oven. This is the kind of bread you tear into with your hands, no fuss required. I usually mix it together while something else is cooking, letting the dough rest while the house fills with that comforting, yeasty smell.
Why You Will Love This Recipe
This recipe is all about comfort without complication. The flavor is rich and familiar, but the steps stay simple and forgiving. You don’t need fancy tools or special skills, just a little time and a warm spot for the dough. It’s budget-friendly, using basic pantry ingredients that stretch into something special. The loaf is flexible too—serve it with dinner, snack on it, or wrap leftovers for later. Pull apart bread also shines as a crowd-pleaser; it’s the first thing people reach for at the table. Cozy, weeknight-friendly, freezer-friendly, and easy to customize, it’s the kind of recipe you’ll save and come back to again.
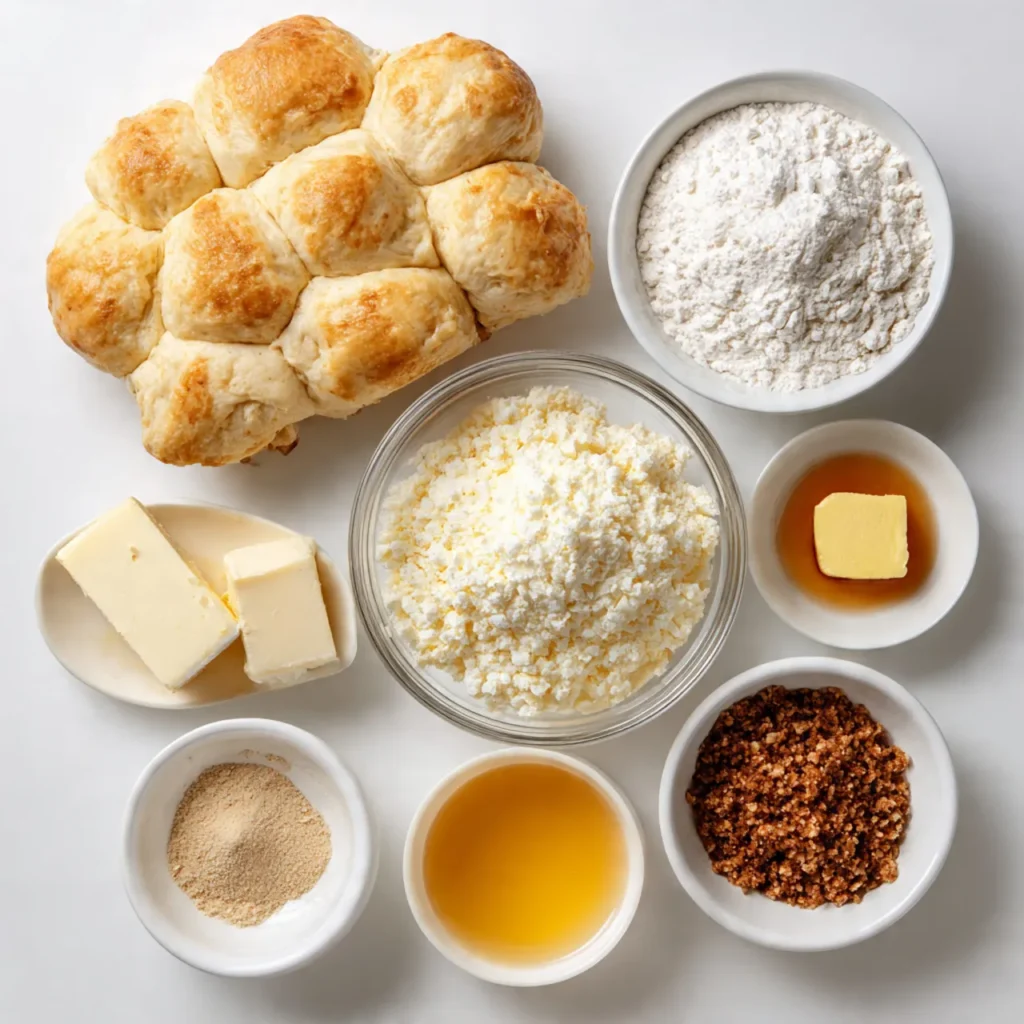
Ingredients
Tip: Soft white bread dough works best here because it bakes up fluffy and easy to tear.
Instructions
Step 1: Preparation
Warm the milk until it feels just warm to the touch. In a large bowl, stir together flour, yeast, sugar, and salt. Add the milk, egg, and melted butter. Mix until a soft dough forms that pulls away from the sides.
Step 2: Main Cooking Process
Turn the dough onto a lightly floured surface. Knead gently until it feels smooth and elastic, about a few minutes. Place it back in the bowl, cover, and let it rise until doubled and puffy, with a light yeasty aroma.
Step 3: Combining Ingredients
Punch the dough down softly. Cut it into small, even pieces. Roll each piece lightly and stack them in a greased loaf pan, letting them touch. The dough should look snug but not crowded.
Step 4: Finishing & Final Simmer
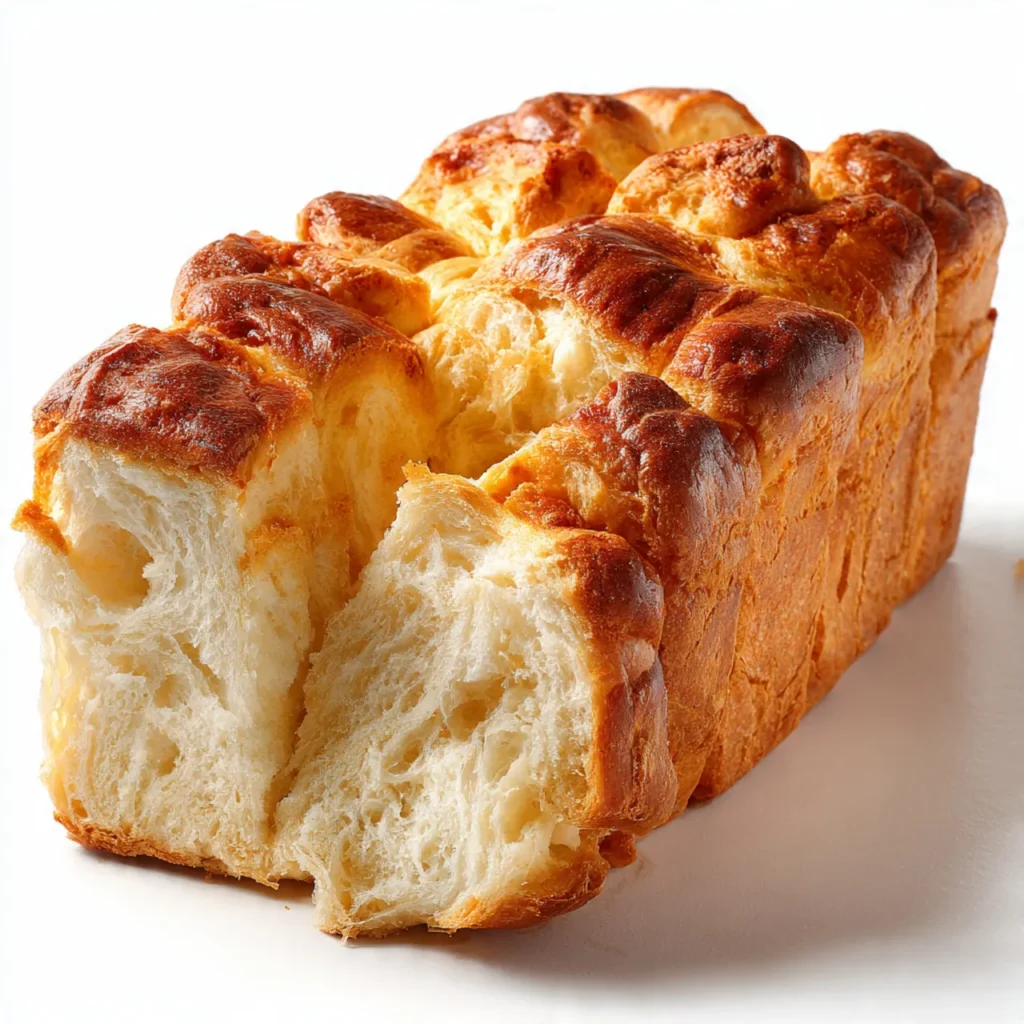
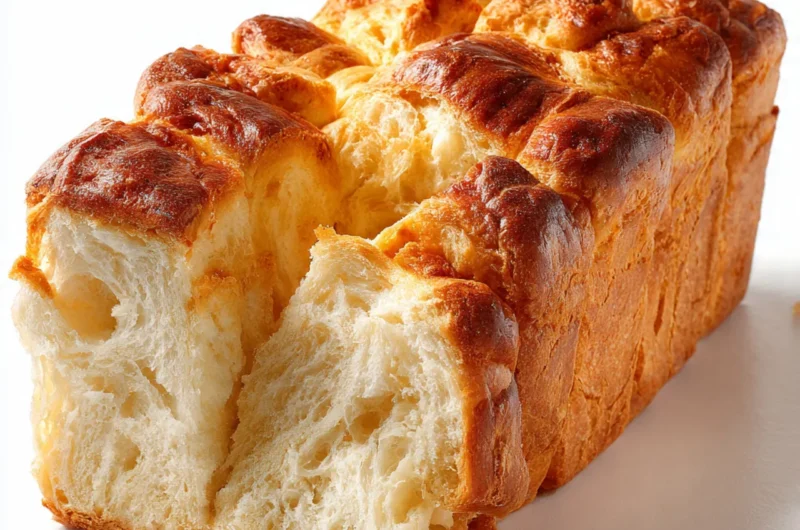
Cover the pan and let it rise again until the pieces look airy and slightly connected. Bake until the top turns golden and your kitchen smells buttery. Let it rest briefly before pulling pieces apart.
Why This Recipe Works for Busy Days
This recipe fits into real schedules. The hands-on time is short, and the dough does most of the work on its own. You can prep it earlier in the day and bake when needed. Leftovers reheat well, making it easy for future meals or snacks. It’s comforting without feeling demanding.
Tips & Tricks
Variations
Meaty Version
Tuck small bits of cooked bacon or sausage between the dough pieces before the second rise. Keep the pieces small so the bread still pulls apart easily. This adds savory richness and works well for brunch or hearty dinners.
Vegetarian Option
Add finely chopped sautéed mushrooms or spinach between layers. Make sure the vegetables are well-drained so the dough doesn’t get soggy. The result is flavorful, earthy, and still soft and tender.
Ingredient Swap
Replace half of the milk with warm water if that’s what you have on hand. The bread will still rise nicely, just slightly less rich. Brush the top with extra butter after baking for balance.
Flavor or Herb Boost
Mix dried herbs like parsley or oregano into the melted butter before brushing it over the dough pieces. This adds gentle flavor without overpowering the bread and makes it smell incredible while baking.
Serving Suggestions
Storage Instructions
Recipe Timing
Nutrition Information (Approximate)
Each serving contains roughly 180–220 calories, with about 5–7 grams of protein. It also provides carbohydrates for energy and small amounts of calcium from the milk. Values are estimates and can vary depending on ingredients used and portion size.
FAQs
Conclusion
There’s something special about baking bread meant to be shared. This pull apart bread brings warmth to the table without feeling complicated or fussy. You can keep it simple, dress it up with add-ins, or bake it ahead for busy days. It’s forgiving, flexible, and easy to make your own. Once you try it, you’ll find yourself reaching for this recipe again, especially when you want something cozy that invites everyone to tear off a piece and enjoy the moment together.
Pull Apart Bread
Course: Bread Recipe8
servings20
minutes30
minutes300
kcalSoft, buttery bread baked in easy-to-pull pieces. Perfect for sharing at family meals or serving warm with soups and simple dinners.
Ingredients
3 cups all-purpose flour
1 cup warm milk
2¼ teaspoons active dry yeast
2 tablespoons sugar
1 teaspoon salt
4 tablespoons melted butter
1 large egg
Directions
- Mix warm milk, sugar, and yeast in a bowl. Let sit until foamy.
- Add egg, butter, salt, and flour. Mix into a soft dough.
- Knead lightly until smooth. Place in a greased bowl and let rise until doubled.
- Divide dough into small pieces and stack in a greased baking dish.
- Let rest again, then bake until golden and fragrant.
- Cool slightly before pulling apart and serving warm.
Printable Recipe Card
Want just the essential recipe details without scrolling through the article? Get our printable recipe card with just the ingredients and instructions.