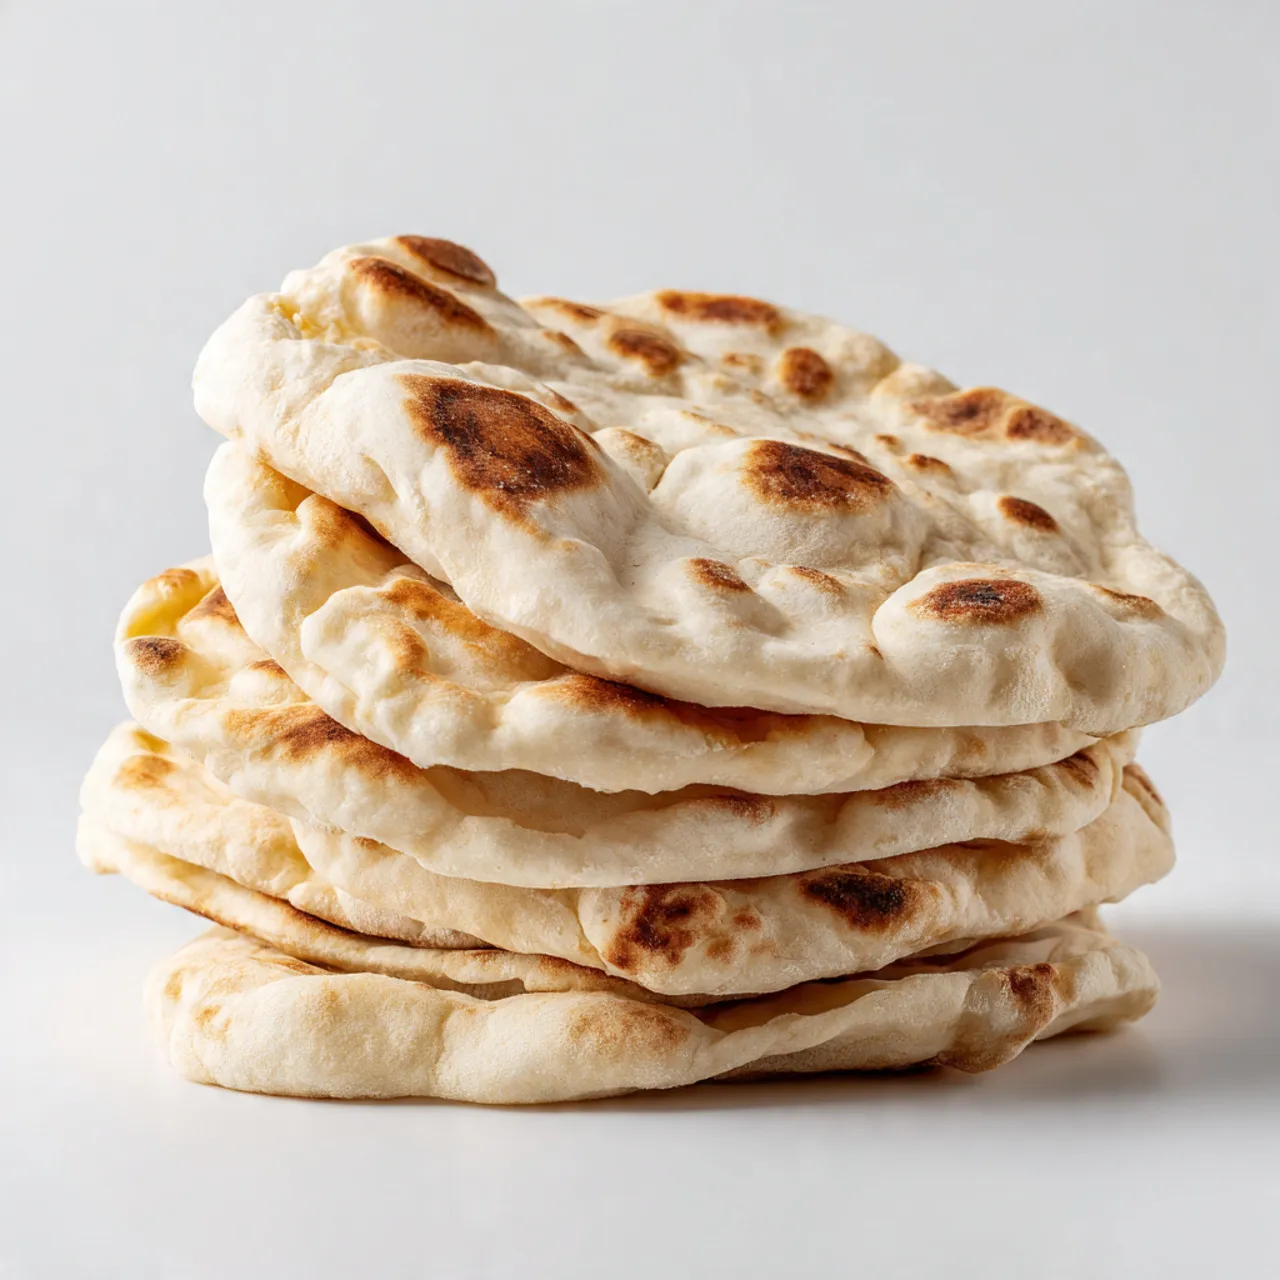
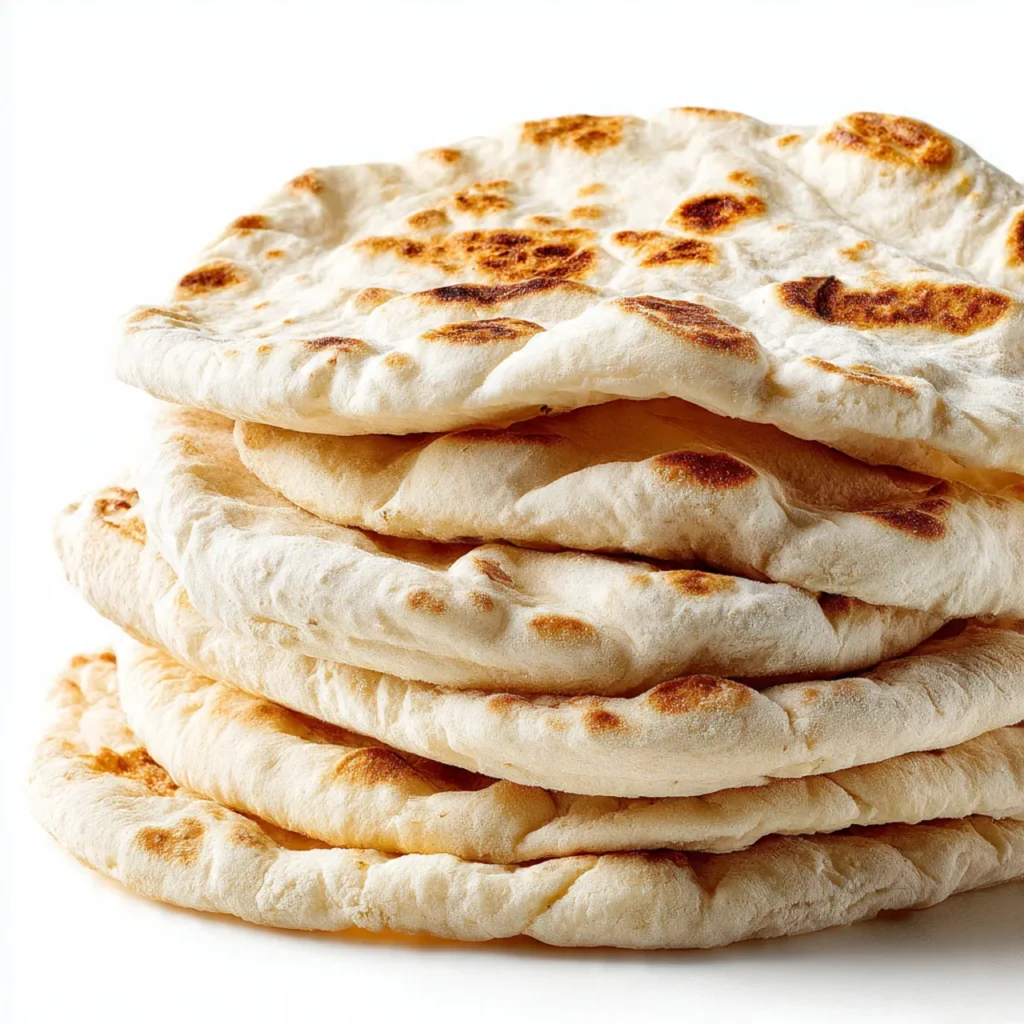
Pita Bread
Pita Bread
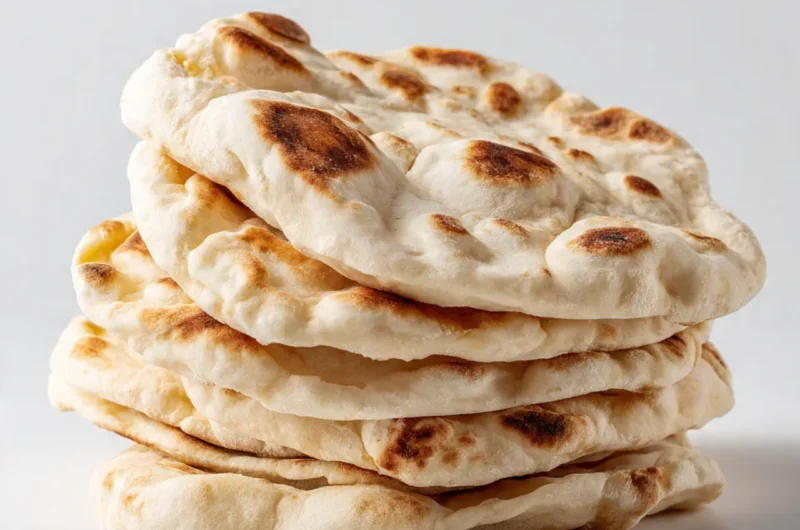
There’s something deeply comforting about warm, homemade bread, and this recipe brings that feeling right into your kitchen. Soft, slightly chewy, and perfect for stuffing or dipping, this pita bread is a simple staple that fits into real life. It’s the kind of recipe you turn to on busy evenings when dinner needs to stretch, or on slow weekends when you want something cozy and hands-on. I usually make a batch while prepping the rest of the meal, letting the dough rest nearby. Fresh bread like this feels special without being complicated, and it works just as well for family meals as it does for quiet nights at home.
Why You Will Love This Recipe
This recipe is all about comfort and ease. The dough comes together with basic pantry ingredients, so there’s no last-minute grocery stress. The flavor is mild and warm, making it flexible enough for savory fillings or simple dips. It’s weeknight-friendly, budget-conscious, and great for feeding a crowd without much effort. Leftovers store well and reheat beautifully, which makes it freezer-friendly for future meals. If you enjoy hands-on cooking without pressure, this pita-style flatbread is satisfying to make and even better to eat. It feels cozy, reliable, and practical, the kind of recipe you’ll want to save and come back to again.
Ingredients
Tip: Use all-purpose flour for soft, flexible pockets that cook evenly.

Instructions
Step 1: Preparation
In a large bowl, mix the flour, salt, sugar, and yeast. Add warm water and olive oil, stirring until a soft dough forms. It should feel slightly tacky but easy to handle, with no dry patches left in the bowl.
Step 2: Main Cooking Process
Turn the dough onto a lightly floured surface and knead for about 8 minutes. It should become smooth and elastic, springing back gently when pressed. Cover and let it rest until doubled and lightly airy to the touch.
Step 3: Combining Ingredients
Divide the dough into equal portions and roll each into a ball. Flatten gently with a rolling pin into thin rounds. You’ll notice small bubbles forming under the surface, which helps create that soft interior later.
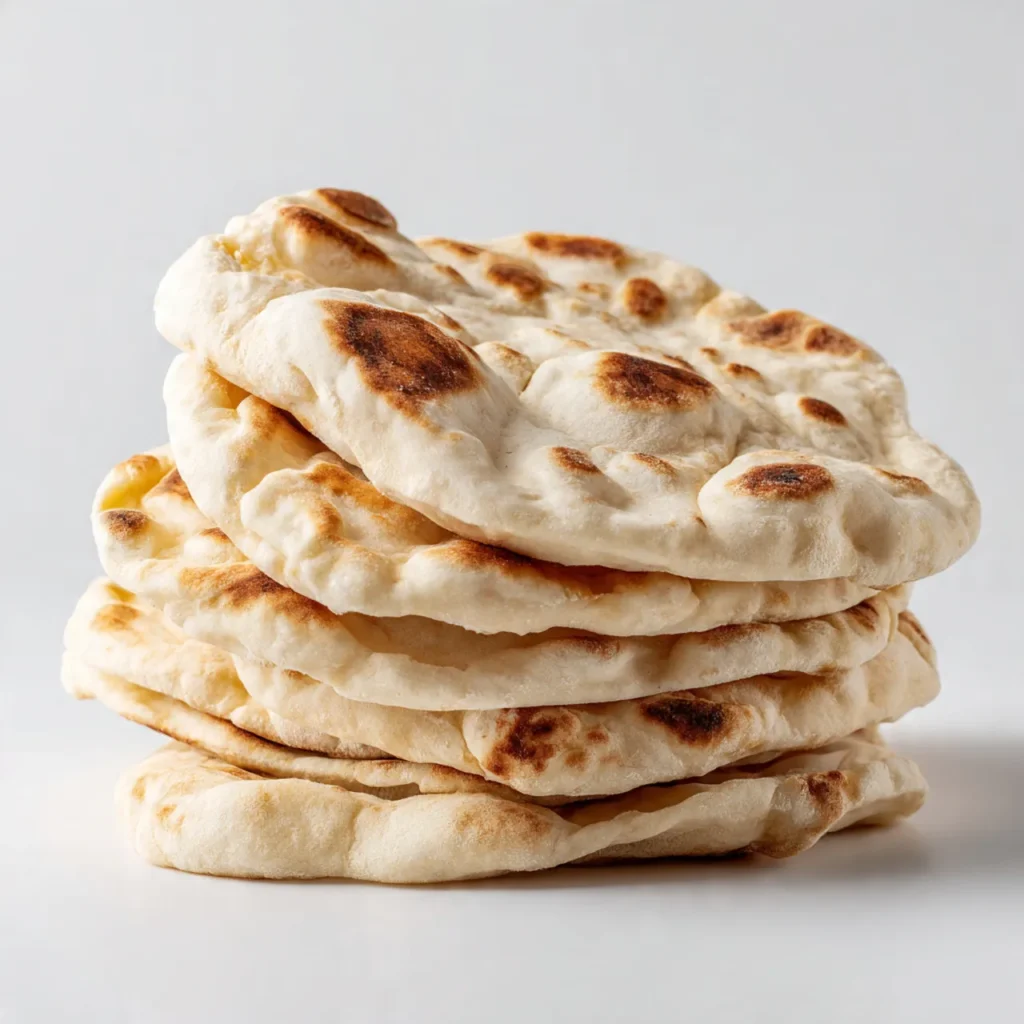
Step 4: Finishing & Final Simmer
Heat a dry skillet over medium heat. Cook each round until it puffs slightly and develops light golden spots. Flip and cook briefly on the other side until warm, flexible, and lightly toasted.
Why This Recipe Works for Busy Days
This recipe fits easily into packed schedules because most of the time is hands-off. The dough rests while you prep other dishes, and cooking each round takes only minutes. It’s great for making ahead, storing, and reheating later, so future meals feel less rushed and more put together.
Tips & Tricks
Variations
Serving Suggestions
Storage Instructions
Recipe Timing
Nutrition Information (Approximate)
Each serving contains approximately 160–190 calories and 5–6 grams of protein. It also provides carbohydrates for energy and small amounts of iron from the flour. Values are estimates and may vary based on ingredient brands, portion size, and preparation method.
FAQs
Conclusion
Homemade bread doesn’t have to be complicated, and this recipe proves it. With simple ingredients and a calm, hands-on process, it fits naturally into everyday cooking. You can keep it classic, change the flour, or play with fillings depending on what you have on hand. That flexibility is what makes pita bread such a comforting staple. Whether you’re planning ahead for the week or just want something warm to serve with dinner, this is the kind of recipe that feels familiar, reliable, and worth saving for later.
Pita Bread
Course: Bread Recipe8
servings15
minutes15
minutes300
kcalSoft, warm, and easy to make at home.
Perfect for wraps, dips, or cozy family meals.
Simple ingredients and beginner-friendly steps.
Ingredients
3 cups all-purpose flour
1 teaspoon salt
1 teaspoon sugar
2¼ teaspoons instant yeast
1 cup warm water
2 tablespoons olive oil
Directions
- In a bowl, mix flour, salt, sugar, and yeast.
- Add warm water and olive oil. Stir until dough forms.
- Knead on a floured surface for 8 minutes until smooth.
- Cover and let rise until doubled, about 1 hour.
- Divide into 8 pieces and roll into thin rounds.
- Heat a dry skillet over medium heat.
- Cook each round until puffed and lightly golden on both sides.
Printable Recipe Card
Want just the essential recipe details without scrolling through the article? Get our printable recipe card with just the ingredients and instructions.