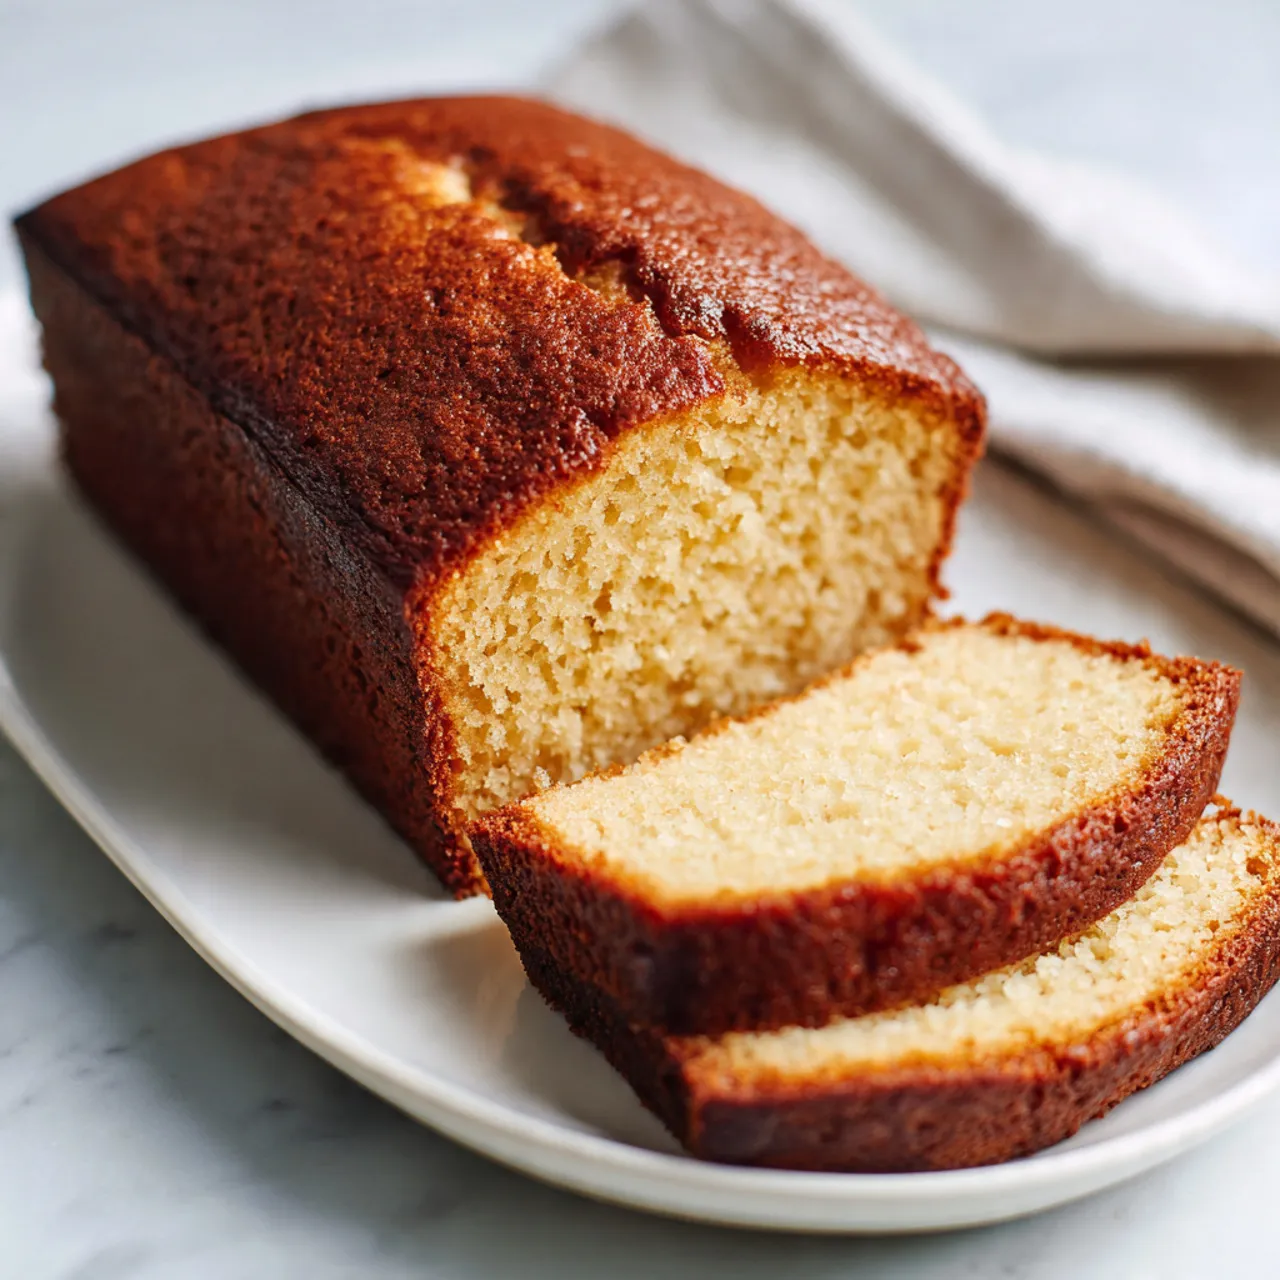

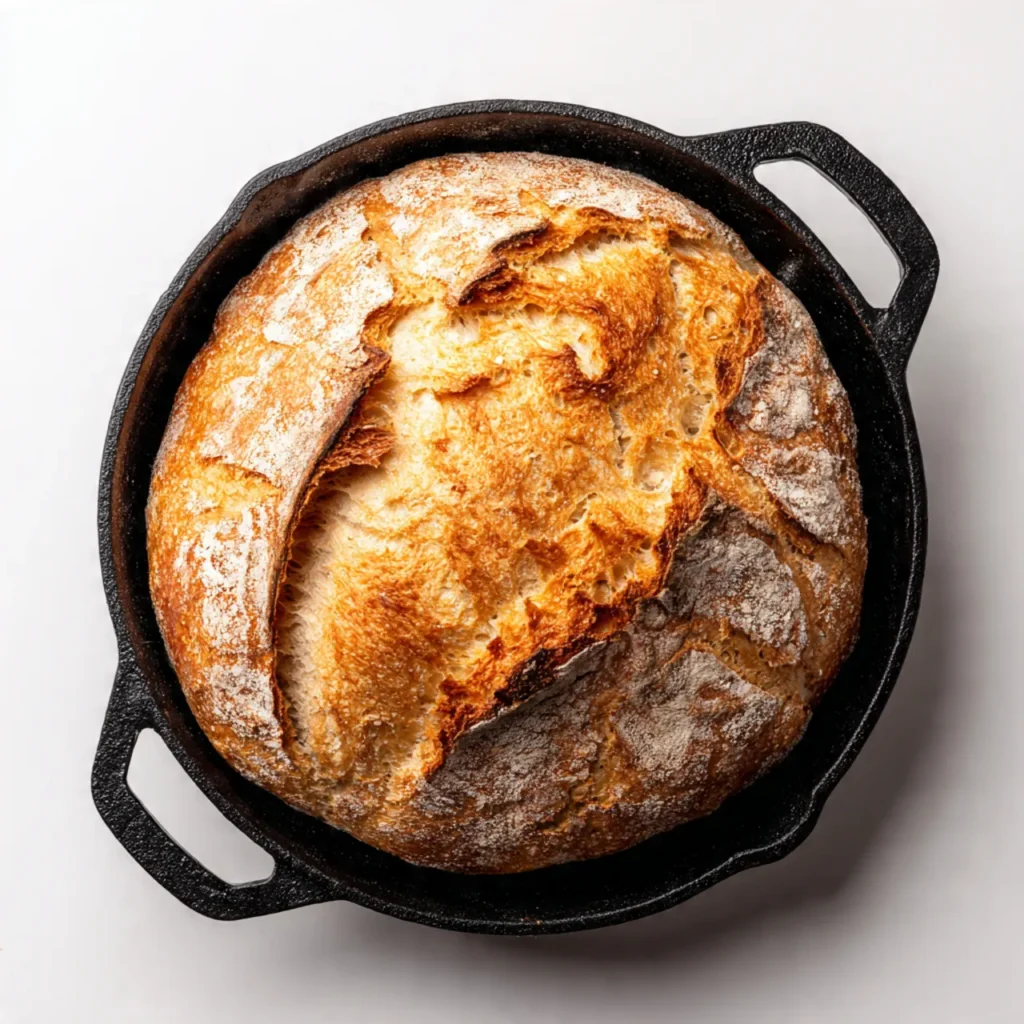
No Knead Bread Dutch Oven
No Knead Bread Dutch Oven
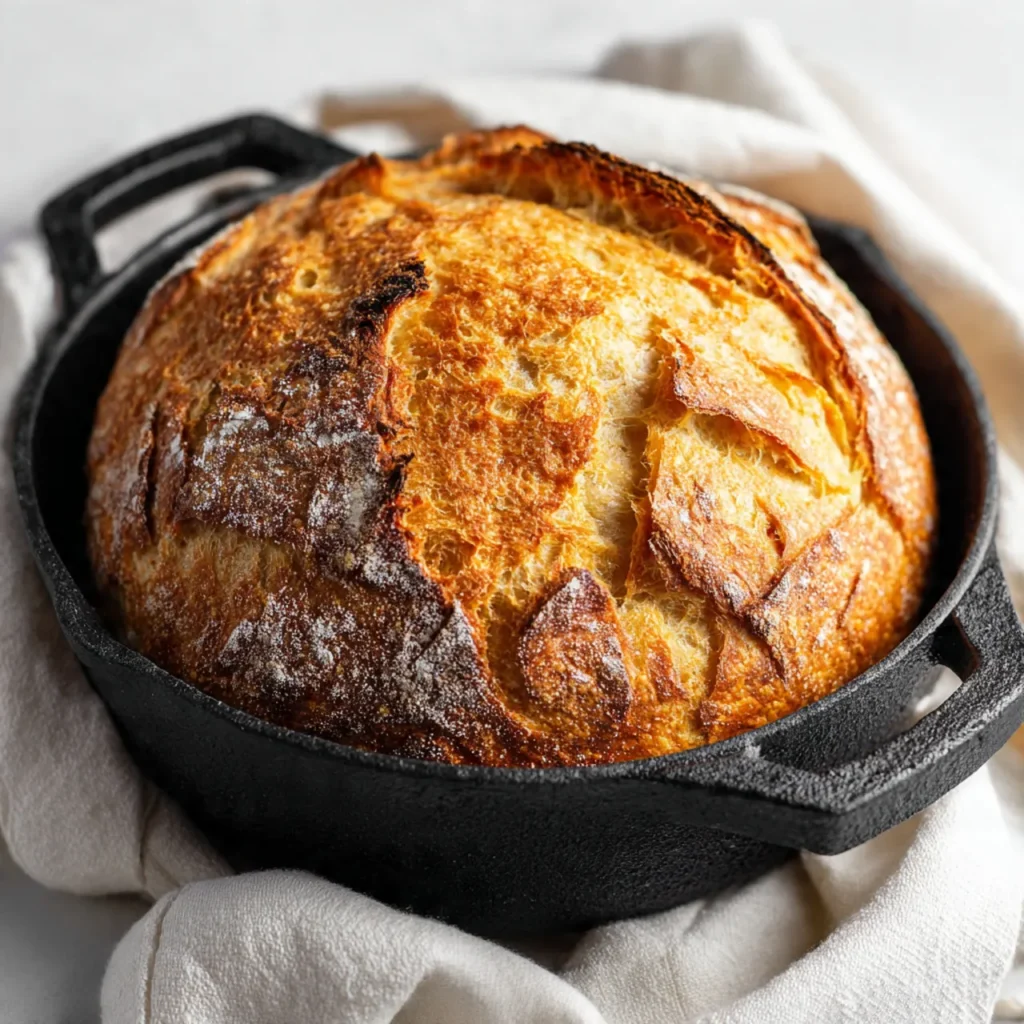
No knead bread dutch oven baking is one of those quiet kitchen wins that feels almost magical. You mix a few pantry staples, let time do the heavy lifting, and end up with a loaf that looks bakery-worthy but feels completely homemade. People love it because it fits real life — busy days, cold evenings, or when you just want fresh bread without standing at the counter all afternoon. The crust turns deeply golden, the inside stays soft and airy, and there’s very little cleanup. I usually stir the dough together in the evening and forget about it until the next day, which somehow makes the result even more satisfying.
Why You Will Love This Recipe
This bread is cozy in the truest sense. The flavor is gently developed from slow resting, not complicated steps. It’s the kind of recipe that works whether you’re new to baking or just tired after a long day. You don’t need special tools, fancy flour, or strong arms. The dough is forgiving, flexible, and budget-friendly, using ingredients most kitchens already have. It bakes up beautifully for family dinners, soups, or quiet weekend meals, and leftovers toast like a dream. If you enjoy recipes that feel calm and dependable, no knead bread dutch oven baking fits right in. It’s freezer-friendly, crowd-pleasing, and easy to repeat without stress, which is why so many people save it to make again and again.
Ingredients
Tip: Use regular all-purpose flour for the most reliable texture and easy handling.

Instructions
Step 1: Preparation
In a large bowl, stir flour, salt, and yeast until evenly mixed. Pour in warm water and gently stir until a sticky, shaggy dough forms. It should look rough and slightly wet, not smooth or kneaded.
Step 2: Main Cooking Process
Cover the bowl loosely and let the dough rest at room temperature for 12 to 18 hours. By morning, it will look bubbly and expanded, with a light fermented smell and soft, jiggly texture.
Step 3: Combining Ingredients
Turn the dough onto a floured surface and gently fold it over itself once or twice. Shape loosely into a round. No pressure or tight shaping is needed. Cover lightly and let it rest while the oven heats.
Step 4: Finishing & Final Simmer
Place a covered dutch oven in the hot oven to preheat. Carefully drop in the dough, cover, and bake until puffed and golden. Uncover briefly for a deeper crust, then cool before slicing.
Why This Recipe Works for Busy Days
This recipe fits into your schedule instead of fighting it. Most of the time is hands-off, making it easy to prep ahead and bake when you’re ready. There’s no rushing, no constant checking, and no complicated timing. It’s ideal for Pinterest cooks who like saving ideas now and cooking later, knowing the recipe will still feel simple when they come back to it.
Tips & Tricks
Variations
Serving Suggestions
Storage Instructions
Recipe Timing
Nutrition Information (Approximate)
Each slice contains approximately 130–160 calories, depending on size. Protein ranges from 4–6 grams per slice. This bread also provides carbohydrates for energy and small amounts of iron from the flour. Values are estimates and may vary based on ingredients used and portion sizes.
FAQs
Conclusion
There’s something deeply comforting about pulling a warm loaf from the oven and knowing you barely had to fuss over it. This recipe invites you to slow down, trust the process, and make it your own over time. Whether you bake it weekly or save it for quiet weekends, no knead bread dutch oven baking has a way of fitting into real kitchens and real routines. Adjust the flavors, try new variations, or simply enjoy it plain with butter. However you serve it, this bread tends to become one of those recipes you return to when you want something simple, warm, and reliable.
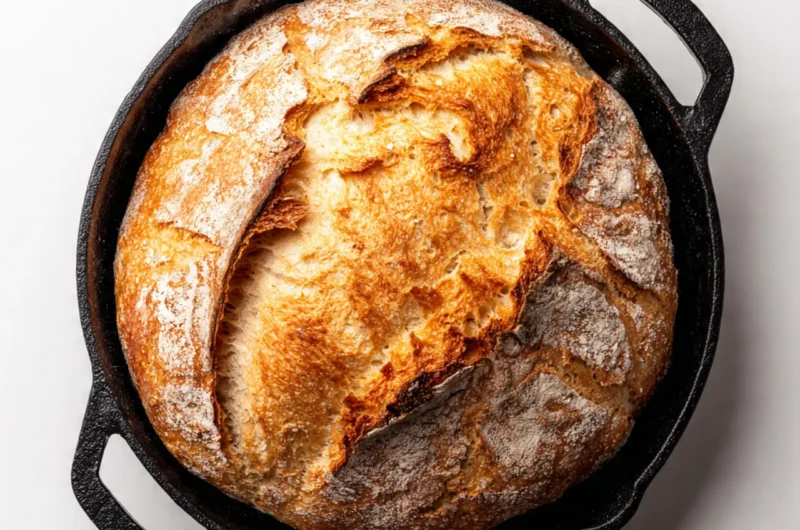
No Knead Bread Dutch Oven
Course: Bread Recipe8
servings5
minutes45
minutes300
kcalIngredients
3 cups all-purpose flour
1½ teaspoons salt
½ teaspoon instant or active dry yeast
1½ cups warm water
Directions
- In a large bowl, mix flour, salt, and yeast. Add warm water and stir until a sticky, shaggy dough forms.
- Cover loosely and let rest at room temperature for 12–18 hours, until bubbly and doubled in size.
- Turn dough onto a lightly floured surface and gently fold once or twice. Shape into a loose round and rest while oven heats.
- Preheat oven to 450°F (230°C) with a covered dutch oven inside.
- Carefully place dough into the hot pot, cover, and bake 30 minutes.
- Remove lid and bake 10–15 minutes more until deeply golden. Cool before slicing.
Printable Recipe Card
Want just the essential recipe details without scrolling through the article? Get our printable recipe card with just the ingredients and instructions.