No Knead Bread
No Knead Bread
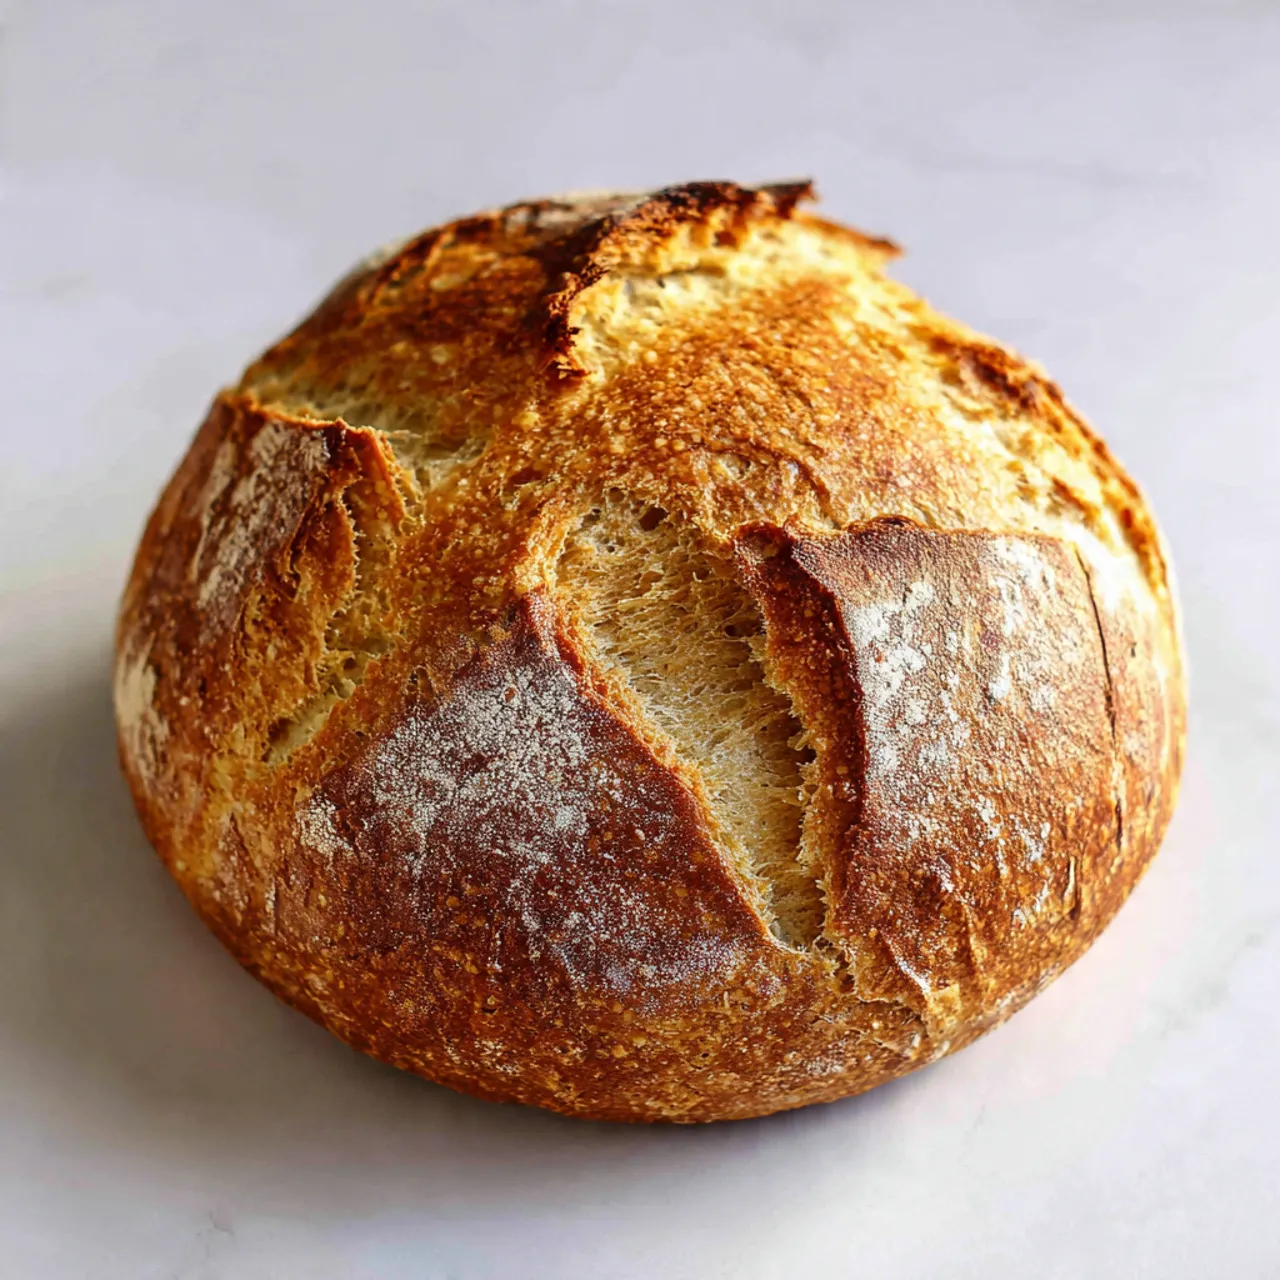
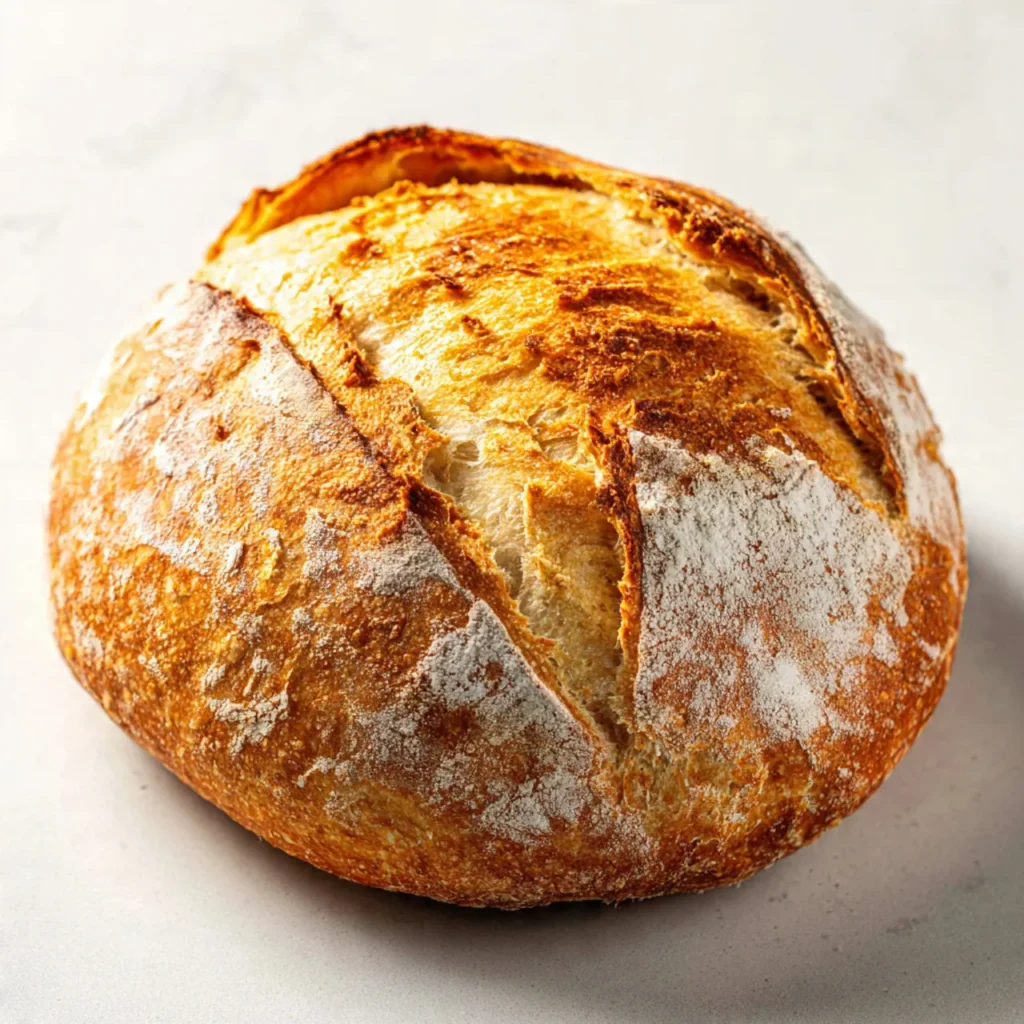
There’s something deeply comforting about pulling a warm loaf from the oven, especially when it didn’t ask much from you to begin with. This recipe is all about simplicity, patience, and that cozy homemade smell filling the kitchen. No knead bread is loved because it fits real life — busy evenings, slow weekends, and those cold nights when you just want something warm and familiar. It uses basic pantry ingredients and lets time do most of the work. I usually mix it together earlier in the day and forget about it until baking time, which somehow makes the result feel even more special and relaxed.
Why You Will Love This Recipe
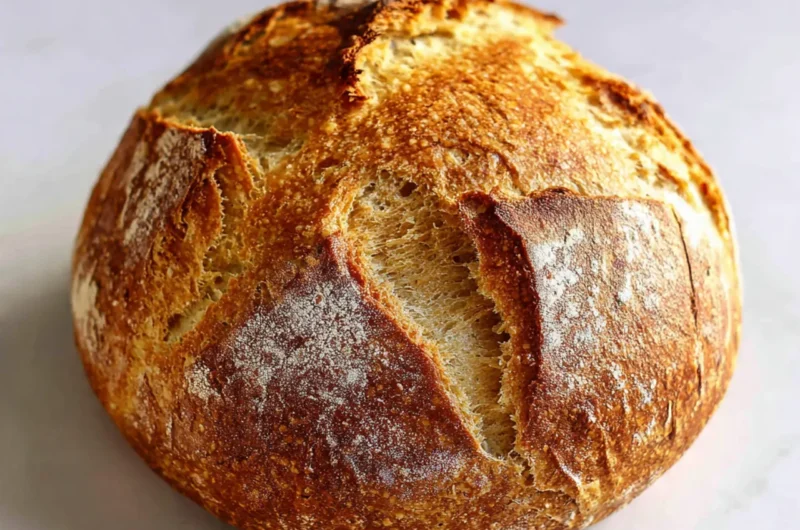
This loaf is gentle on your schedule and kind to your budget, yet it still delivers that crackly crust and soft, airy inside everyone loves. It’s the kind of recipe you save on Pinterest knowing future-you will be grateful. The dough comes together quickly, rests quietly, and turns into something that feels far more impressive than the effort involved. This no knead bread is weeknight-friendly, freezer-friendly, and easy to adapt with what you already have at home. It works for family dinners, casual gatherings, or just slicing and toasting the next morning. Leftovers hold up beautifully, and the flavor actually deepens after the first day, making it a comforting staple you’ll return to often.

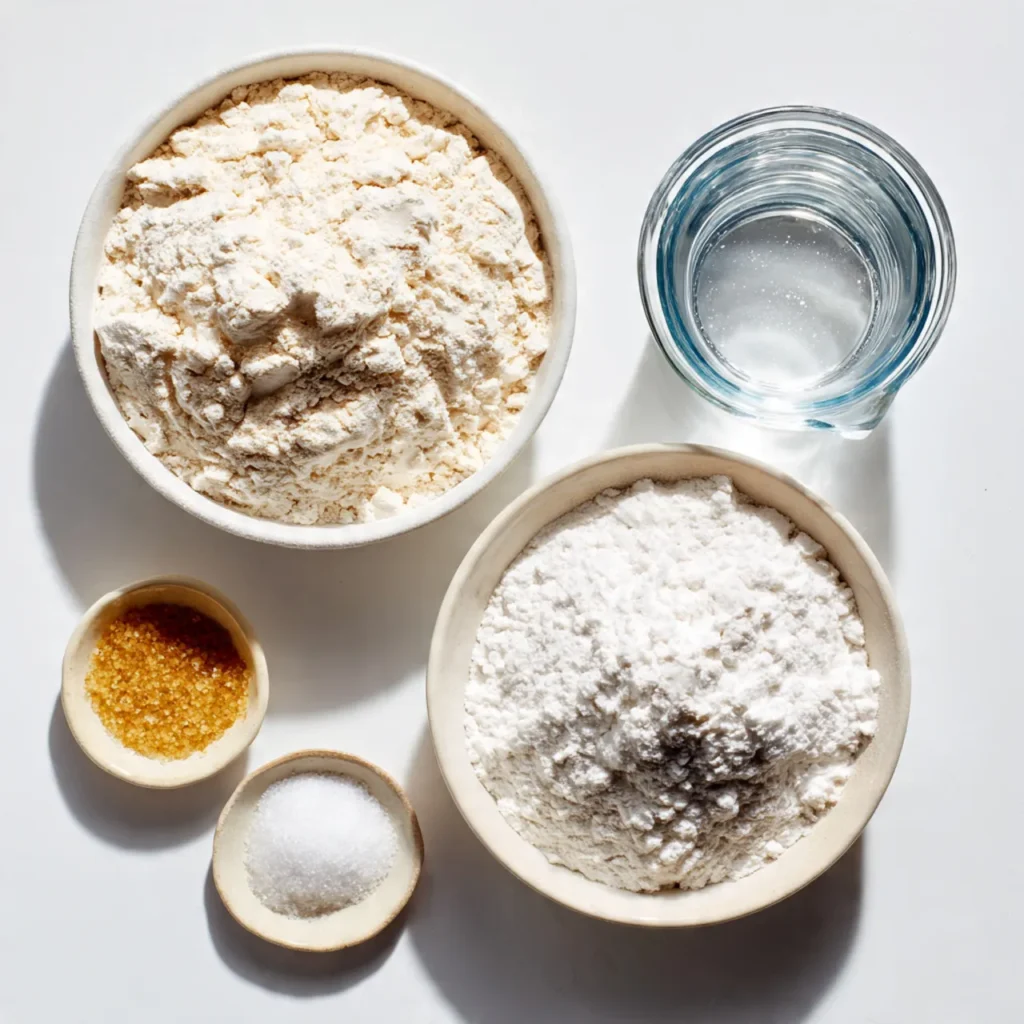
Ingredients
Tip: Use regular all-purpose flour for the best balance of structure and softness.
Instructions
Step 1: Preparation
In a large bowl, stir the flour, yeast, and salt until evenly mixed. Pour in the warm water and gently stir until everything comes together into a sticky, shaggy dough. It should look rough and feel slightly wet, not smooth or firm.
Step 2: Main Cooking Process
Cover the bowl with a clean towel or plastic wrap. Leave it at room temperature for 12–18 hours. By morning, the dough will look bubbly, puffed, and stretchy, with a faint yeasty aroma that tells you it’s ready.
Step 3: Combining Ingredients
Turn the dough onto a lightly floured surface. Fold it over itself once or twice, just enough to shape it loosely. Don’t overwork it. Let it rest while your oven heats, keeping the texture soft and airy.
Step 4: Finishing & Final Simmer
Bake the dough in a preheated covered pot until the crust turns golden and sounds hollow when tapped. Remove the lid near the end for extra color. Cool slightly before slicing so the inside can settle.
Why This Recipe Works for Busy Days
This recipe quietly fits into your schedule instead of demanding attention. You can mix the dough ahead, bake when it suits you, and enjoy bread that lasts several days. No knead bread is ideal for meal prep, simple lunches, or pairing with quick dinners, which is why so many people save it to make later.
Tips & Tricks
Variations
Meaty version
Fold in small pieces of cooked bacon or shredded chicken before the final rest. Keep additions light so the dough can still rise properly. This turns the loaf into a hearty option for soups or simple dinners.
Vegetarian option
Mix in chopped olives, sun-dried tomatoes, or caramelized onions. These add flavor without changing the dough structure. Pat dry any wet ingredients to avoid extra moisture.
Ingredient swap
Replace one cup of all-purpose flour with whole wheat flour for a heartier loaf. The texture will be slightly denser but still soft, with a deeper, nutty flavor.
Flavor or herb boost
Add dried rosemary, thyme, or garlic powder to the dry ingredients. A small amount goes a long way and makes the bread feel special without extra work.
Serving Suggestions
Storage Instructions
Recipe Timing
Nutrition Information
Calories: 150–180 per slice
Protein: 4–6 grams
Key nutrients include carbohydrates and small amounts of iron from the flour. Values are estimates and may vary depending on portion size and specific ingredients used.
FAQs
Conclusion
Homemade bread doesn’t need to be complicated to feel special. This recipe is forgiving, flexible, and easy to make your own with small changes. Once you try it, you’ll see why no knead bread becomes a repeat bake for so many home cooks. Use it for quiet breakfasts, simple dinners, or to share with family at the table. Each loaf feels a little different, and that’s part of the charm. Keep this one saved, tweak it to suit your taste, and enjoy the calm satisfaction that comes with baking something simple and comforting.
No Knead Bread
Course: Bread Recipe10
servings5
minutes45
minutes300
kcalA simple, hands-off bread with a crisp crust and soft inside. Mix it once, let it rest, and bake when you’re ready for warm, homemade comfort.
Ingredients
3 cups all-purpose flour
1½ cups warm water
1 teaspoon yeast
1½ teaspoons salt
Directions
- In a bowl, mix flour, yeast, and salt.
- Add warm water and stir until a sticky dough forms.
- Cover and rest at room temperature for 12–18 hours.
- Shape lightly and place in a hot covered pot.
- Bake until golden and crusty.
- Cool slightly before slicing.
Printable Recipe Card
Want just the essential recipe details without scrolling through the article? Get our printable recipe card with just the ingredients and instructions.