
Keto Bread
Keto Bread
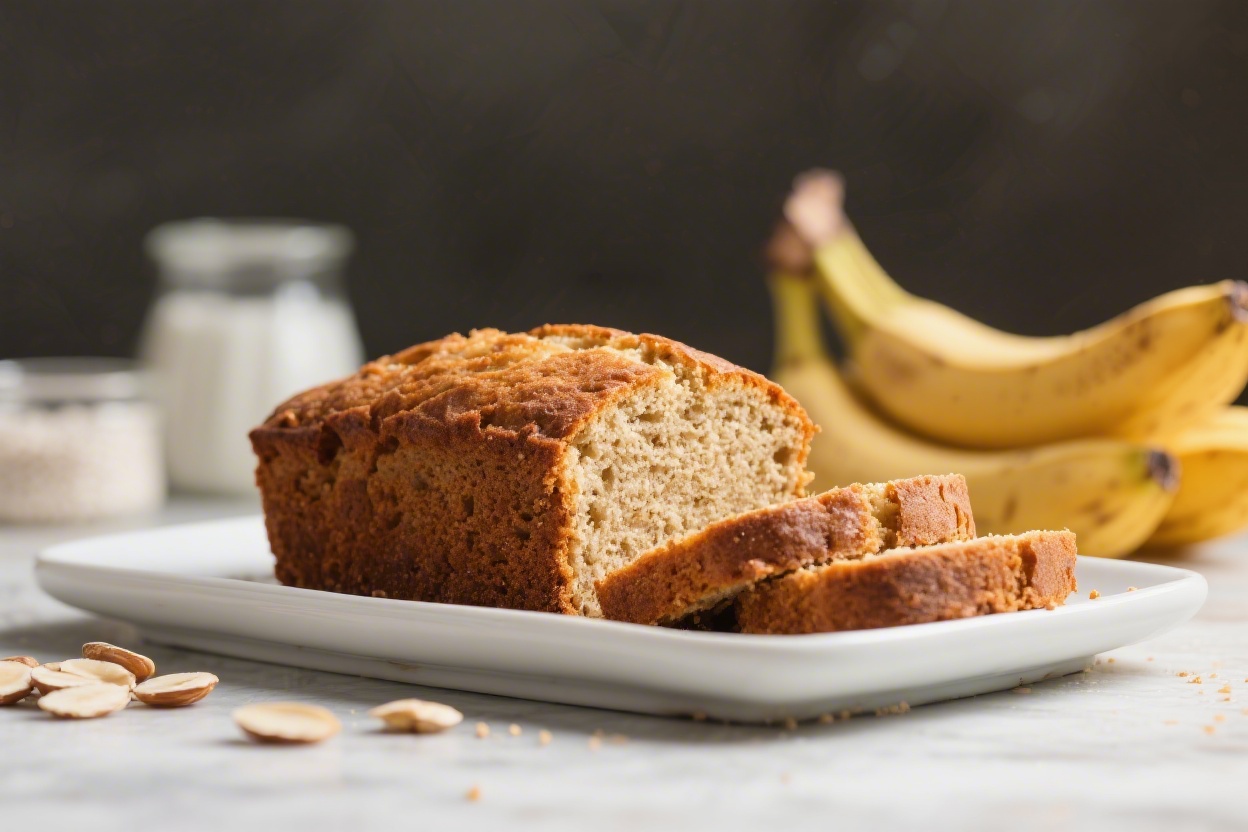
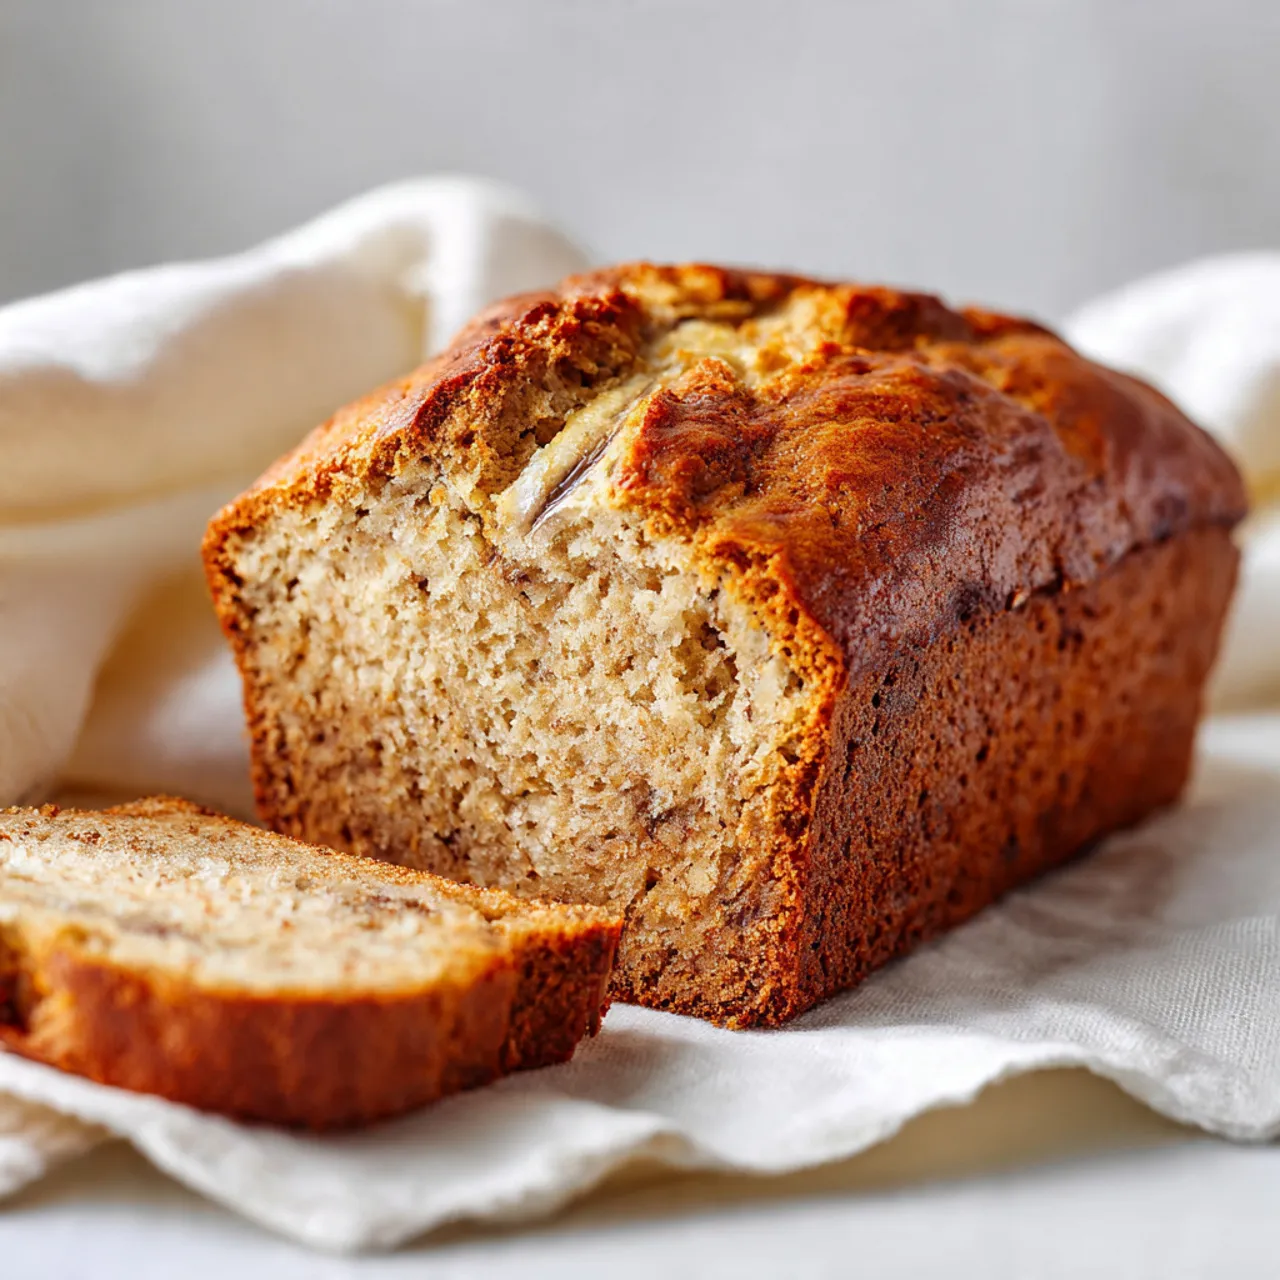
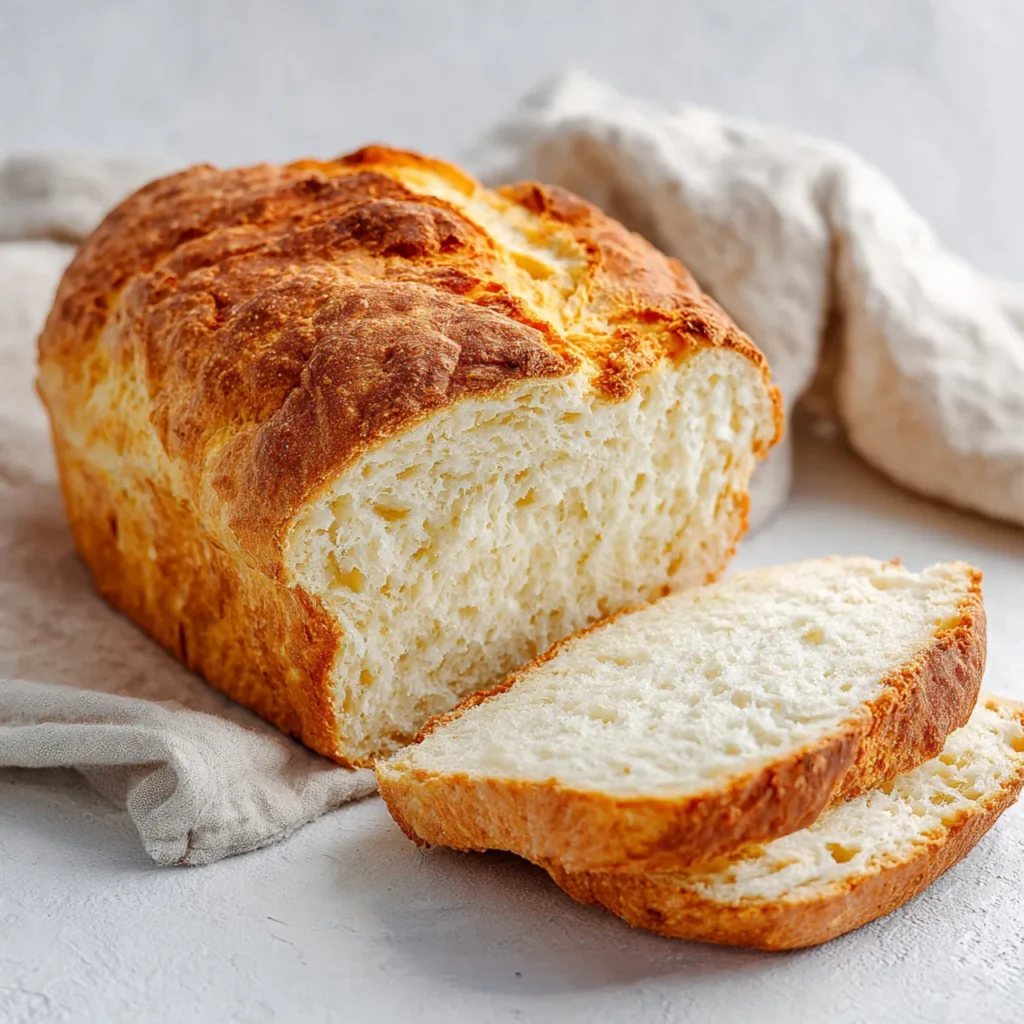
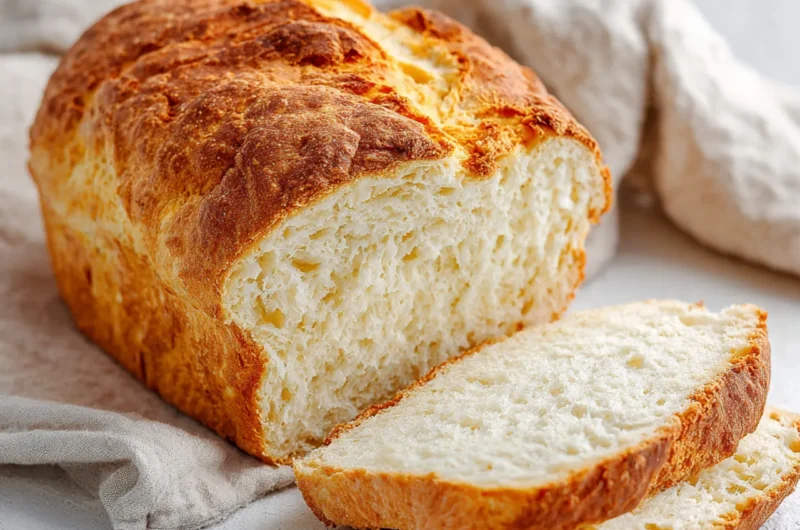
This keto bread is a soft, comforting loaf made for everyday life, not just special diets. It’s the kind of bread you can toast in the morning, use for sandwiches at lunch, or enjoy warm with butter on a quiet evening. People love it because it feels familiar while fitting easily into low-carb routines. It doesn’t require fancy tools or hard-to-find ingredients, which makes it realistic for busy weeks and family meals. I usually make it when I want something homemade without spending hours in the kitchen. It’s simple, cozy, and practical for cold nights, meal prep days, or whenever you’re craving real bread comfort.
Why You Will Love This Recipe
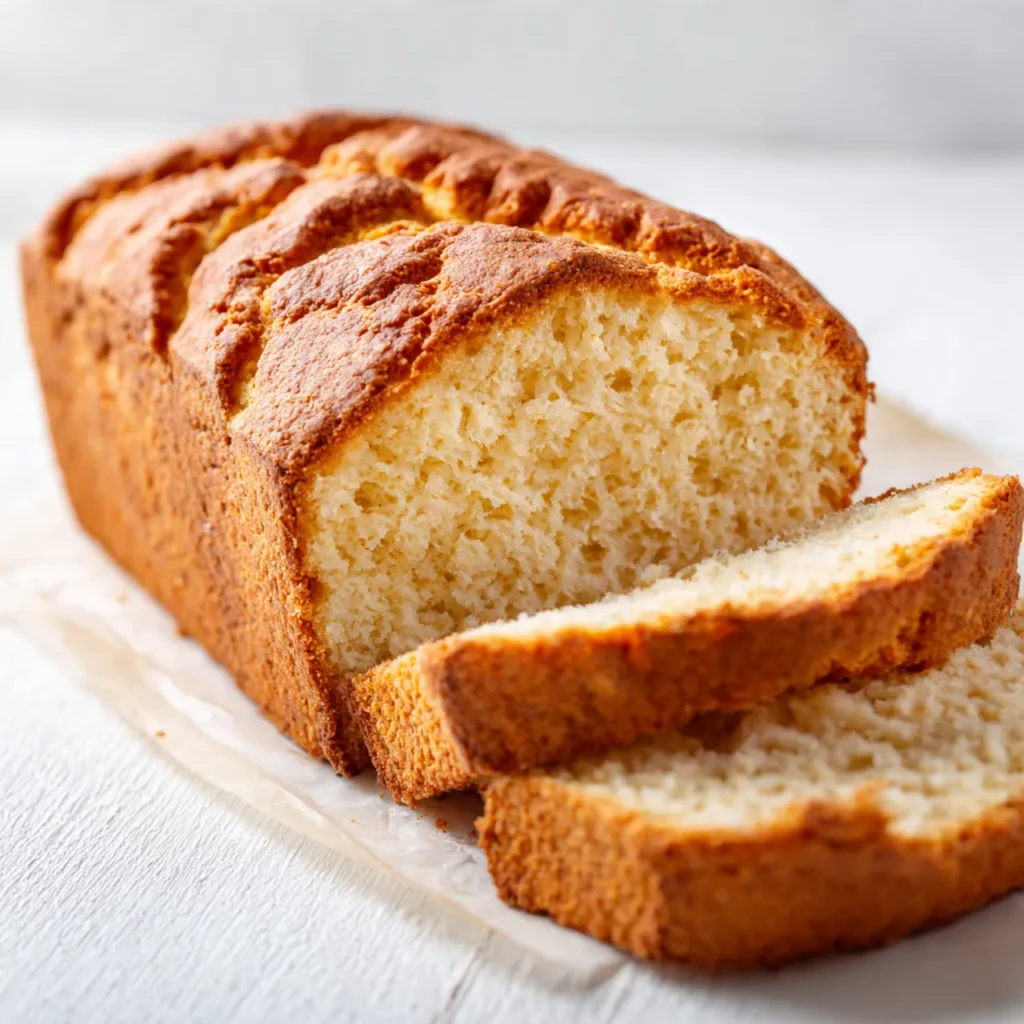
This recipe is all about ease and comfort without feeling complicated. The flavor is mild and balanced, so it works with both savory and slightly sweet toppings. It’s weeknight-friendly and doesn’t demand constant attention, which makes it easy to fit into real schedules. The texture holds up well for slicing, toasting, and even freezing, so leftovers never feel like a problem. It’s also budget-conscious, using simple pantry ingredients that stretch across multiple loaves. Keto bread like this is great for meal prep days because you can bake once and enjoy it all week. It’s cozy, family-approved, and flexible enough to serve at breakfast, lunch, or alongside a warm dinner without feeling repetitive.
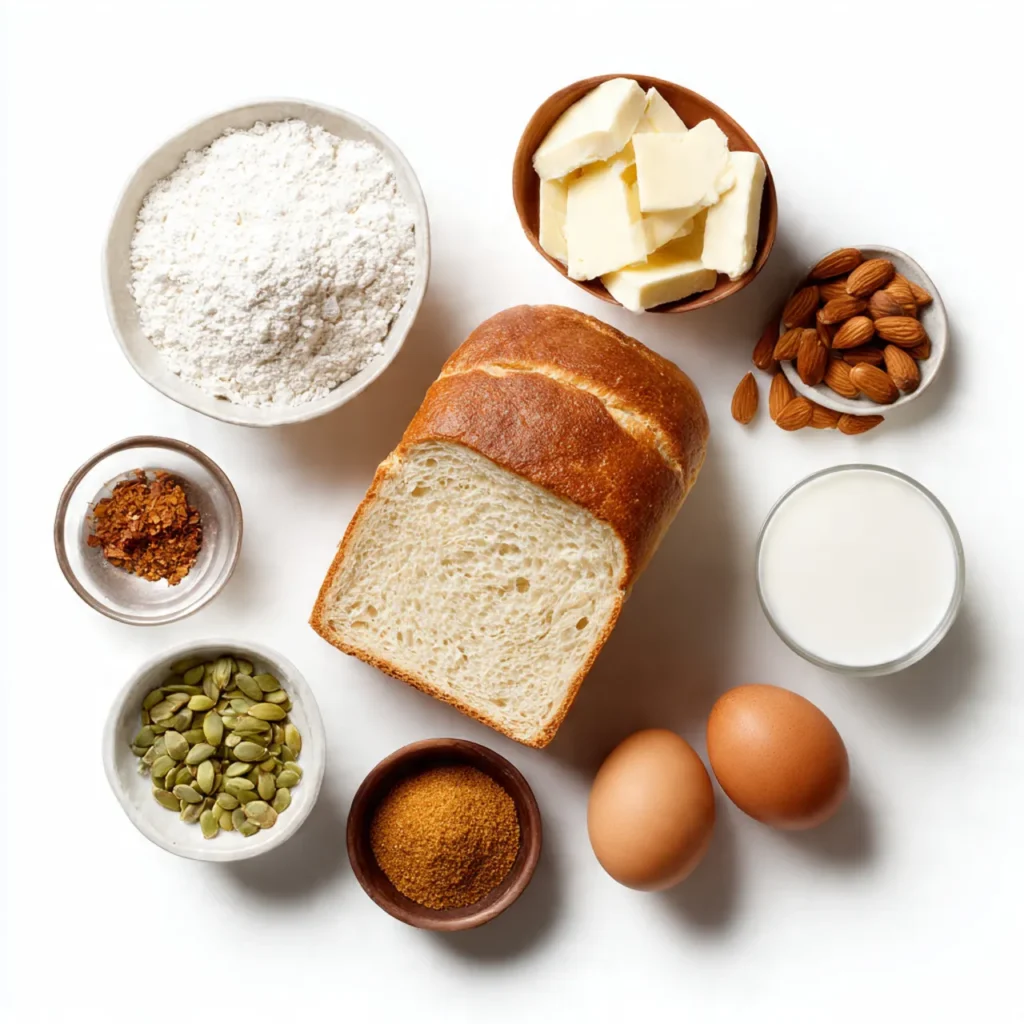
Ingredients
Tip: Use finely ground almond flour for the softest, most bread-like texture.
Instructions
Step 1: Preparation
Preheat your oven and line a loaf pan with parchment paper. Gather all ingredients on the counter so everything is within reach. Let the eggs come to room temperature, which helps the batter mix smoothly and evenly.
Step 2: Main Cooking Process
In a large bowl, whisk the eggs until slightly frothy and pale. Add the melted butter and warm water, stirring gently. The mixture should look glossy and smooth, with no visible streaks of egg remaining.
Step 3: Combining Ingredients
Add the almond flour, baking powder, salt, and vinegar. Stir slowly until a thick batter forms. It should feel spreadable but not runny, holding soft peaks when you lift the spoon from the bowl.
Step 4: Finishing & Final Simmer
Pour the batter into the prepared pan and smooth the top. Bake until the loaf rises and turns golden, and the kitchen smells lightly nutty. Let it cool briefly so the slices hold their shape.
Why This Recipe Works for Busy Days
This recipe fits perfectly into busy routines because it doesn’t require constant checking or complicated steps. You can bake it while prepping other meals or tidying up. It stores well, slices cleanly, and reheats easily, making it ideal for cooking now and enjoying later. Pinterest users love recipes like this because they’re dependable, flexible, and easy to return to when time is tight.
Tips & Tricks
Variations
Serving Suggestions
Storage Instructions
Recipe Timing
Nutrition Information (Approximate)
Each slice contains approximately 150–180 calories, with 6–8 grams of protein. Key nutrients include healthy fats from almond flour and butter, along with small amounts of fiber. Values are estimates and may vary depending on ingredient brands, portion size, and thickness of slices.
FAQs
Conclusion
This recipe is meant to be flexible, comforting, and easy to come back to whenever you want something homemade. You can keep it simple or adjust it with flavors and add-ins that suit your kitchen and schedule. That’s what makes keto bread like this so practical for everyday meals, not just special plans. It works for breakfast, lunch, or cozy dinners, and it fits easily into meal prep routines. Save it, bake it again, and make it your own over time. There’s something really satisfying about pulling a warm loaf from the oven and knowing you’ll enjoy it all week.
Keto Bread
Course: Bread Recipe10
servings10
minutes45
minutes300
kcalIngredients
2 cups almond flour
4 large eggs
1/4 cup butter, melted
1/4 cup warm water
1 tablespoon baking powder
1/2 teaspoon salt
1 tablespoon apple cider vinegar
Directions
- Preheat oven to 350°F (175°C). Line a loaf pan with parchment paper.
- In a bowl, whisk eggs until slightly frothy. Add melted butter and warm water, mixing until smooth.
- Stir in almond flour, baking powder, salt, and apple cider vinegar until a thick, even batter forms.
- Pour batter into prepared pan and smooth the top.
- Bake for 40–45 minutes, until golden and set in the center.
- Let cool for at least 15 minutes before slicing.
Printable Recipe Card
Want just the essential recipe details without scrolling through the article? Get our printable recipe card with just the ingredients and instructions.