Irish Soda Bread
Irish Soda Bread
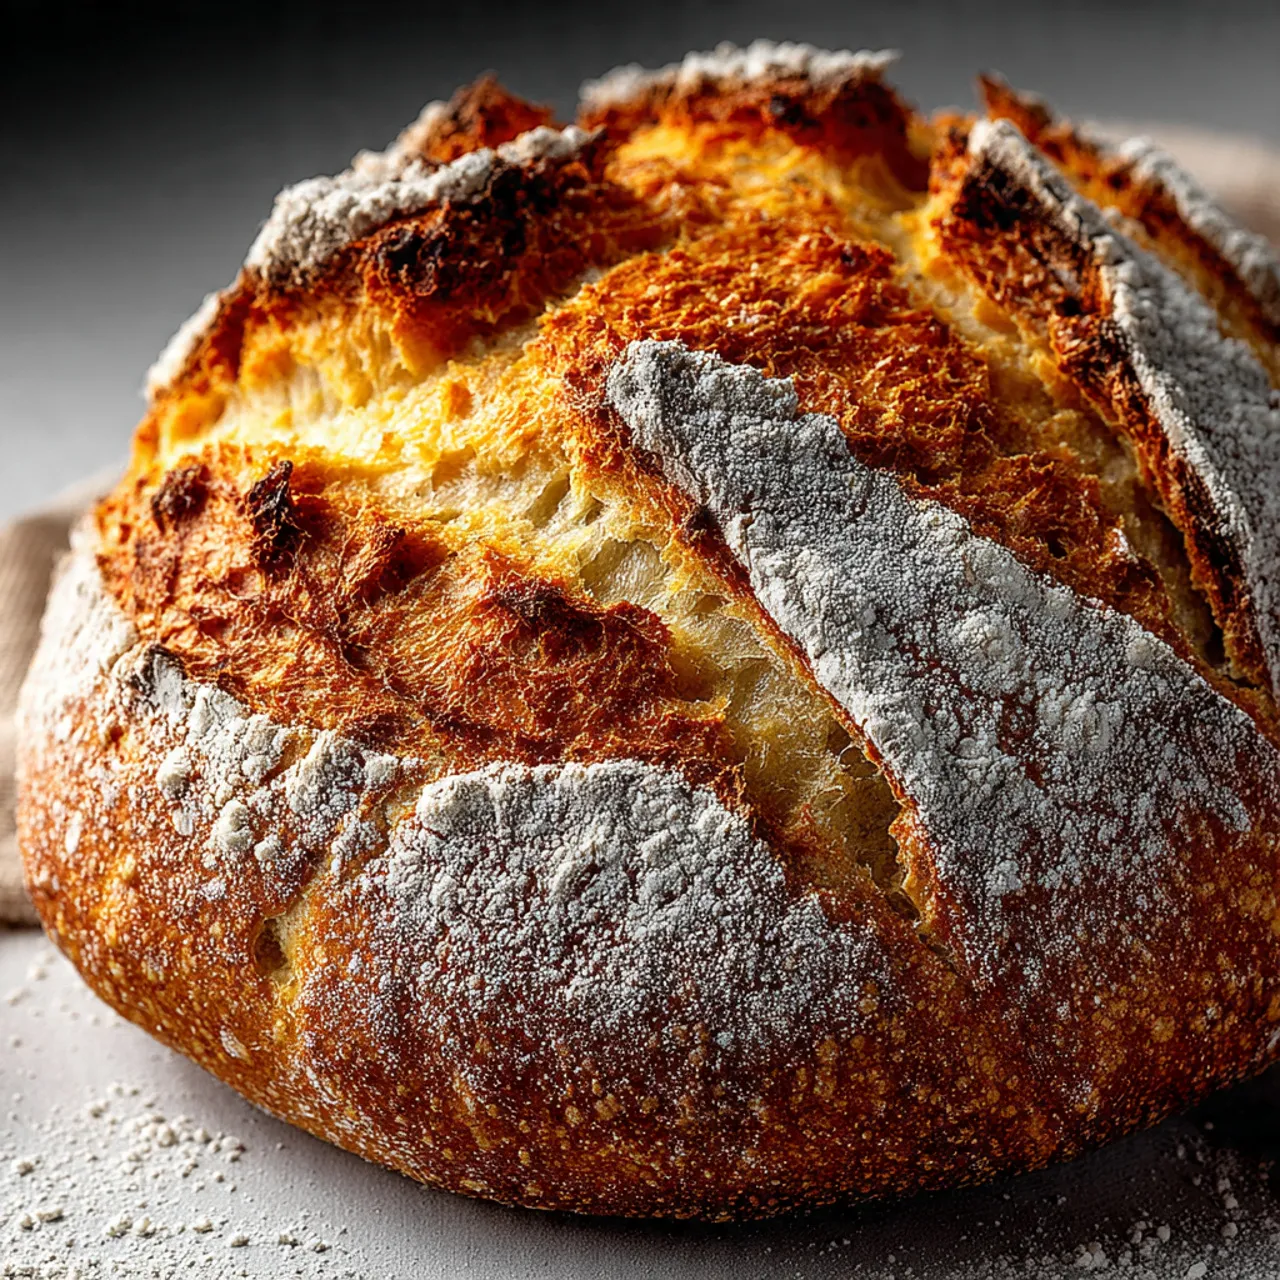
Irish soda bread is one of those recipes that feels comforting before it even goes into the oven. It’s a simple, no-fuss loaf made with everyday pantry staples, yet it always feels special when sliced warm and spread with butter. People love it because it doesn’t require yeast, long rising times, or fancy tools. It’s the kind of bread that fits real life — busy evenings, slow family breakfasts, or cold nights when you want something homemade without extra effort. I usually make this when I want fresh bread without planning ahead. Irish soda bread has that rustic charm and tender crumb that makes any meal feel a little cozier.
Why You Will Love This Recipe
This recipe is all about ease and comfort. The flavor is mild, slightly tangy, and perfect with both sweet and savory toppings. You don’t need special skills or equipment, which makes it very beginner-friendly. It comes together quickly, bakes in under an hour, and fills the kitchen with a warm, cozy aroma that feels inviting. It’s budget-friendly too, using ingredients most people already have at home. Leftovers hold up well for toast or sandwiches the next day. Irish soda bread is flexible enough to enjoy plain, with soups, or alongside simple dinners. It’s the kind of loaf you’ll want to save on Pinterest and come back to whenever you need something reliable and comforting.

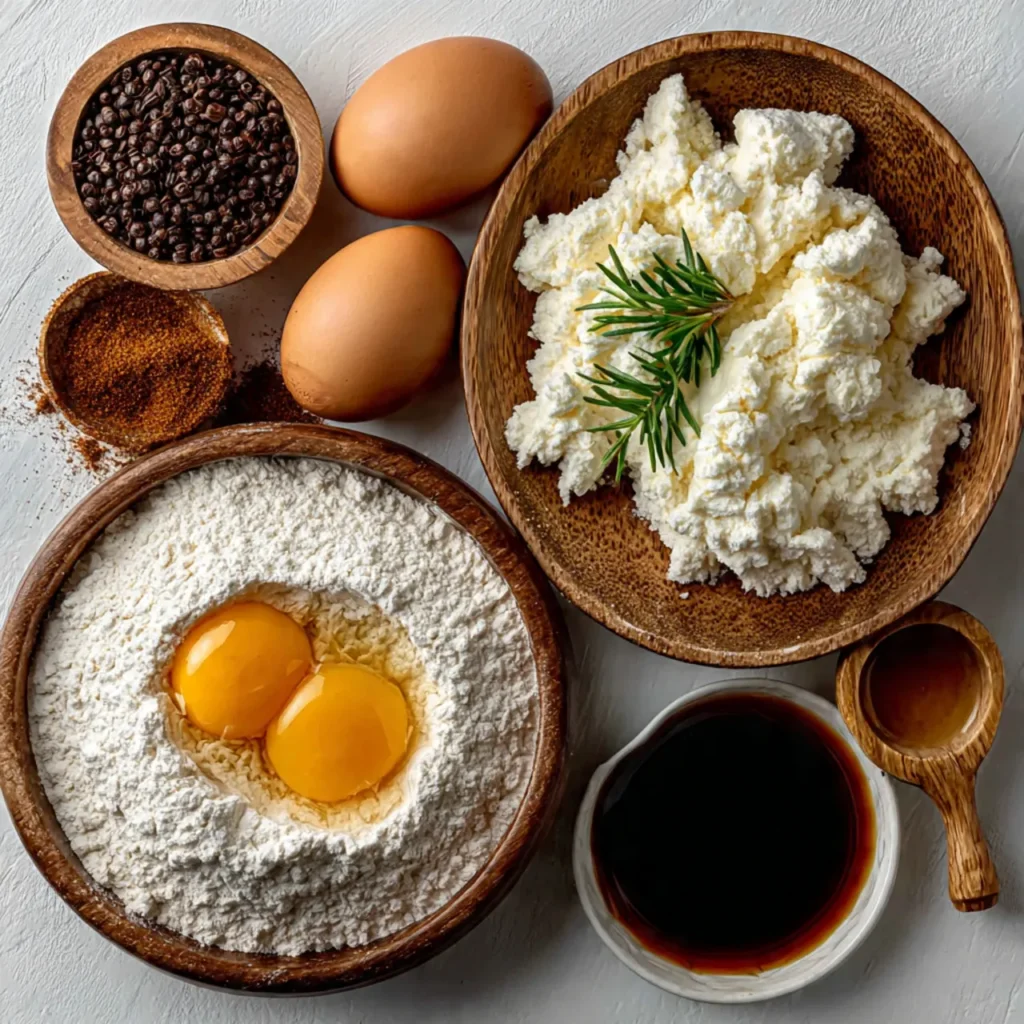
Ingredients
Tip: Use fresh baking soda for the best rise and soft texture.
Instructions
Step 1: Preparation
Preheat your oven and line a baking tray. Lightly flour your work surface and hands. In a large bowl, the dry ingredients should look evenly mixed and soft, with no visible clumps before adding any liquid.
Step 2: Main Cooking Process
Pour in the buttermilk slowly, stirring gently. The mixture should start to come together into a shaggy dough. It will look rough and slightly sticky, which is exactly what you want at this stage.
Step 3: Combining Ingredients
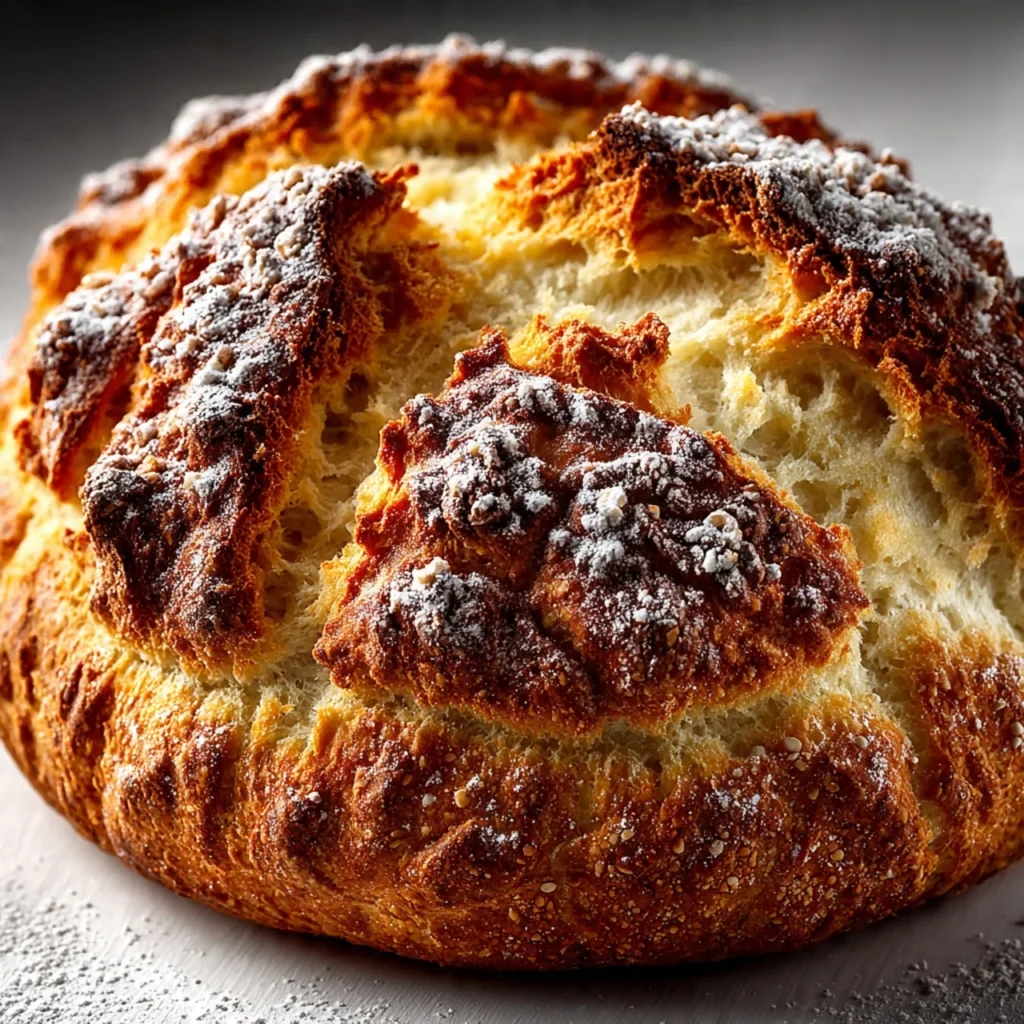
Turn the dough onto the floured surface and gently bring it together. Do not knead heavily. Shape it into a round loaf. The surface should feel soft, with small cracks forming naturally.
Step 4: Finishing & Final Simmer
Place the loaf on the tray and cut a shallow cross on top. Bake until golden and firm, with a hollow sound when tapped. Let it cool slightly before slicing so the crumb sets nicely.
Why This Recipe Works for Busy Days
This bread is made for days when time feels short. There’s no waiting for dough to rise and no complicated steps to remember. You can mix, bake, and serve it all in one stretch. It also works well for meal prep since leftovers toast beautifully. For Pinterest cooks who save recipes to make later, this one stays reliable and stress-free.
Tips & Tricks
Variations
Meaty Version
For a heartier loaf, mix in cooked, finely chopped bacon or ham. Keep the pieces small so they distribute evenly without weighing the dough down. This version is great served with soups or as a savory breakfast bread.
Vegetarian Option
Add shredded cheese and a handful of chopped green onions or herbs. The cheese melts into the crumb, adding richness without extra steps. It pairs well with simple salads or roasted vegetables for an easy meal.
Ingredient Swap
If you don’t have buttermilk, use regular milk with a splash of lemon juice or vinegar. Let it sit briefly before mixing. This gives a similar tang and helps the bread rise properly without changing the texture much.
Flavor or Herb Boost
Stir in dried herbs like rosemary or thyme for extra aroma. Keep it subtle so the bread stays versatile. This version feels special with butter or olive oil and works well for holiday or weekend meals.
Serving Suggestions
Storage Instructions
Recipe Timing
Nutrition Information (Approximate)
Each serving contains roughly 180–220 calories, with about 5–7 grams of protein. It also provides carbohydrates for energy and small amounts of calcium from the dairy. Nutrition values are estimates and may vary depending on ingredient brands and portion sizes.
FAQs
Conclusion
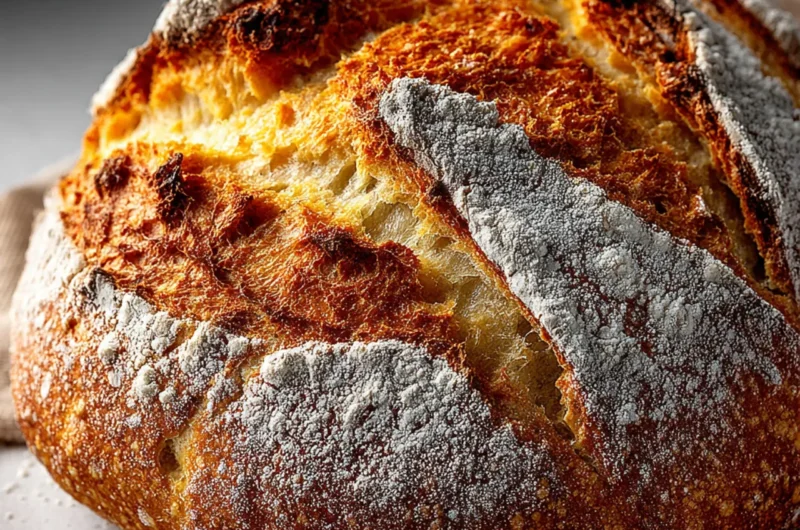
There’s something deeply satisfying about baking a loaf of bread that doesn’t ask much from you. This recipe is simple, forgiving, and easy to adapt to what you have on hand. You can enjoy it fresh, toast it later, or tweak it to suit your family’s taste. Irish soda bread fits naturally into everyday life, whether it’s part of a quiet breakfast or a shared dinner. Once you make it, it becomes one of those recipes you return to again and again, especially when you want comfort without complication.
Irish Soda Bread
Course: Bread Recipe8
servings10
minutes40
minutes300
kcalA simple, rustic bread made with pantry staples and no yeast. Soft inside, lightly crisp outside, and perfect for everyday meals or cozy mornings.
Ingredients
4 cups all-purpose flour
1 teaspoon salt
1 teaspoon sugar
1 teaspoon baking soda
1 ¾ cups buttermilk
Directions
- Preheat oven to 400°F (200°C). Line a baking tray with parchment paper.
- In a large bowl, mix flour, salt, sugar, and baking soda.
- Add buttermilk and stir until a soft, shaggy dough forms.
- Turn dough onto a floured surface and gently shape into a round loaf.
- Place on tray and cut a shallow cross on top.
- Bake for 40–45 minutes until golden and hollow-sounding when tapped.
- Cool slightly before slicing and serving.
Printable Recipe Card
Want just the essential recipe details without scrolling through the article? Get our printable recipe card with just the ingredients and instructions.