Homemade bread
Homemade bread
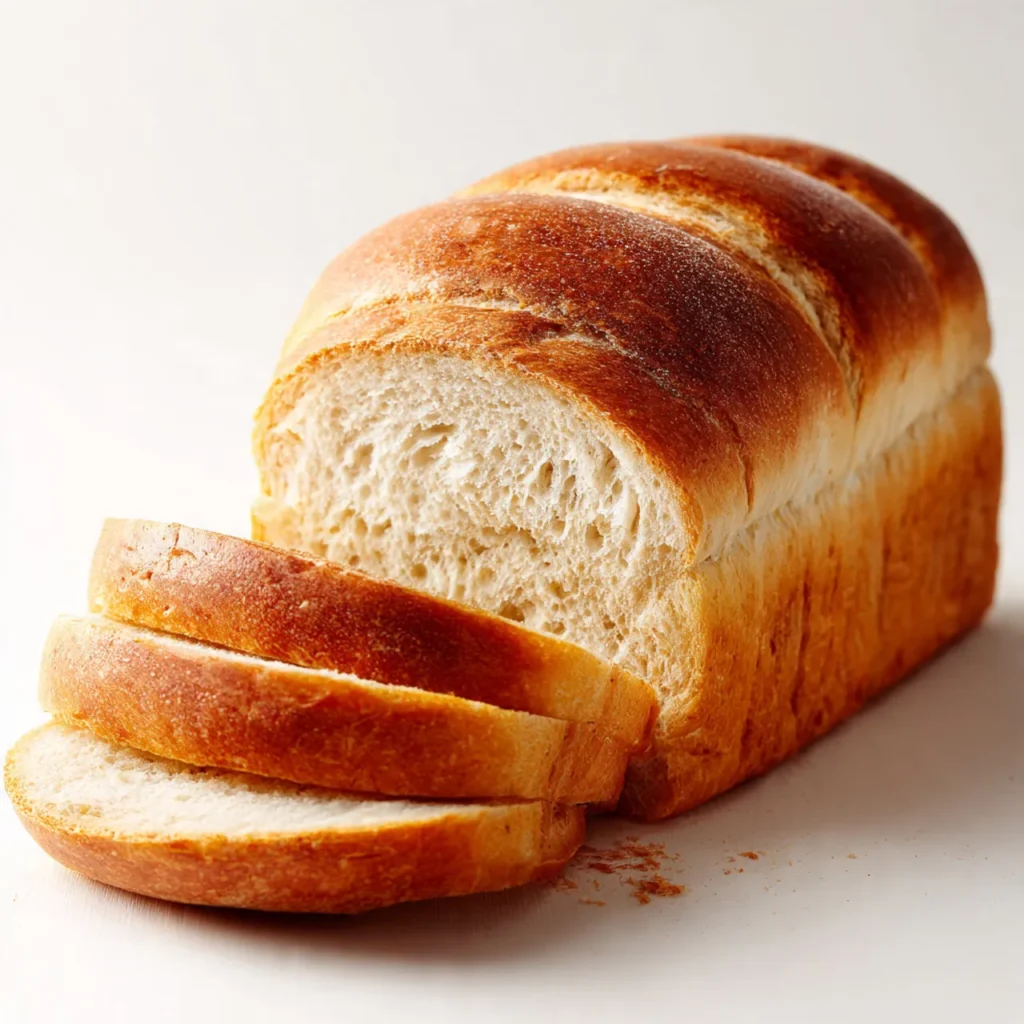
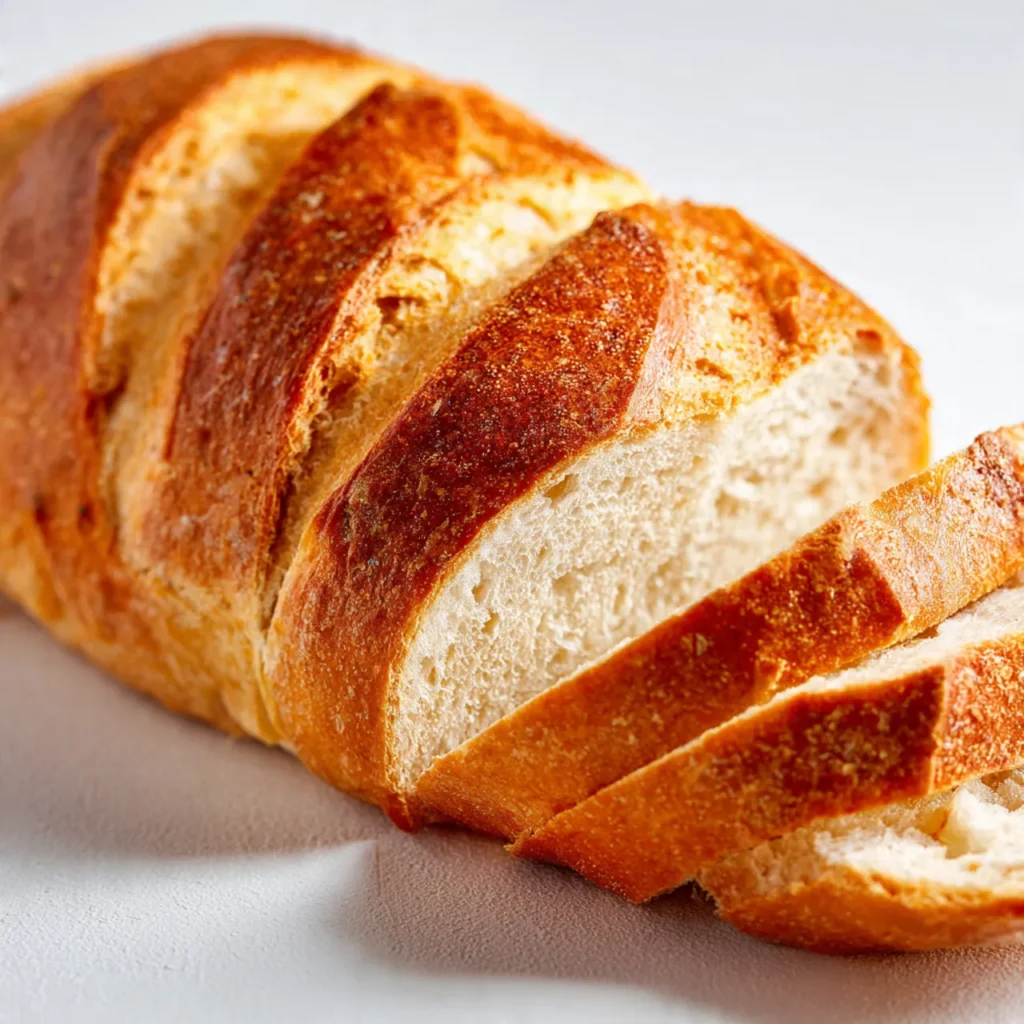
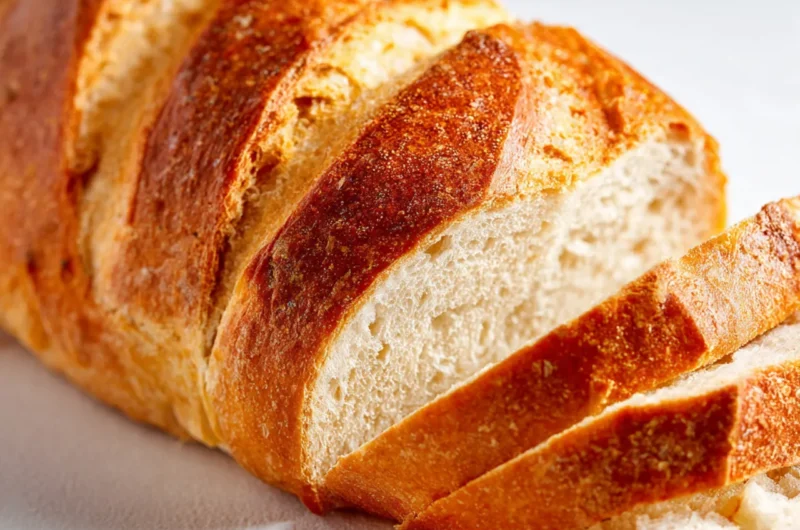
There’s something deeply comforting about baking bread at home. The smell, the warmth, and the simple rhythm of mixing and waiting make it feel grounding, even on busy days. Homemade bread is loved because it turns basic pantry ingredients into something filling and familiar, without needing special tools or skills. It works beautifully for weeknight dinners, family meals, or cold evenings when you want something warm on the table. I usually mix the dough while dinner is finishing, letting it rise quietly in the background. This recipe is meant to feel doable, not demanding, and fit naturally into everyday life without pressure or perfection.
Why You Will Love This Recipe
This recipe is all about ease and comfort. The flavor is mild, soft, and familiar, making it perfect for everyday meals. It’s cozy and crowd-pleasing, whether served fresh or toasted later. The steps are simple, which makes it weeknight-friendly, and the dough is flexible enough to handle small timing changes. Leftovers store well, making it freezer-friendly and practical for busy weeks. Because it uses basic ingredients, it’s budget-friendly and dependable. This homemade bread recipe fits real kitchens, not ideal ones. It’s the kind of bread you bake once, then keep coming back to because it works with your routine.
Ingredients
Tip: Use regular all-purpose flour for a soft, easy-to-handle dough.

Instructions
Step 1: Preparation –
Warm the water until it feels comfortably warm to the touch. Add yeast and sugar, then let it sit until foamy. This tells you the yeast is active. Gather remaining ingredients so mixing feels smooth and unhurried.
Step 2: Main Cooking Process –
In a large bowl, combine flour and salt. Pour in the yeast mixture and oil. Stir until a soft dough forms. It should look slightly sticky but pull away from the sides of the bowl.
Step 3: Combining Ingredients –
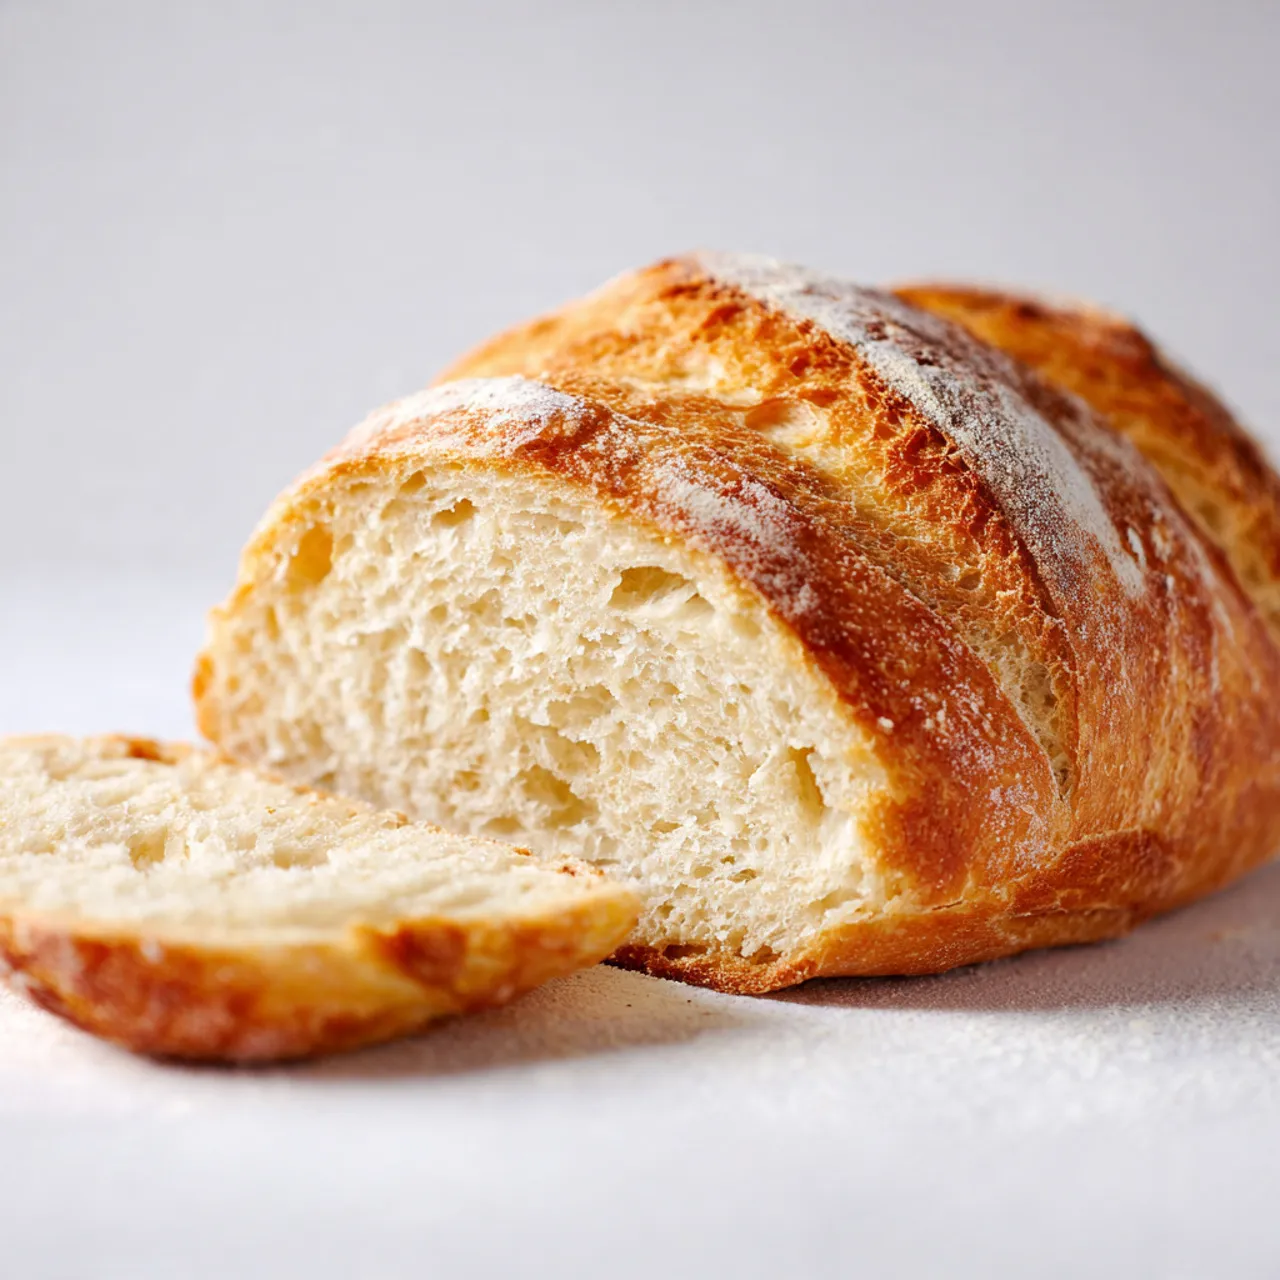
Turn the dough onto a floured surface and knead gently. The dough should feel smooth and elastic, not dry. Place it back in the bowl, cover, and let it rise until doubled in size.
Step 4: Finishing & Final Simmer –
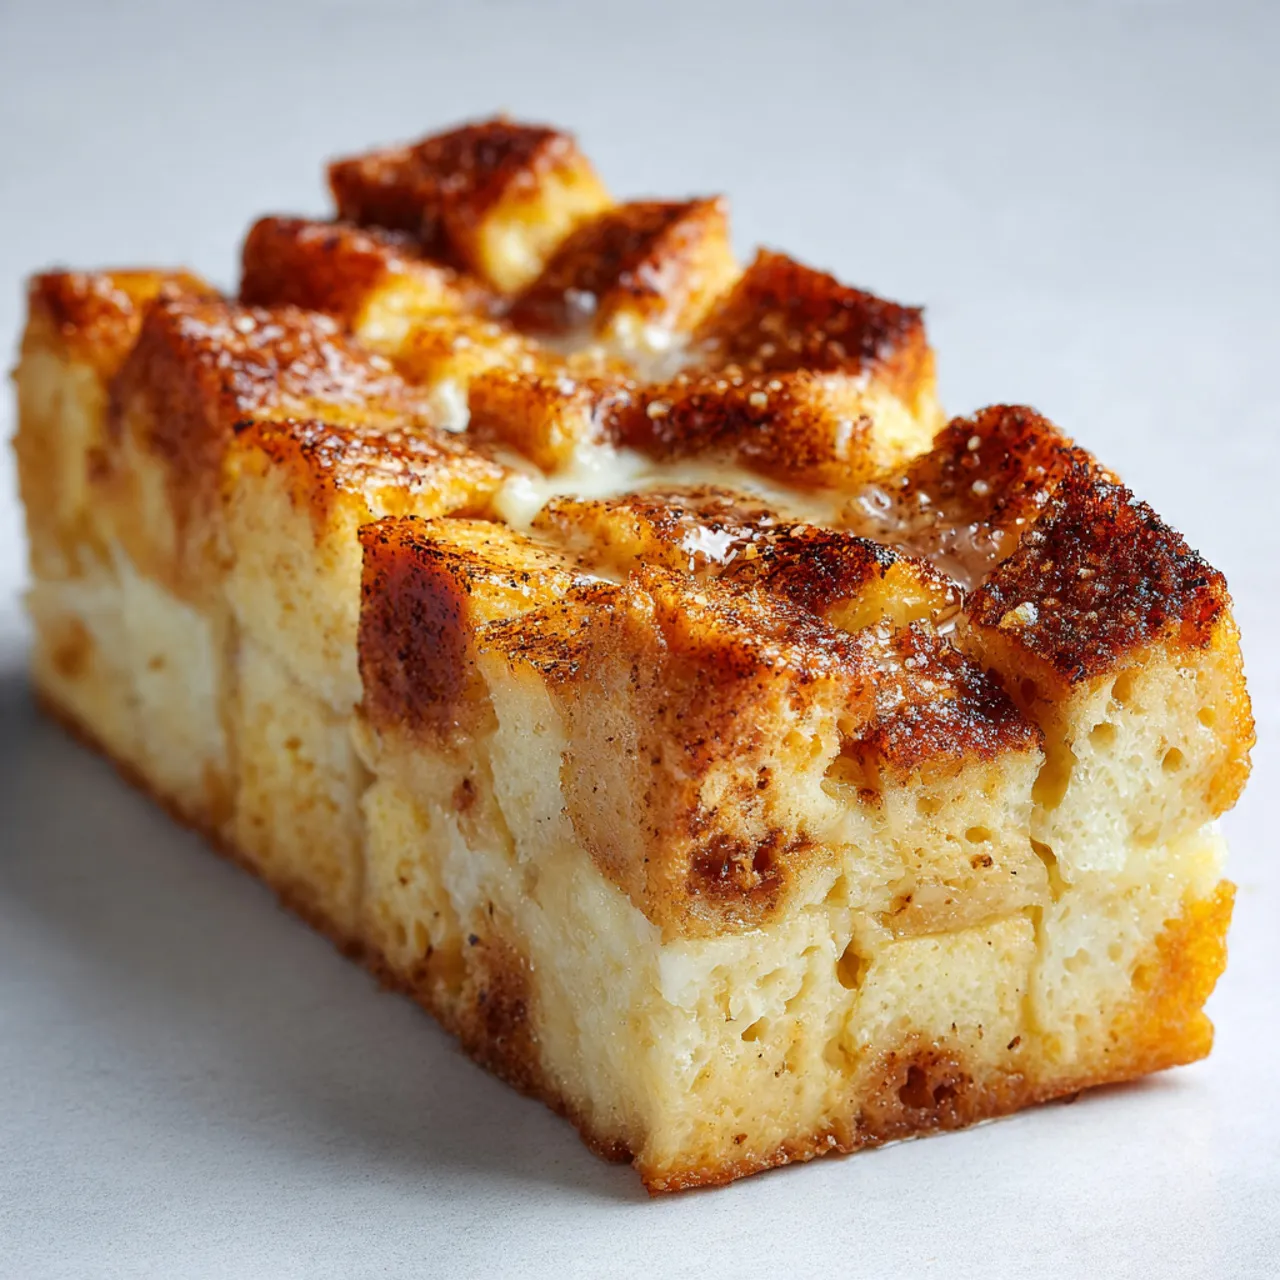
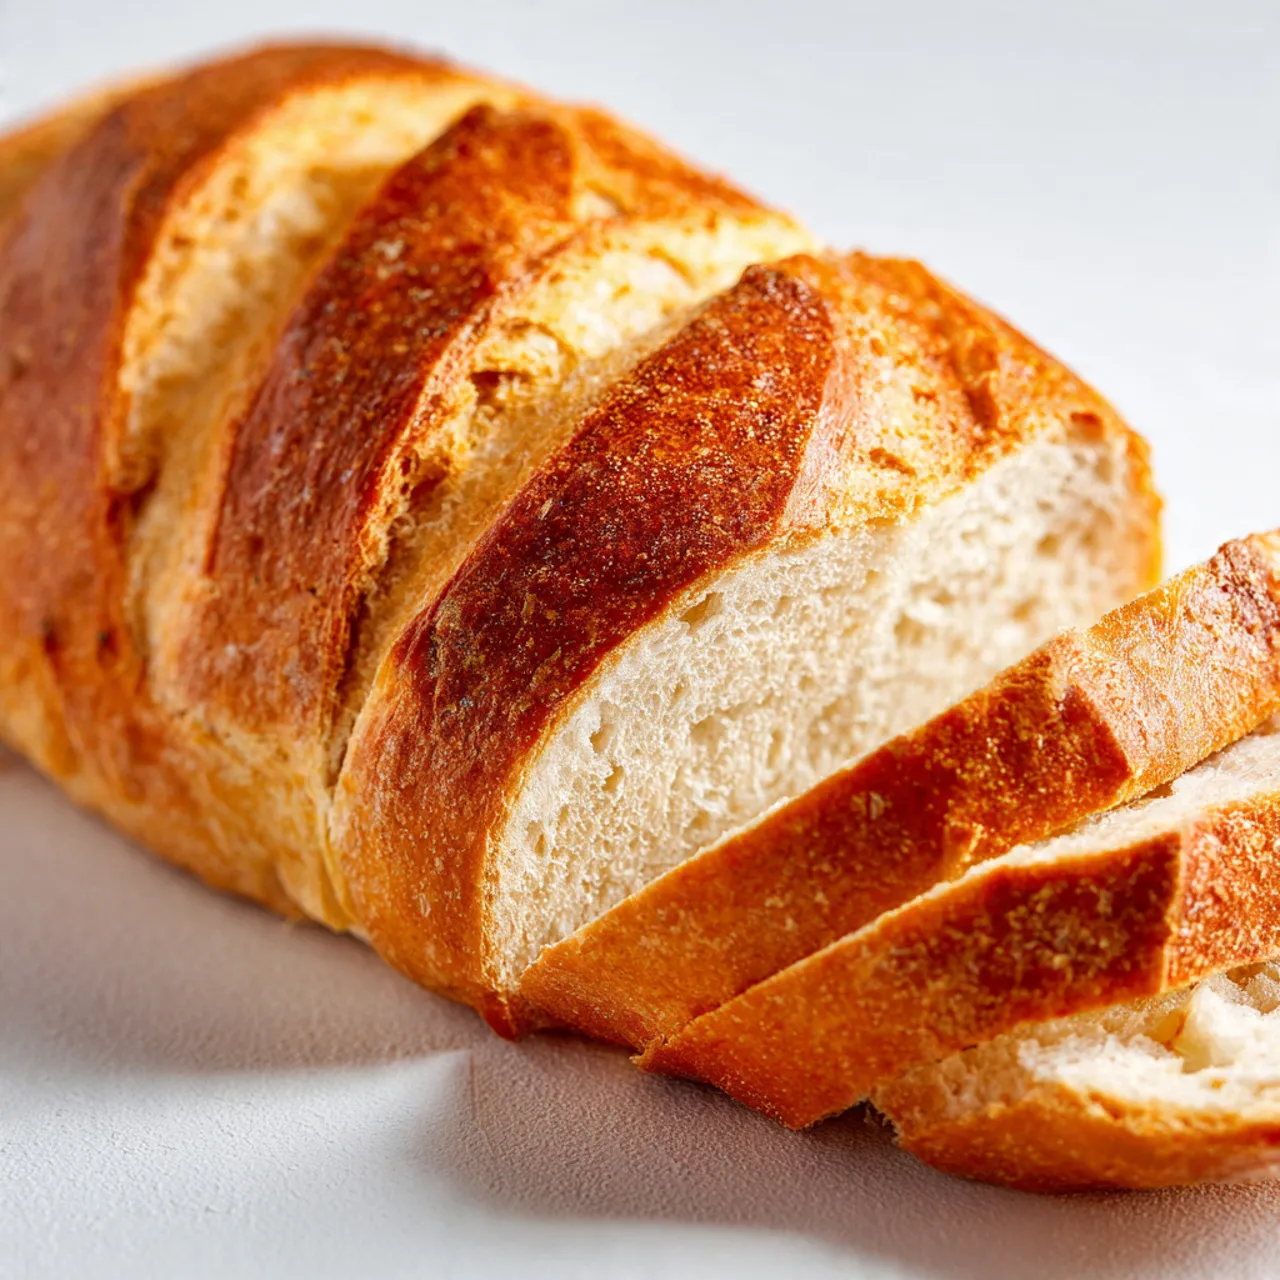
Shape the dough into a loaf and place it in a greased pan. Let it rest briefly, then bake until golden and hollow-sounding when tapped. Cool slightly before slicing.
Why This Recipe Works for Busy Days
This bread fits easily into a busy schedule because most of the time is hands-off. While the dough rises or bakes, you can focus on other tasks. It stores well, freezes nicely, and can be made ahead, making it ideal for Pinterest users planning meals in advance.
Tips & Tricks
Variations
Meaty Version
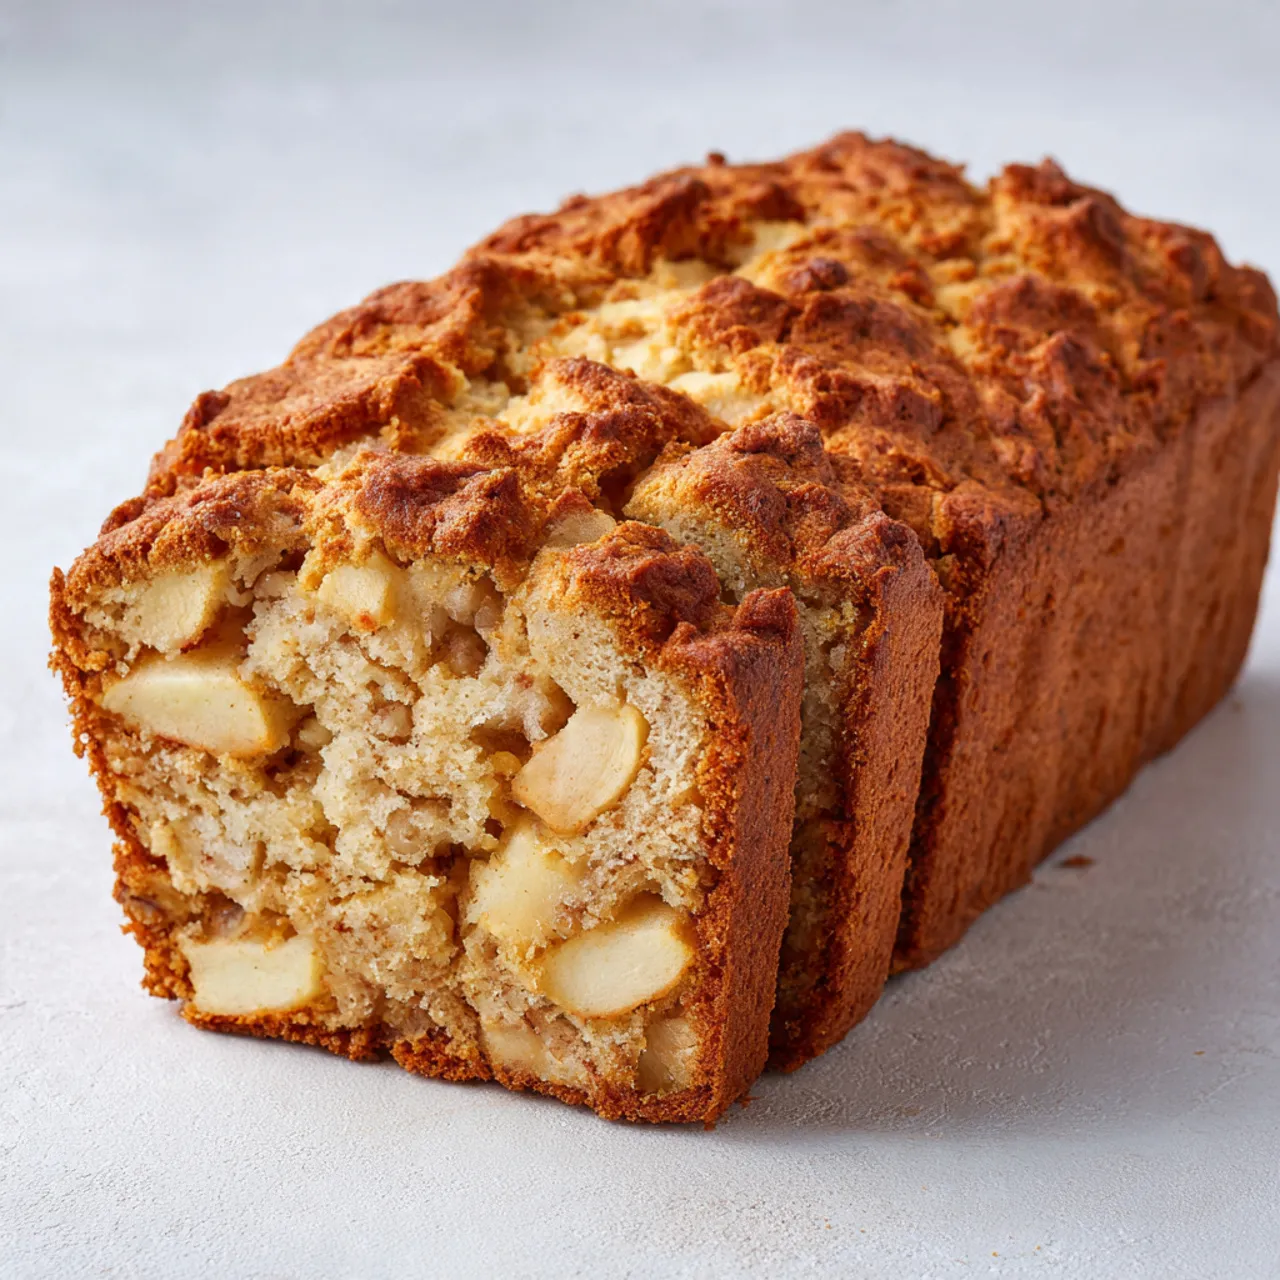
Mix in small cooked chicken or beef pieces before shaping the dough. Keep them lightly seasoned so they don’t overpower the bread. This version works well for hearty sandwiches or serving alongside soups.
Vegetarian Option
Add shredded cheese or chopped olives to the dough. These mix-ins bring extra flavor and texture without changing the basic process. Fold them in gently during the final kneading stage.
Ingredient Swap
Replace one cup of all-purpose flour with whole wheat flour for a slightly denser loaf. The bread will have a deeper color and a mild nutty taste while staying soft enough for everyday use.
Flavor or Herb Boost
Add dried herbs like rosemary or garlic powder to the flour. These small additions create a fragrant loaf that feels special while still being easy and familiar.
Serving Suggestions
Storage Instructions
Recipe Timing
Nutrition Information (Approximate)
Each slice contains about 140–180 calories, depending on size. Protein ranges from 4–6 grams per slice. The bread provides carbohydrates for energy and small amounts of iron. Values are estimates and may vary by ingredients and portions.
FAQs
Conclusion
Homemade bread has a way of making everyday meals feel calmer and more complete. This recipe is simple, flexible, and easy to repeat, which makes it worth saving and coming back to. You can change the flavors, add mix-ins, or bake it ahead to suit your routine. Homemade bread doesn’t need to be complicated to feel special. It just needs time, warmth, and a little patience. When it’s cooling on the counter, it naturally invites slow moments and shared meals, which is often exactly what a busy day needs.
Homemade bread
Course: Bread Recipe10
servings15
minutes30
minutes300
kcalSoft, simple homemade bread made with basic pantry ingredients.
Perfect for everyday meals, toast, or sandwiches.
Ingredients
3 cups all-purpose flour
1 tablespoon sugar
1 teaspoon salt
2¼ teaspoons active dry yeast
1 cup warm water
2 tablespoons vegetable oil
Directions
- Mix warm water, yeast, and sugar. Let foam.
- Combine flour and salt in a bowl.
- Add yeast mixture and oil. Stir into dough.
- Knead until smooth. Let rise until doubled.
- Shape into loaf and place in pan.
- Bake at 190°C (375°F) for 30 minutes.
- Cool slightly, slice, and serve.
Printable Recipe Card
Want just the essential recipe details without scrolling through the article? Get our printable recipe card with just the ingredients and instructions.