Gluten Free Bread
Gluten Free Bread
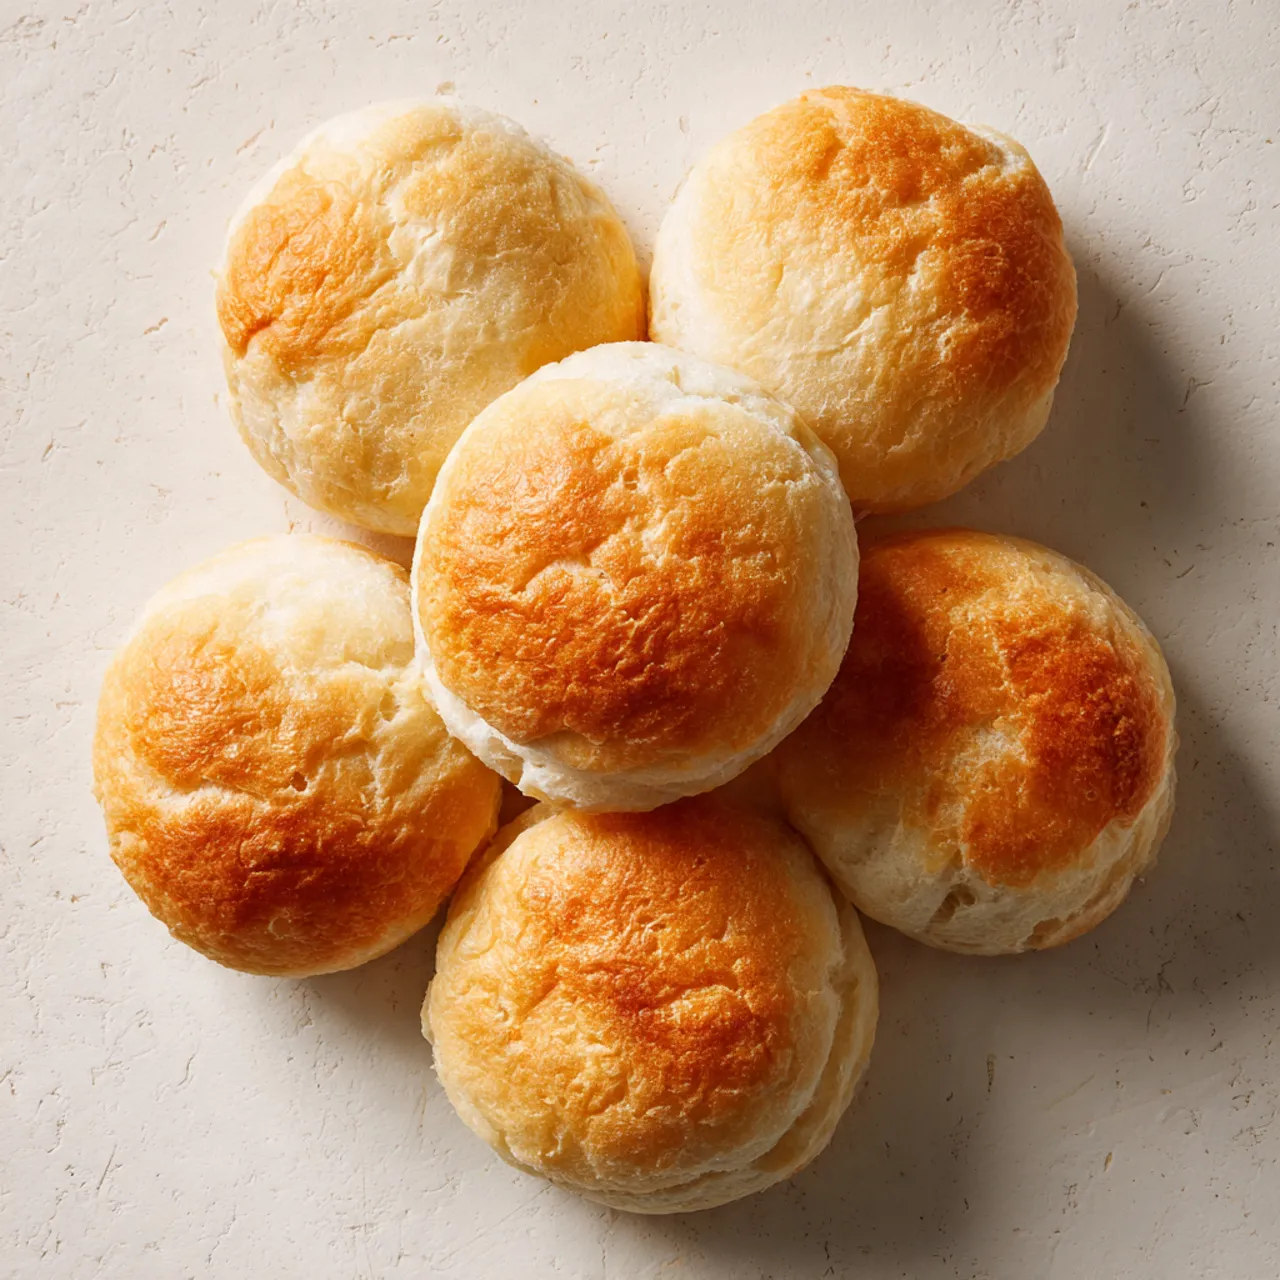
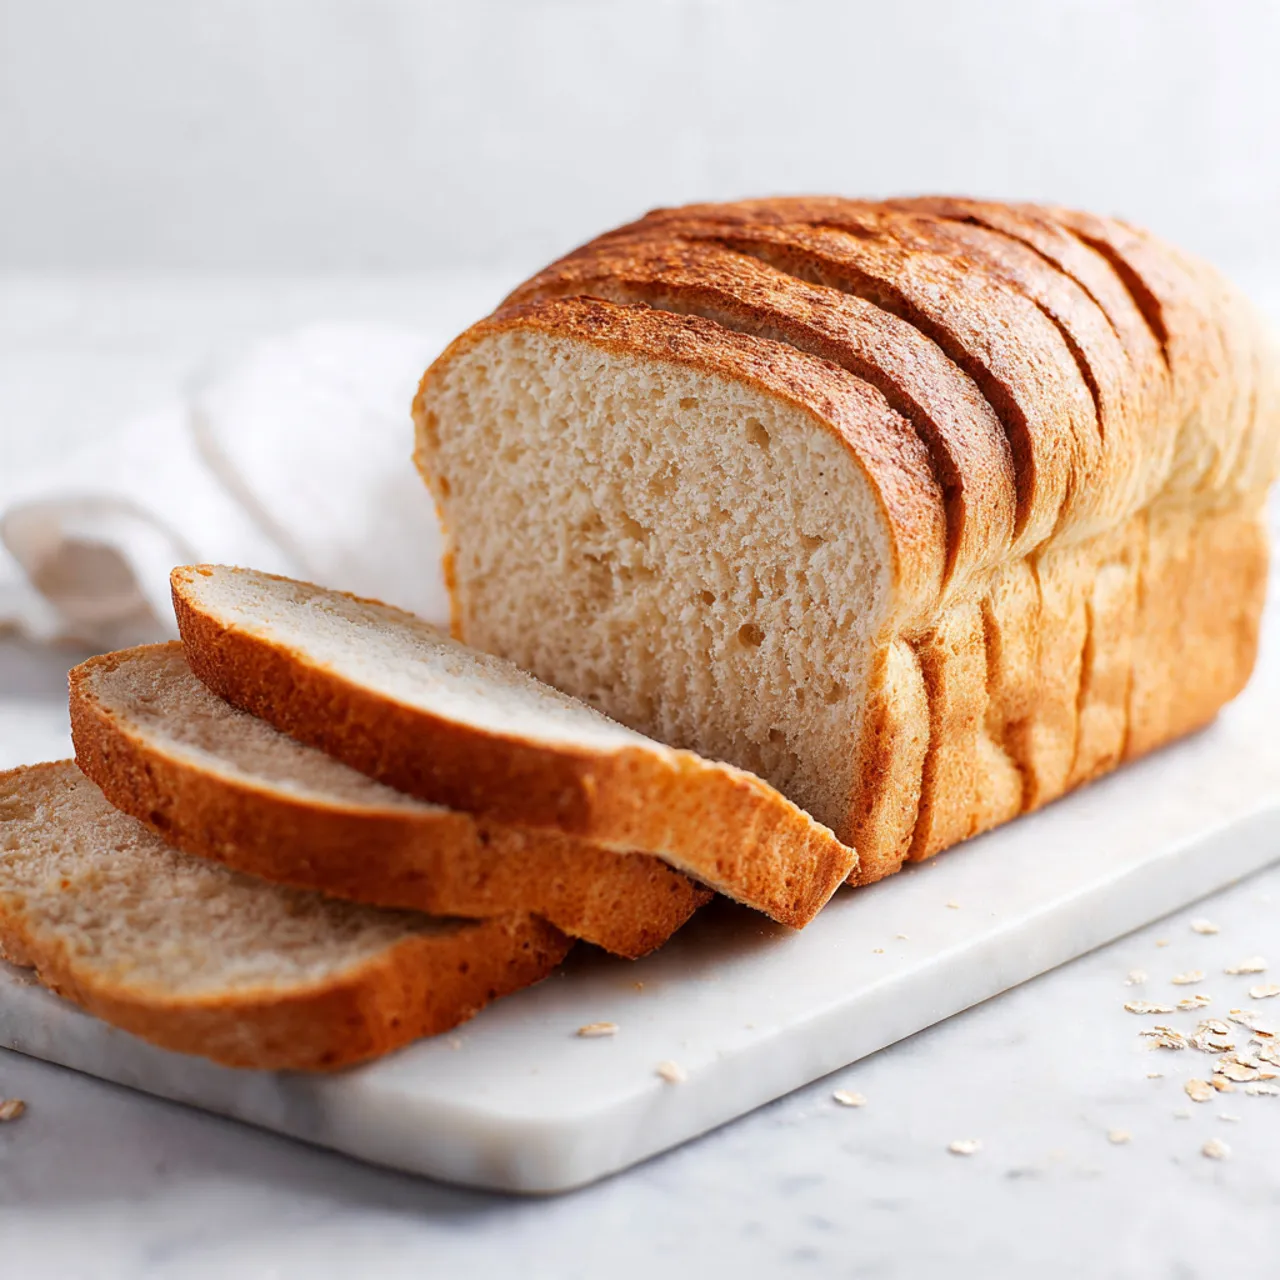
There’s something deeply comforting about slicing into a warm loaf you baked yourself, especially when it fits your everyday needs. This gluten free bread is soft inside, gently golden on the outside, and made for real life—not fancy equipment or hard-to-find steps. People love it because it feels familiar and cozy, yet works beautifully for busy mornings, family sandwiches, or quiet evenings at home. I usually mix it up while the kitchen is still calm, letting the dough rest while I handle other things. It’s the kind of bread that makes the house smell welcoming and turns simple meals into something a little more special.
Why You Will Love This Recipe
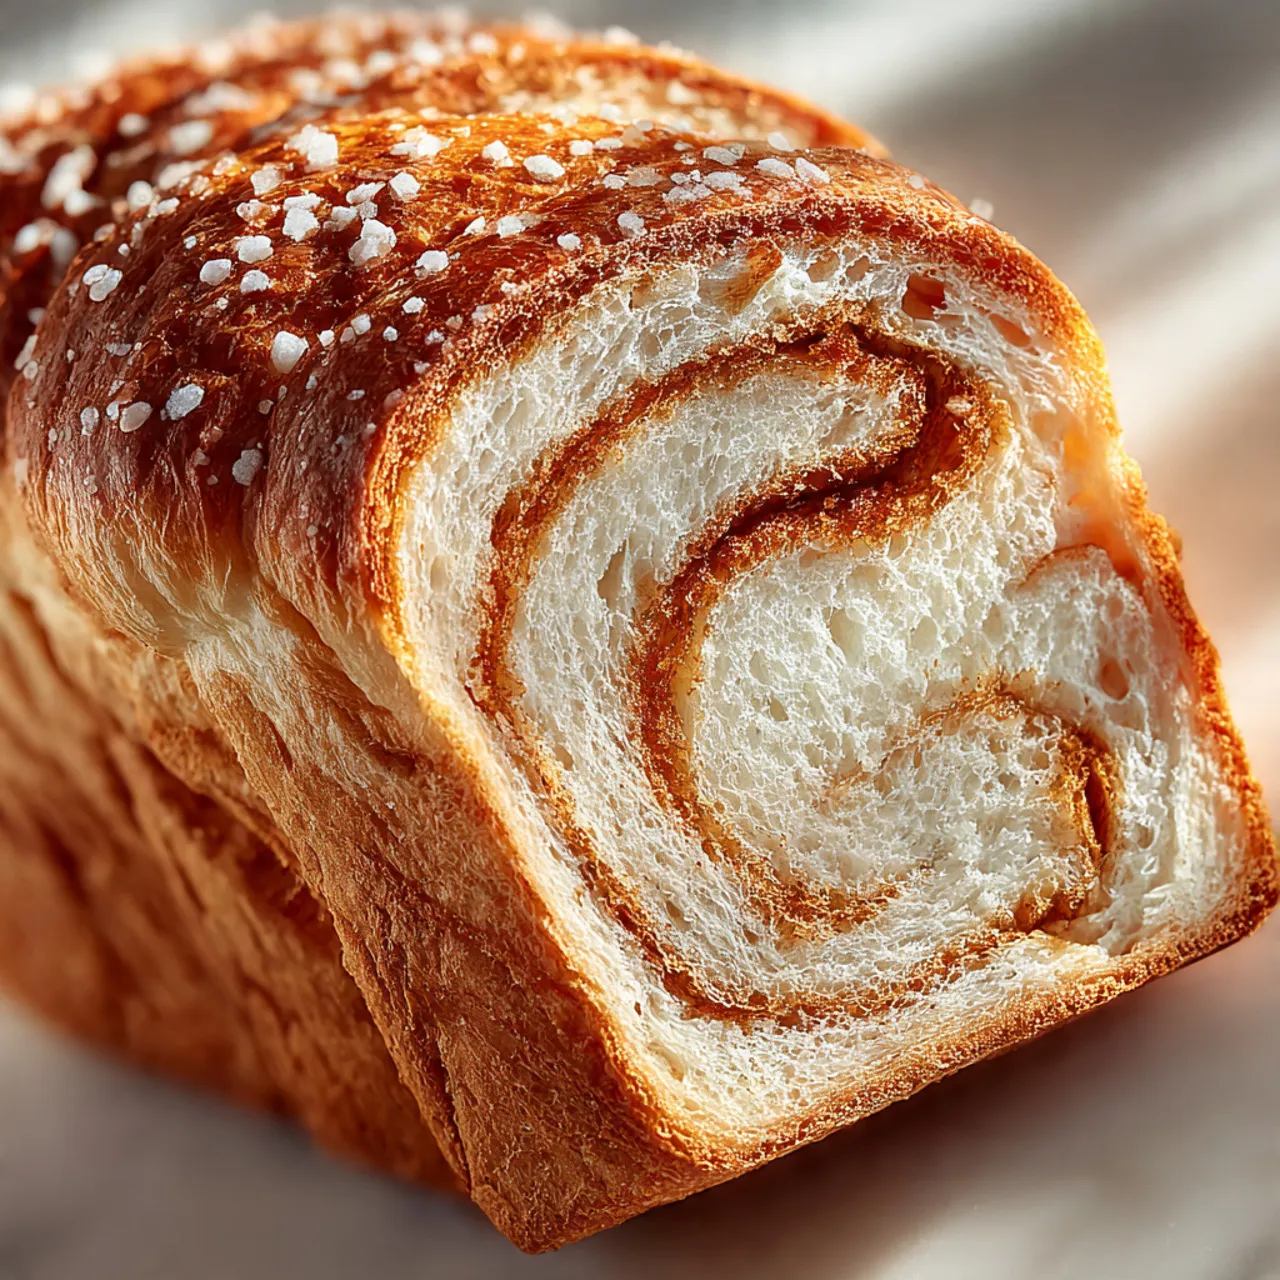
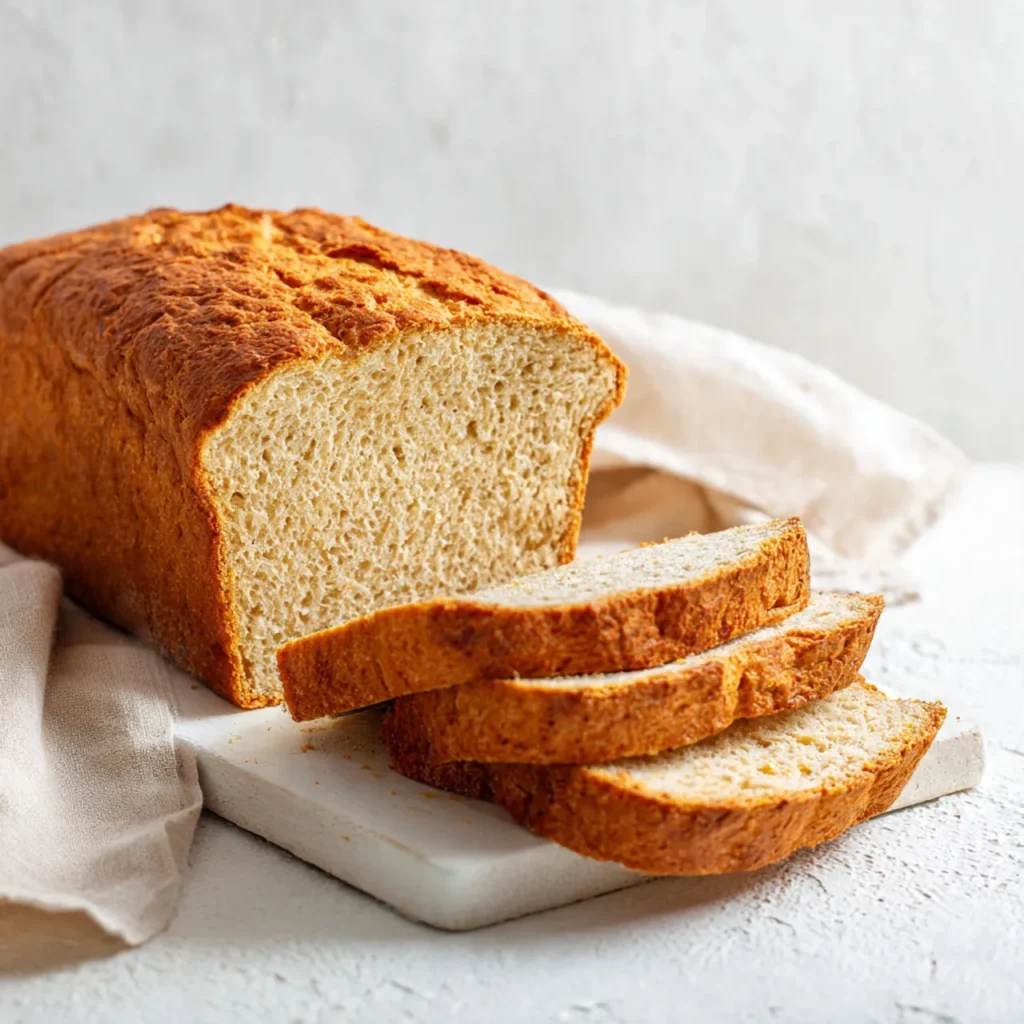
This loaf fits right into everyday routines. The flavor is mild and comforting, with a soft crumb that holds together for toast or sandwiches without crumbling. The process is simple and forgiving, so it’s weeknight-friendly and doesn’t demand constant attention. It’s flexible too—you can slice it thick for breakfast or thin for packed lunches. Leftovers keep well, making it freezer-friendly and budget-smart since one bake covers several meals. The texture stays tender even the next day, which is why many home cooks keep coming back to this gluten free bread recipe. It feels cozy, reliable, and crowd-pleasing without trying too hard, exactly what makes a recipe worth saving.

Ingredients
Tip: Use a good-quality gluten-free all-purpose flour blend with xanthan gum included for best structure.

Instructions
Step 1: Preparation
In a large bowl, stir the warm water and sugar together, then sprinkle the yeast over the top. Let it sit until it looks foamy and smells lightly yeasty. This usually takes a few minutes and tells you the yeast is awake and ready.
Step 2: Main Cooking Process
Add the flour blend and salt to the bowl. Pour in the olive oil and crack in the eggs. Mix until you have a thick, sticky batter that looks more like cake batter than traditional dough and feels smooth when stirred.
Step 3: Combining Ingredients
Beat the mixture well until everything looks evenly blended and glossy. The batter should slowly fall from the spoon, not clump. Scrape down the sides so no dry spots remain, and make sure the texture is consistent throughout.
Step 4: Finishing & Final Simmer
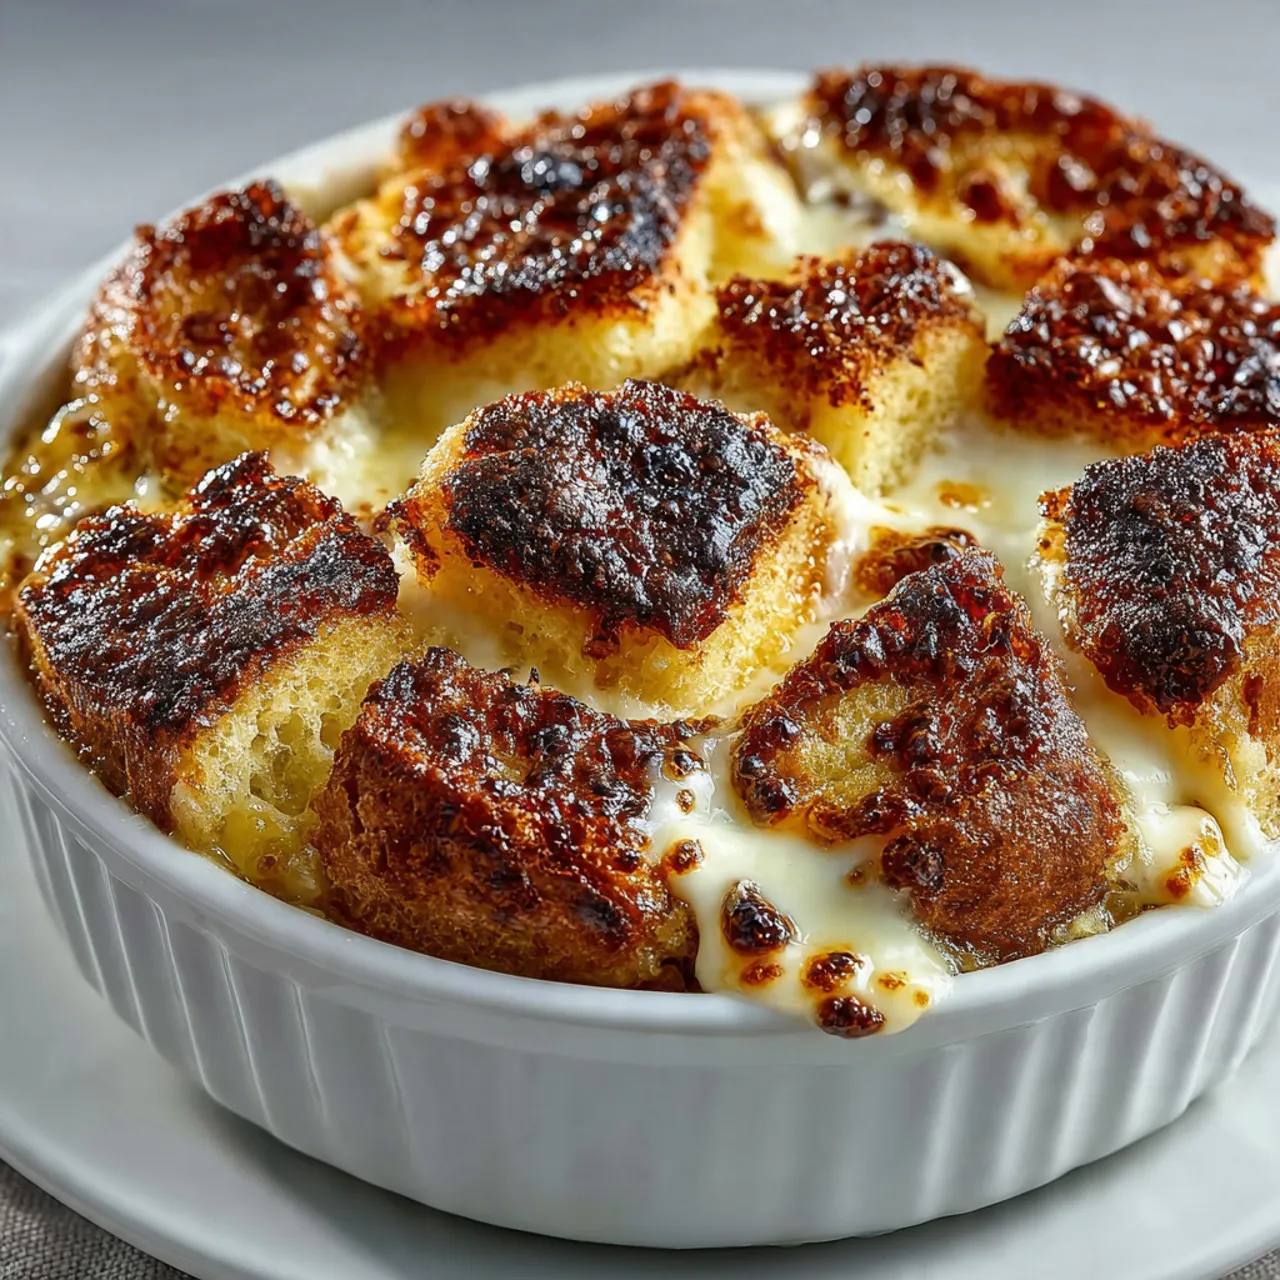
Spoon the batter into a greased loaf pan and smooth the top. Let it rest until slightly puffed. Bake until the top turns golden and the kitchen smells warm and bready. Cool before slicing for the best texture.
Why This Recipe Works for Busy Days
This bread fits into real schedules. The mixing is quick, there’s no kneading, and most of the time is hands-off. You can bake it once and enjoy slices over several days, or freeze extras for later. It’s reassuring for Pinterest savers who plan meals ahead and want something dependable waiting for them.
Tips & Tricks
Variations
Serving Suggestions
Storage Instructions
Recipe Timing
Nutrition Information (Approximate)
Per slice, this bread contains approximately 160–190 calories and 4–6 grams of protein. It also provides small amounts of iron and calcium, depending on the flour blend used. Values are estimates and will vary based on ingredients, brands, and portion size.
FAQs
Conclusion
Homemade bread doesn’t have to feel complicated or intimidating. This gluten free bread is meant to slide easily into everyday life, whether you’re planning ahead or baking on a quiet afternoon. It’s adaptable, forgiving, and welcoming to small tweaks based on what you have on hand. Once you’ve made it once, it becomes a base you can return to again and again, changing flavors and uses as needed. There’s something satisfying about knowing you can always bake a loaf that feels warm, familiar, and ready for whatever the day brings.
Gluten Free Bread
Course: Bread Recipe10
servings15
minutes45
minutes300
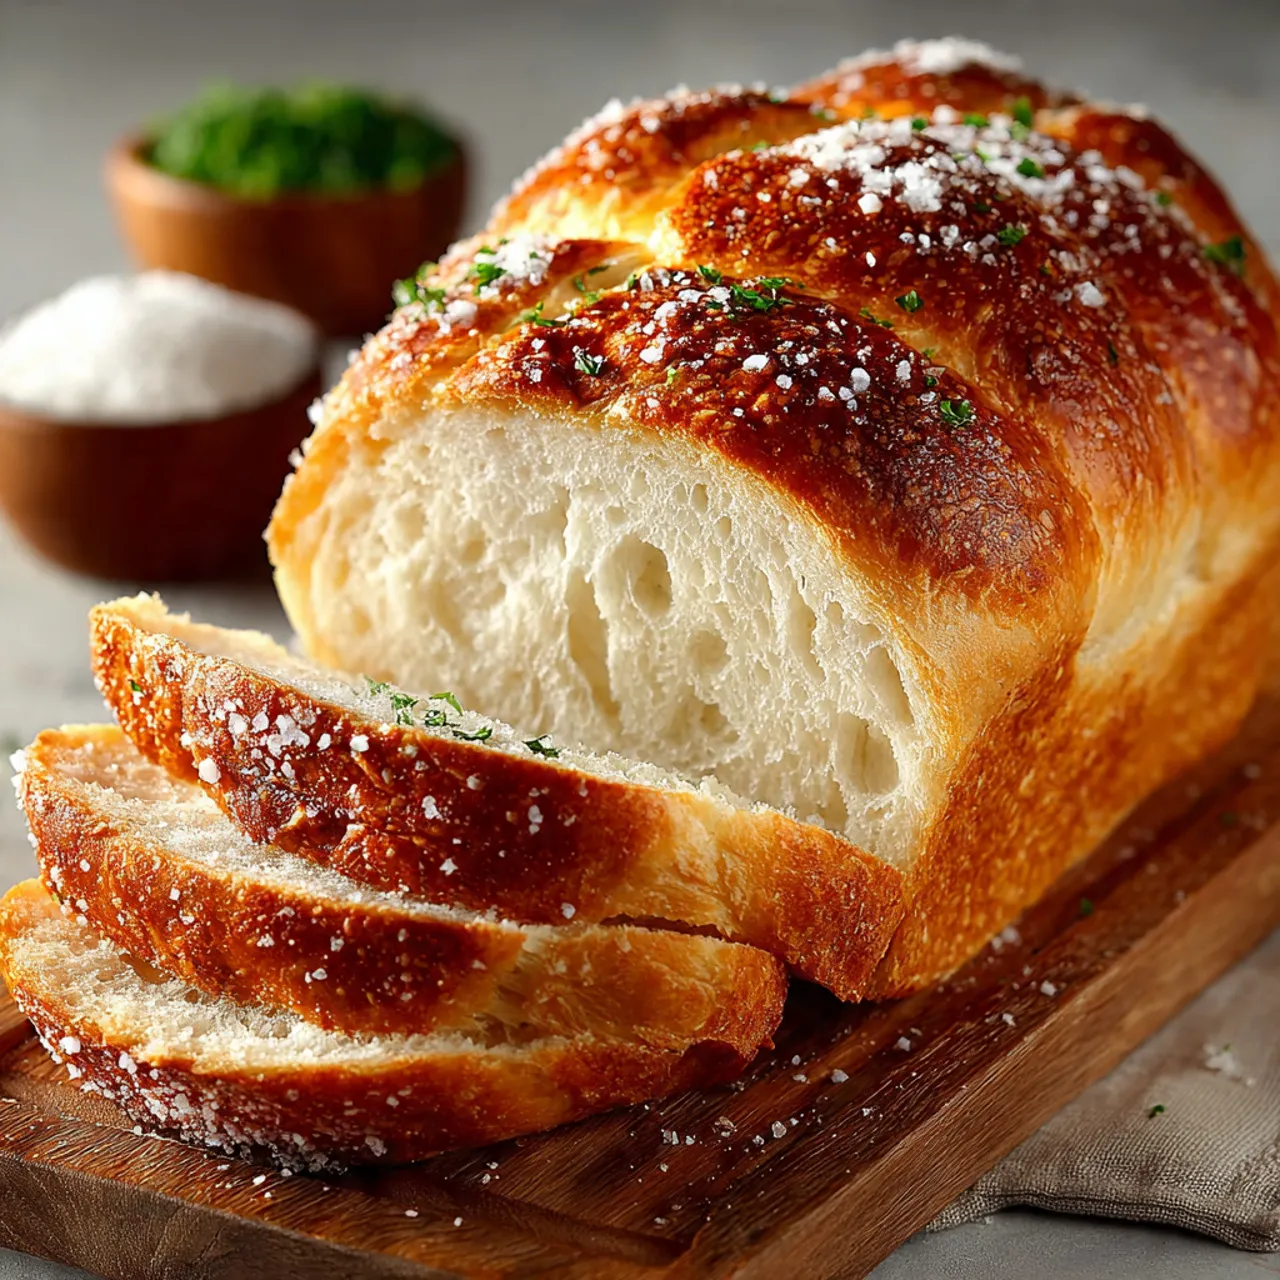
kcalSoft, homemade gluten-free bread with a tender crumb and golden crust.
Easy to mix, simple to bake, and perfect for everyday meals.
Ingredients
3 cups gluten-free all-purpose flour blend
1½ cups warm water
2¼ teaspoons active dry yeast
1 tablespoon sugar
2 tablespoons olive oil
2 large eggs
1 teaspoon salt
Directions
- In a bowl, mix warm water and sugar. Sprinkle yeast on top and let it foam.
- Add flour and salt. Pour in oil and eggs. Mix until smooth and thick.
- Beat well until the batter looks glossy and evenly mixed.
- Spoon into a greased loaf pan and smooth the top.
- Let rest until slightly puffed, then bake until golden.
- Cool completely before slicing.
Printable Recipe Card
Want just the essential recipe details without scrolling through the article? Get our printable recipe card with just the ingredients and instructions.