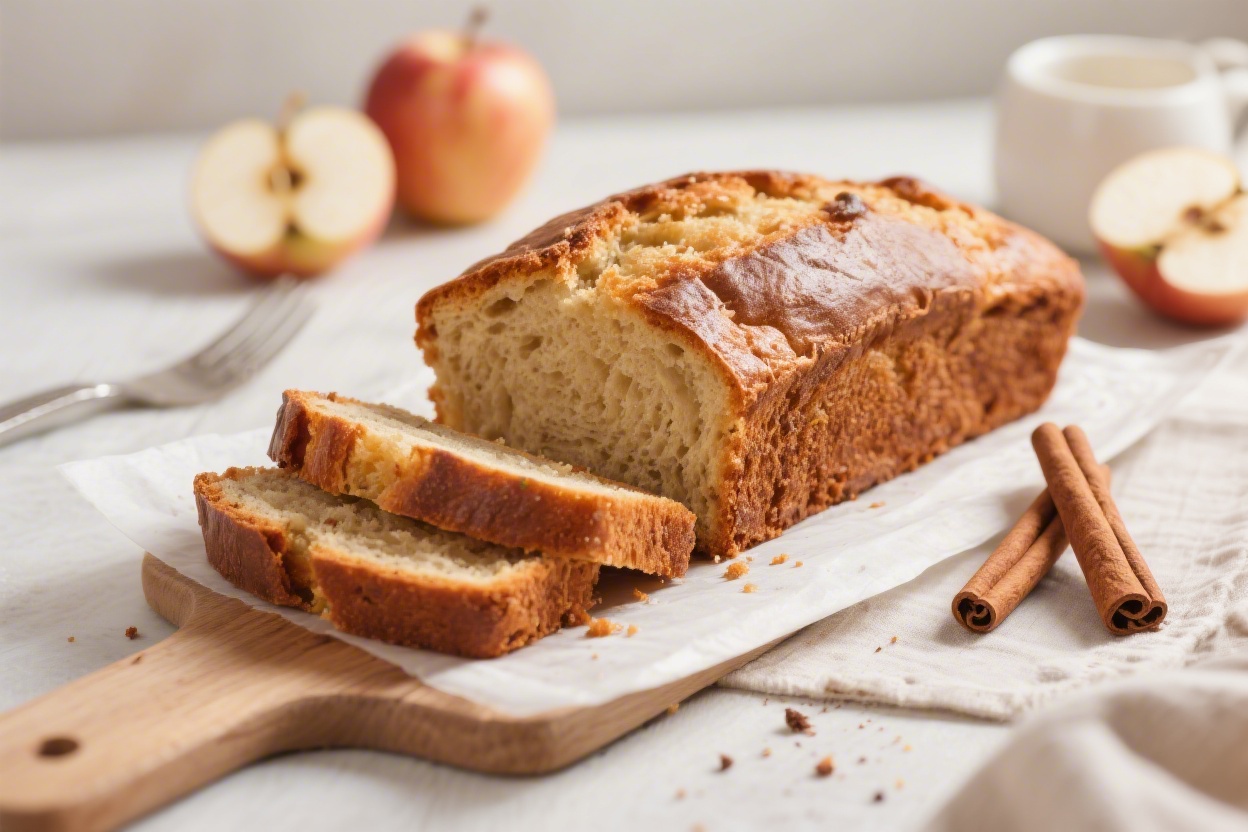

Bread Rolls
Bread Rolls
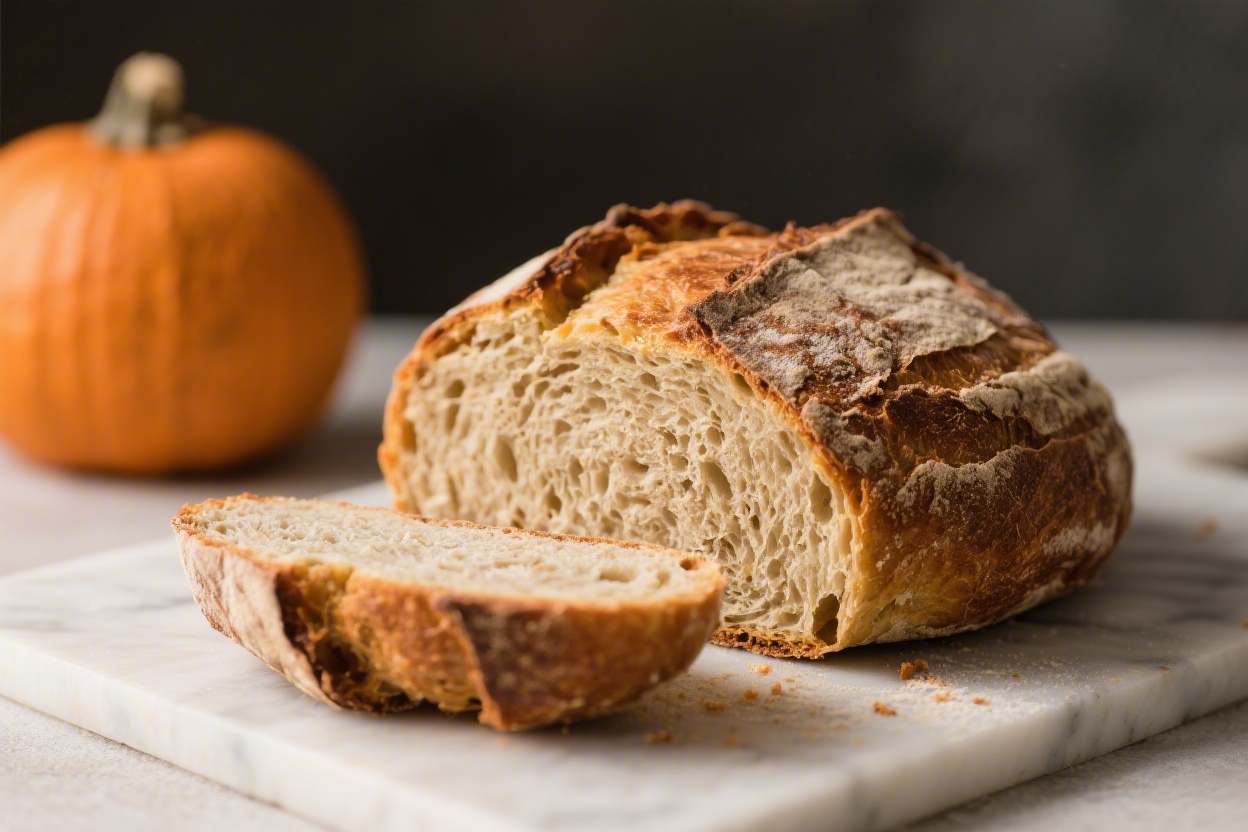
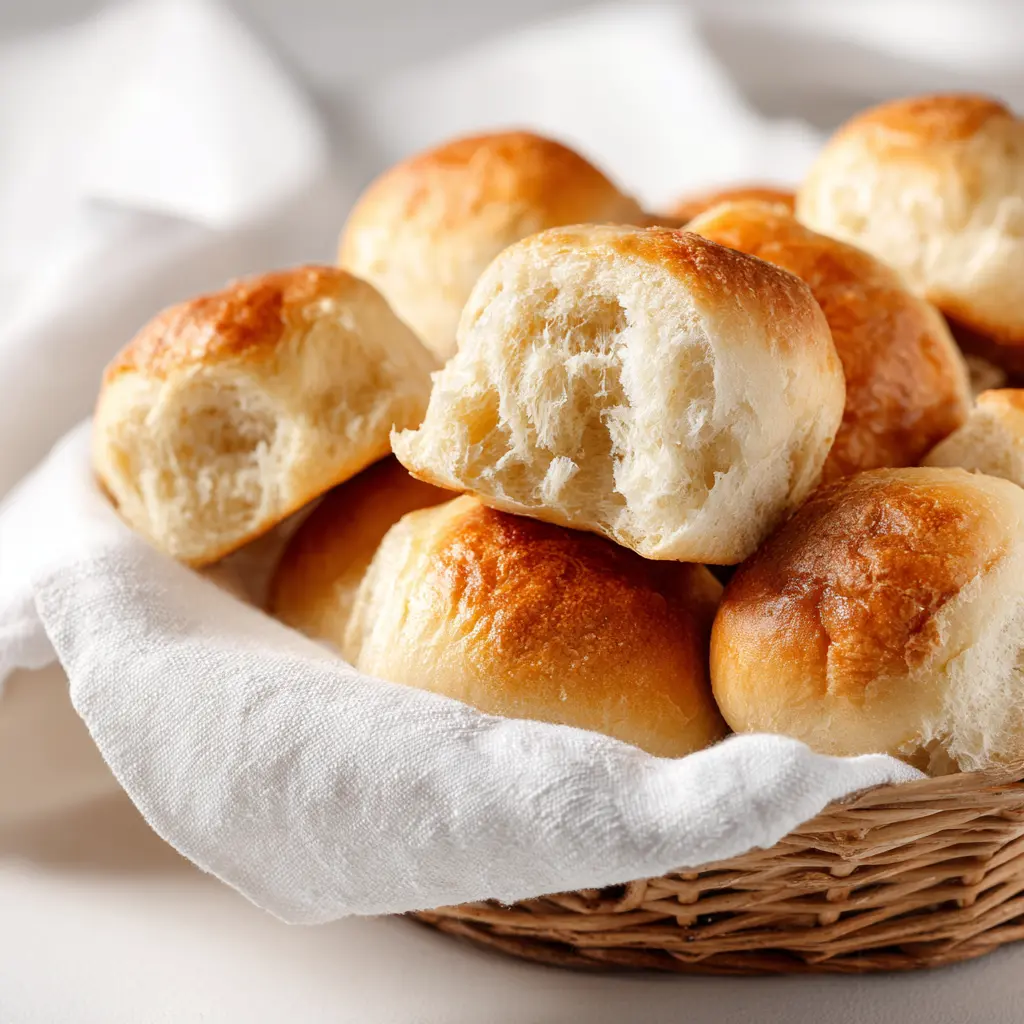
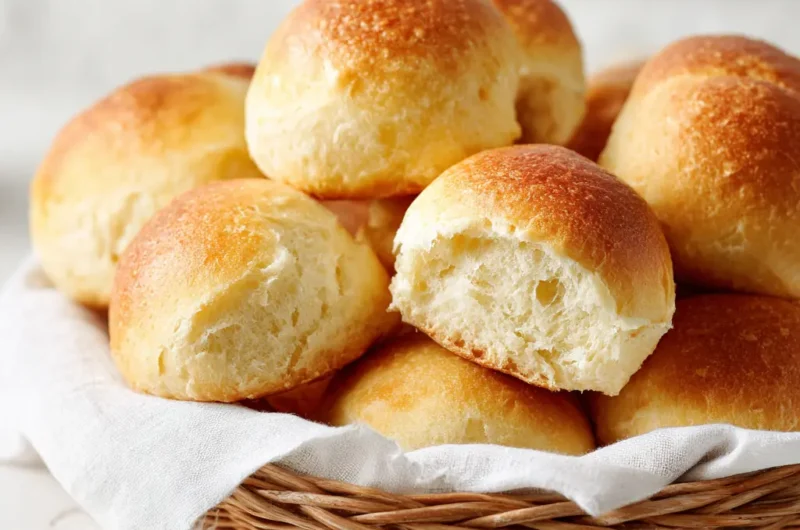
Freshly baked bread rolls have a way of making even a simple meal feel warm and comforting. Soft on the inside with a light golden crust, they’re the kind of kitchen moment people look forward to on busy evenings or chilly nights. Making them at home is easier than it sounds. I love seeing the dough rise on my counter while I finish other tasks, knowing something cozy is waiting for dinner. These rolls work for family meals, gatherings, or just snacking warm from the oven. With a few pantry staples and gentle kneading, you can bring that homemade smell into your kitchen and enjoy a small baking win.
Why You Will Love This Recipe
These rolls bring a comforting aroma and satisfying bite with very little effort. You can make a batch ahead, freeze extras, or serve them alongside soups, stews, or even breakfast eggs. If you like having reliable recipes ready to save for later, this one belongs in your weekly rotation. It’s reliable for weeknights because the dough rests while you prep the rest of dinner. They’re budget-friendly, family-friendly, and easy enough for beginners. The texture stays soft, making leftovers enjoyable the next day. Whether you bake for comfort or routine, homemade rolls offer that cozy, satisfying reward without requiring advanced baking skills or special equipment. You’ll appreciate how flexible this dough is when shaping or adjusting timing.
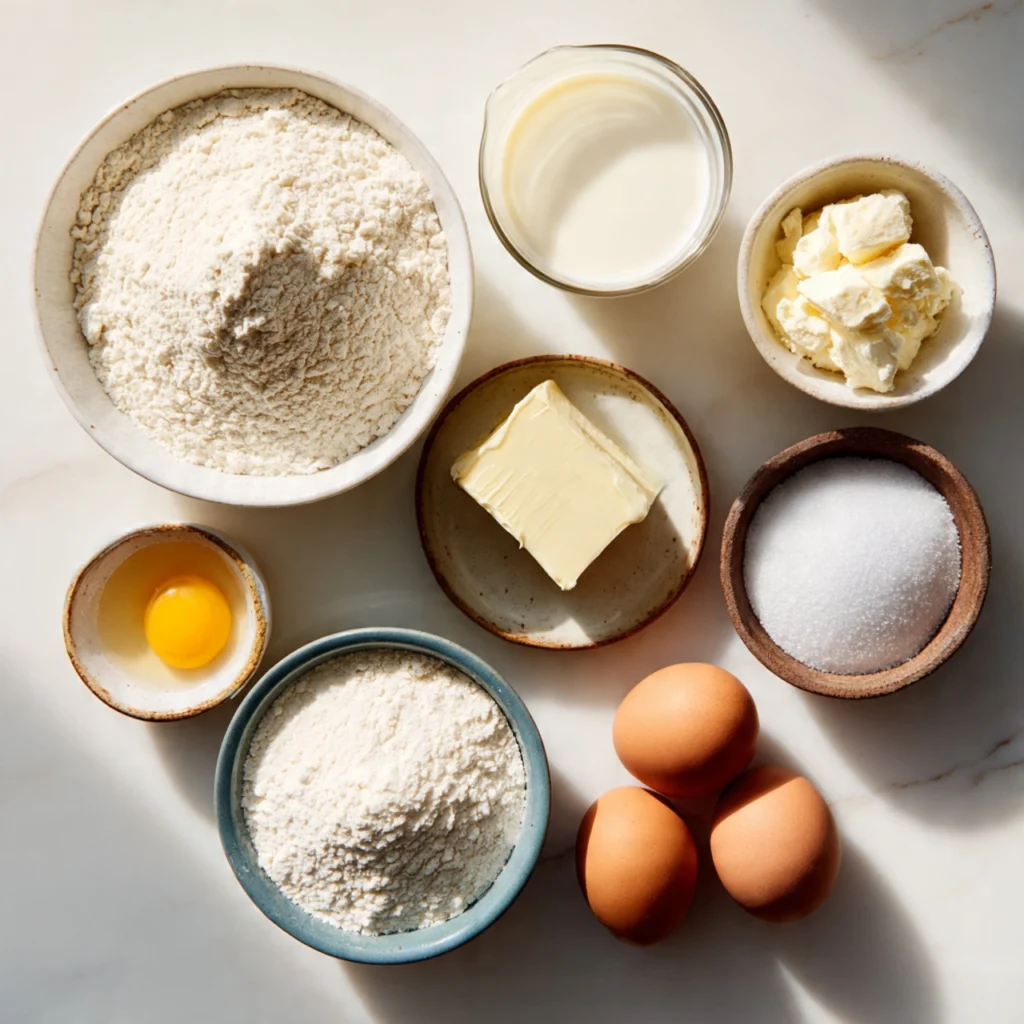
Ingredients
Choose unbleached all-purpose flour for the lightest texture.
Instructions
Step 1: Preparation
Warm the milk gently and dissolve sugar to help the yeast wake up quickly. Stir in the yeast until foamy. Meanwhile, measure flour and salt, and lightly grease a mixing bowl. Set out the butter to soften fully so it blends smoothly into the dough.
Step 2: Main Cooking Process
Combine the foamy yeast mixture with butter and egg, stirring until smooth. Slowly add the flour, mixing until a rough dough forms. Knead by hand or mixer until soft and slightly springy. The dough should feel tacky but not sticky, with a smooth surface developing.
Step 3: Combining Ingredients
Place dough in the greased bowl and cover loosely. Let rise somewhere warm until doubled. Press the dough gently to release air. Divide into equal pieces and roll into tight balls using your palms. Arrange on a baking sheet, leaving small gaps between rolls.
Step 4: Finishing & Final Simmer
Cover the rolls and let them rise again until puffy and light. Brush tops with milk or melted butter for golden color. Bake until fragrant and lightly browned. Cool briefly so the crumb sets before serving, and enjoy the steam when you tear them open.
Why This Recipe Works for Busy Days
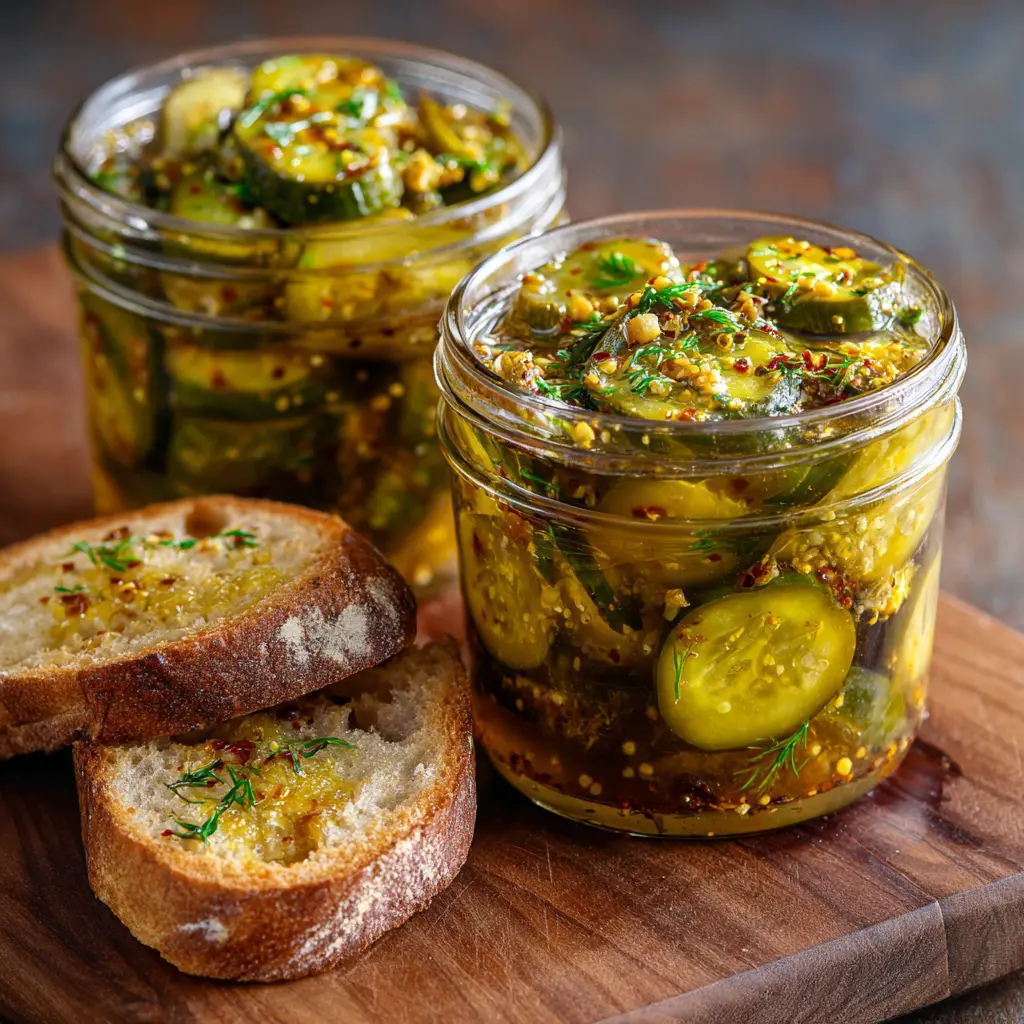
The dough needs rest time more than hands-on work, giving you flexibility to prep other dishes or unwind. Leftovers store well and can be reheated in minutes. You can even freeze shaped dough to bake later, making it great for meal prep and stress-free dinners. You can also try the Bread and Butter Pickles recipe on your busy days.
Tips & Tricks
Variations
Serving Suggestions
Storage Instructions
Recipe Timing
Nutrition Information (Approximate)
Each roll contains roughly 140–180 calories and 4–6 grams protein depending on size. Expect small amounts of calcium and iron from the flour and milk. These are estimates only and will vary based on ingredient brands, portion size, and shaping.
FAQs
Conclusion
These homemade bread rolls bring warm comfort and a sense of accomplishment without demanding complicated skills or ingredients. Once you try them, you’ll likely find yourself making small adjustments to suit your meal plans or family tastes. Use them for weeknight dinners, lazy weekend breakfasts, or to stretch a cozy soup night. Whether you bake often or occasionally, this recipe offers a reliable way to enjoy fresh bread on your own terms. Save it for the next time you crave something simple, warm, and made at home.
Bread Rolls
Course: Bread Recipe12
servings20
minutes18
minutes300
kcalSoft, fluffy homemade rolls with a tender crumb and light golden crust. Great for weeknight dinners, soups, or breakfast sandwiches. Beginner-friendly and made with simple pantry ingredients.
Ingredients
3 ½ cups all-purpose flour
2 ¼ tsp active dry yeast
1 cup warm milk
2 tbsp unsalted butter, softened
2 tbsp sugar
1 tsp salt
1 egg
Directions
- Warm milk until just lukewarm. Stir in sugar and yeast. Let sit until foamy.
- Combine yeast mixture with butter and egg. Add flour and salt. Mix until dough forms.
- Knead until smooth and elastic. Place dough in greased bowl. Cover; let rise until doubled.
- Punch down gently. Divide into 12 pieces and shape into balls.
- Place on lined baking sheet. Cover and let rise until puffy.
- Brush with milk or melted butter. Bake at 375°F (190°C) for 18–20 minutes until lightly golden.
- Cool slightly before serving.
Printable Recipe Card
Want just the essential recipe details without scrolling through the article? Get our printable recipe card with just the ingredients and instructions.