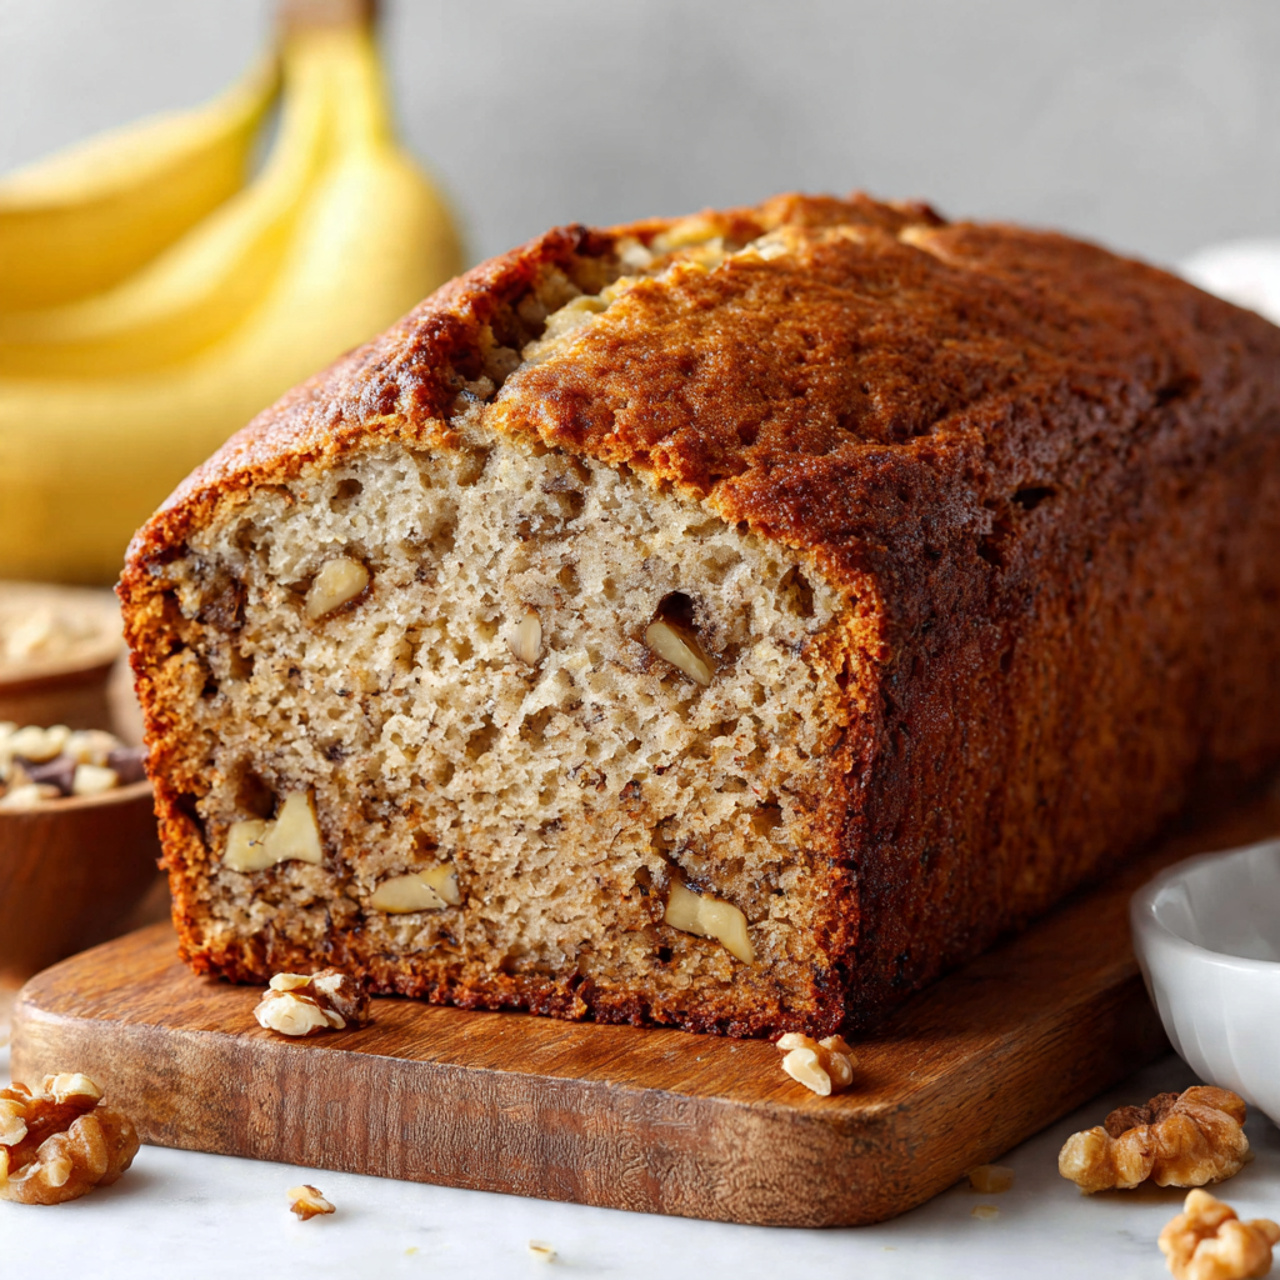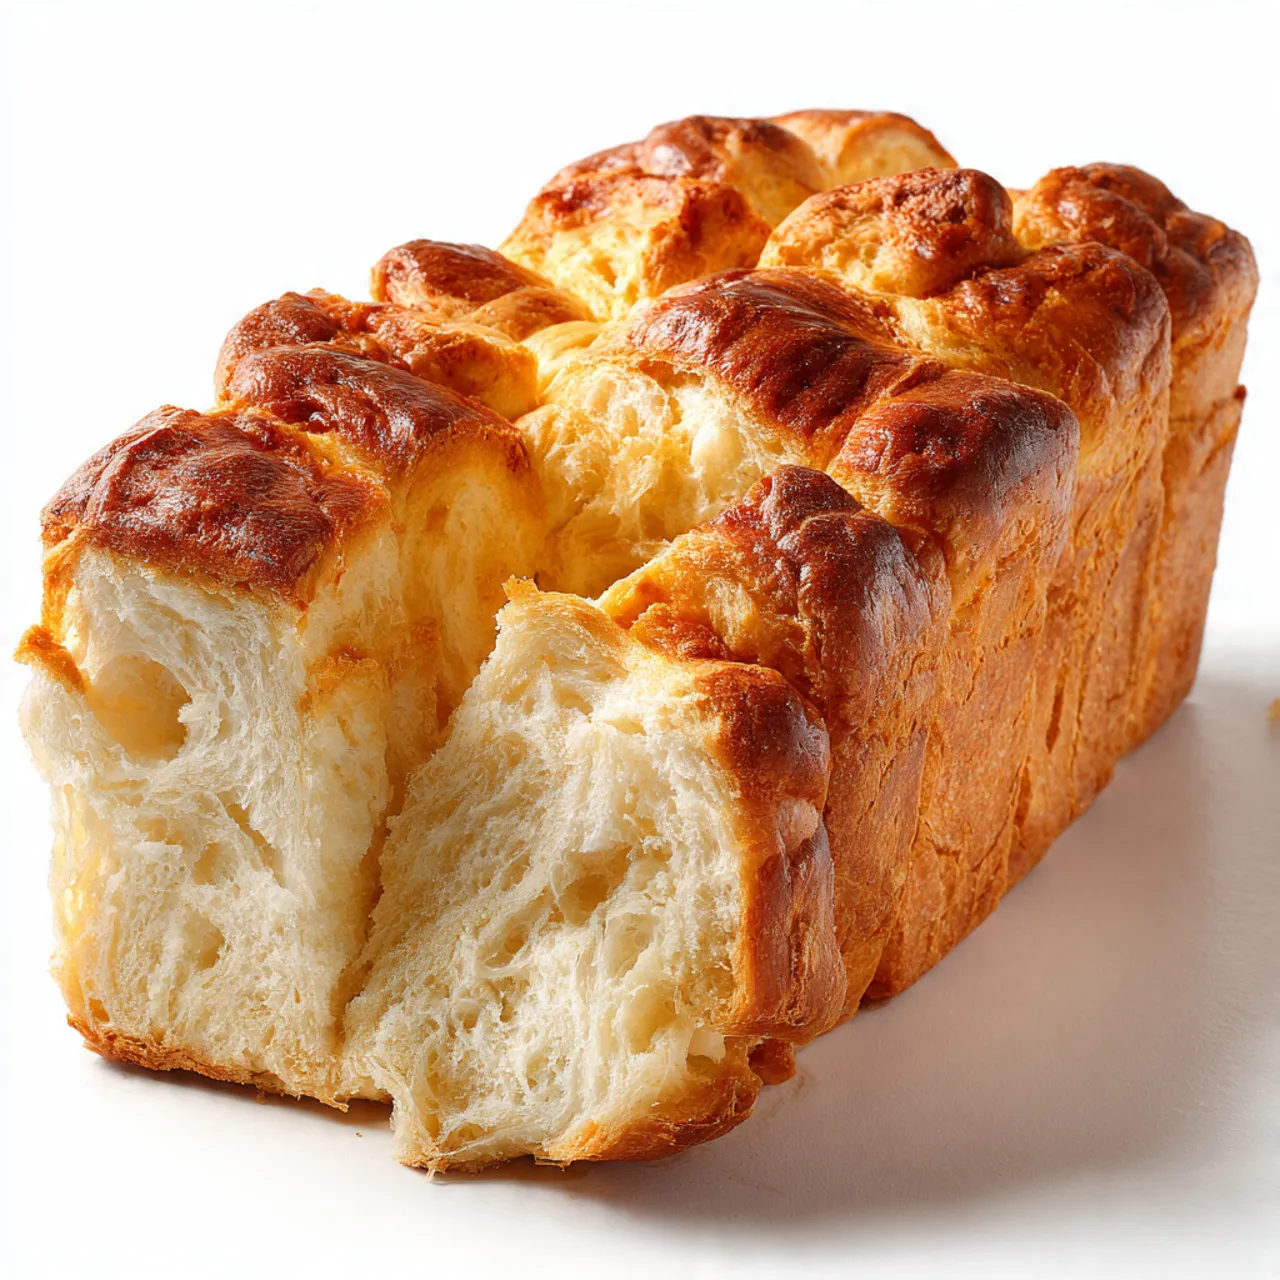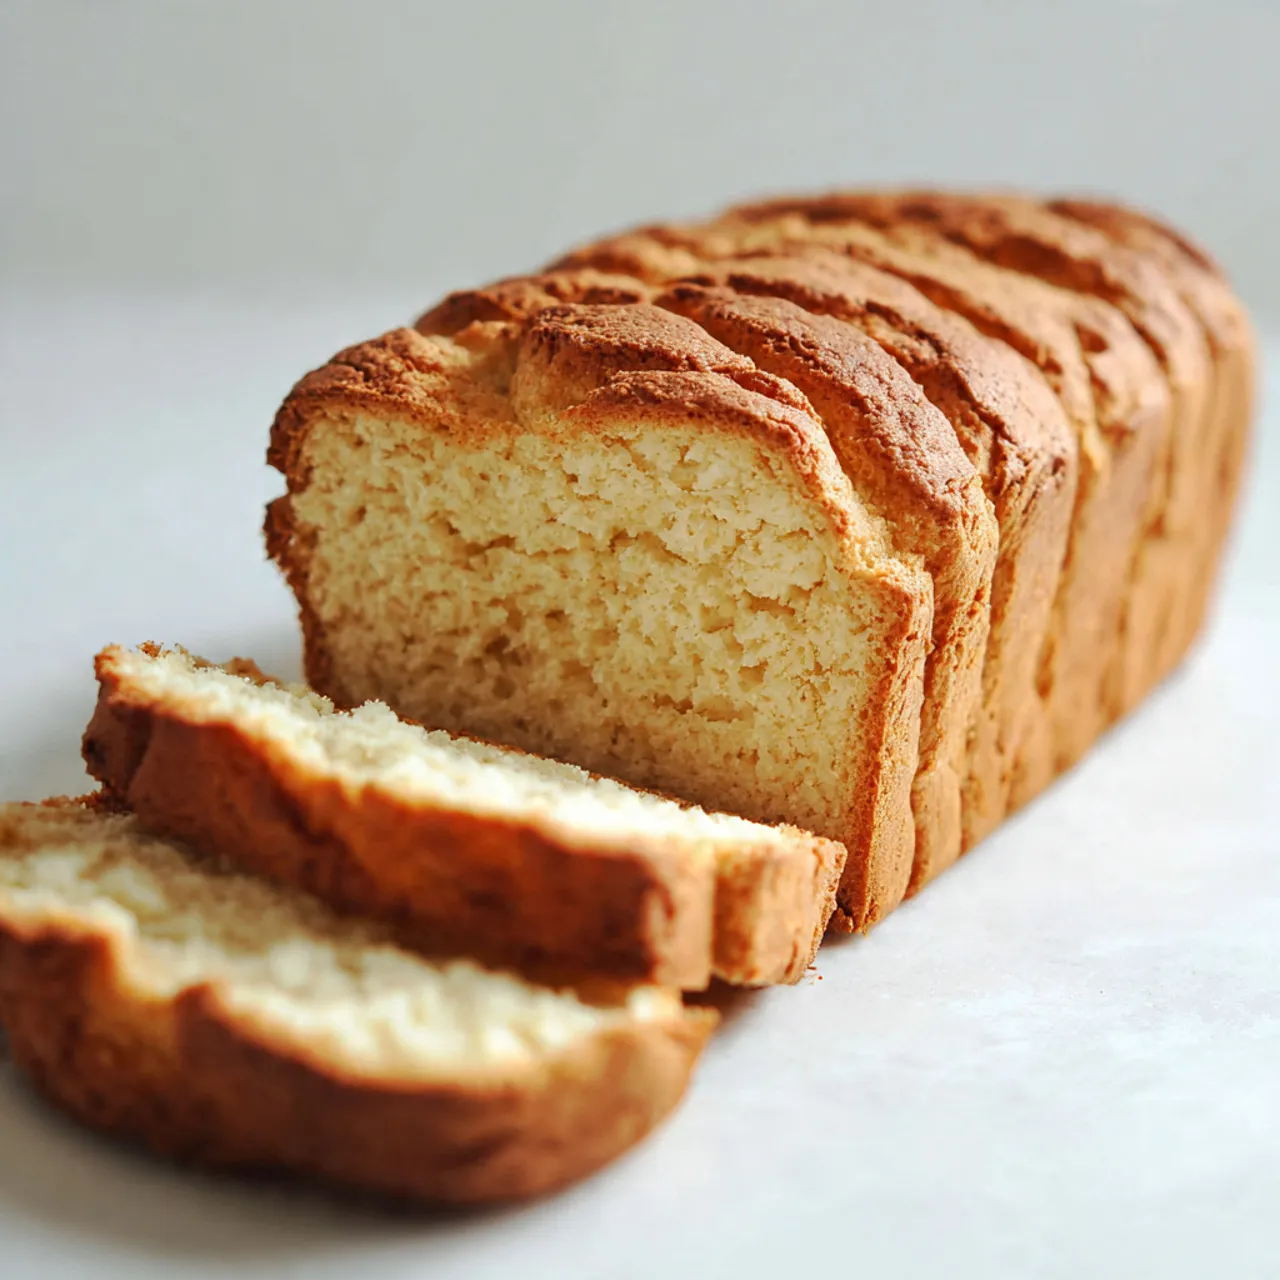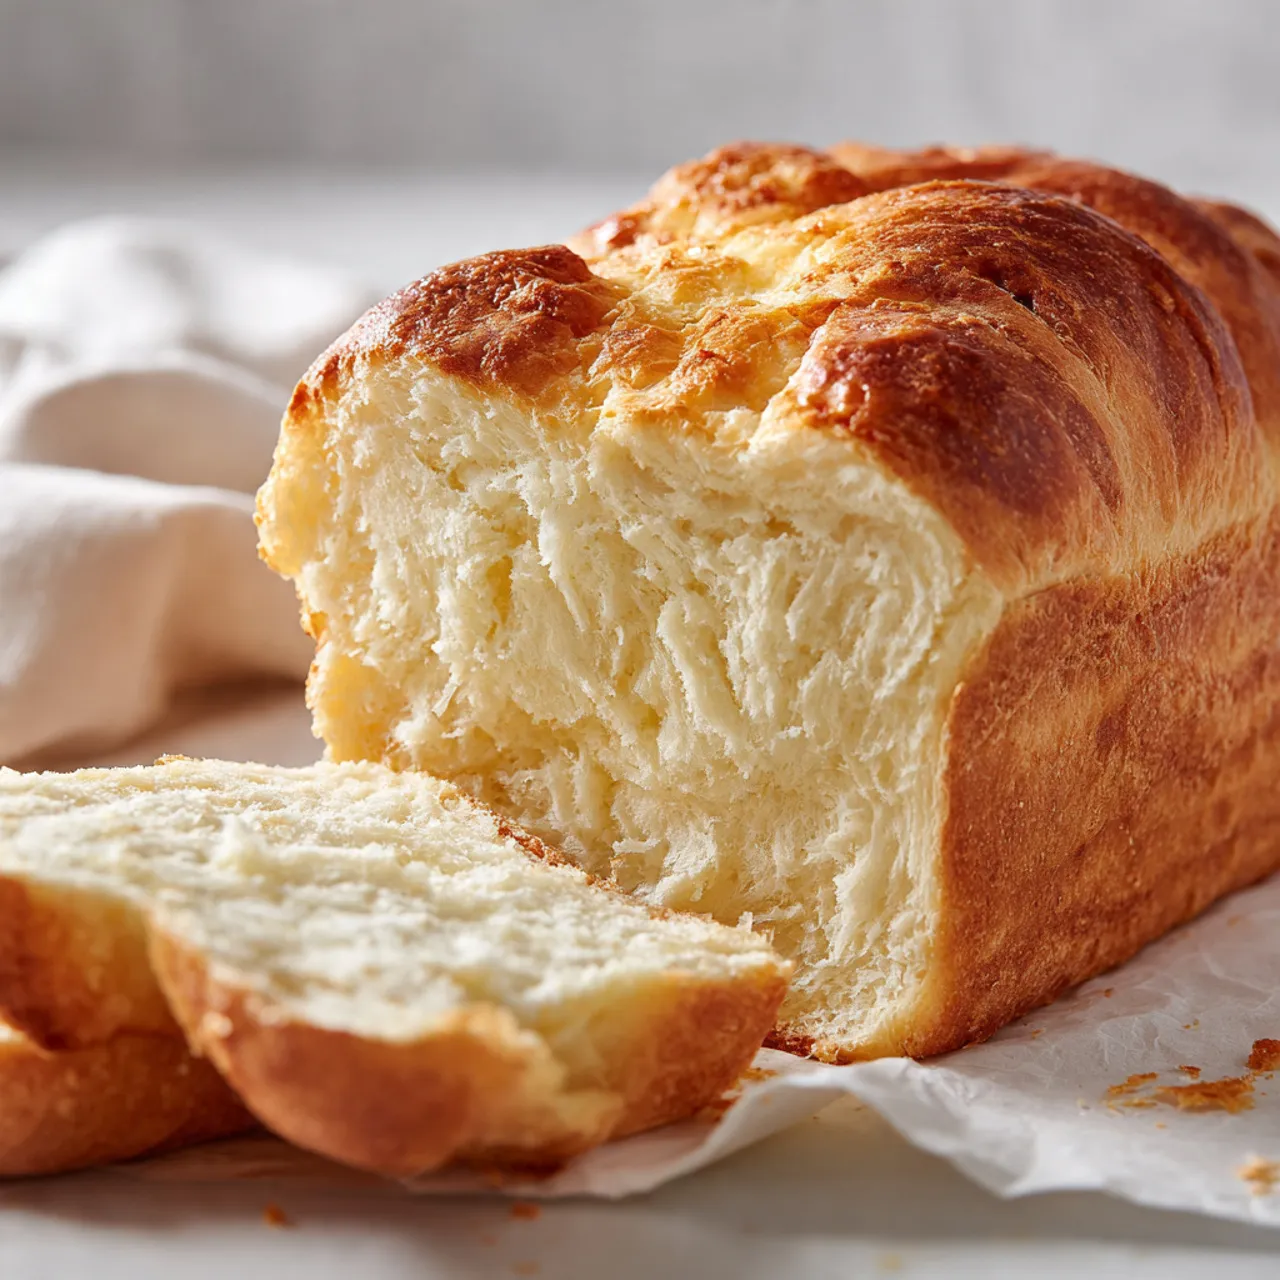
Brazilian cheese bread
Brazilian cheese bread is a small, warm, cheesy bite that feels comforting from the first smell to the last crumb. Crisp on the outside and soft and stretchy inside, it’s one of those recipes people fall in love with fast. This is the kind of food that fits easily into real life, whether you’re planning a simple family meal, a cozy snack on a cold night, or something quick for busy evenings. I usually mix the dough while the oven heats, knowing it doesn’t need much attention. Brazilian cheese bread is naturally simple, deeply comforting, and made to be enjoyed fresh and warm, straight from the oven.

Why You Will Love This Recipe
This recipe brings together ease, flavor, and flexibility in the best way. The dough comes together quickly with basic ingredients, and there’s no kneading or rising to worry about. The flavor is rich and cheesy without feeling heavy, making it cozy and crowd-pleasing for all ages. These little breads are weeknight-friendly and freezer-friendly, which means you can bake a batch now and enjoy them later. They’re budget-conscious too, since a small amount of cheese goes a long way. Brazilian cheese bread fits neatly into everyday cooking, whether you serve it as a snack, a side, or a simple comfort food to share.

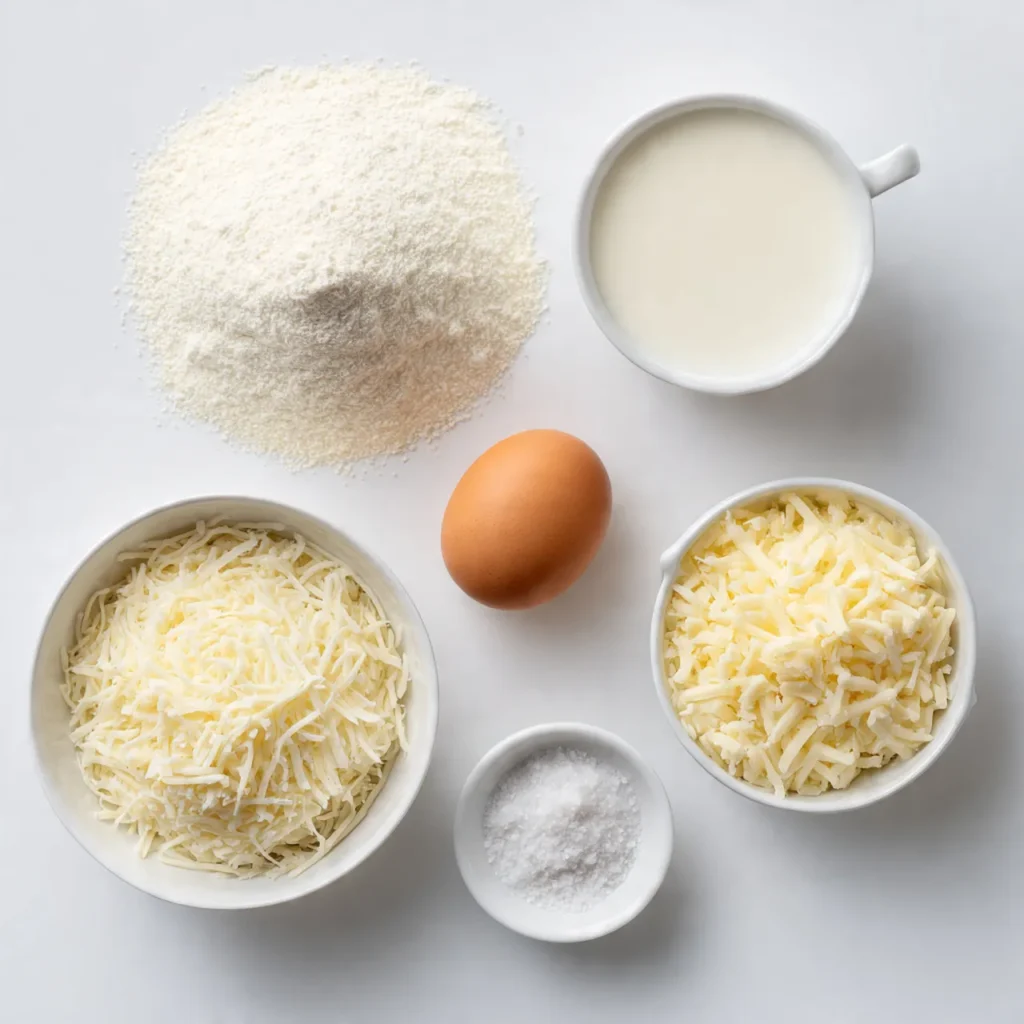
Ingredients
Tip: Use tapioca flour for the classic chewy texture.
Instructions
Step 1: Preparation
Preheat the oven and line a baking tray. Measure all ingredients and grate the cheese finely so it melts easily. Having everything ready helps the dough come together smoothly without rushing or uneven mixing.
Step 2: Main Cooking Process
Heat milk, water, oil, and salt in a saucepan until steaming and just starting to bubble. The mixture should smell warm and comforting. Pour it slowly over the tapioca flour, stirring until it looks thick and glossy.
Step 3: Combining Ingredients
Let the dough cool slightly, then mix in the egg. Add the cheese and stir until the dough feels sticky and stretchy. It should pull gently from the spoon and look smooth rather than dry or crumbly.
Step 4: Finishing & Final Simmer
Scoop small portions onto the tray and bake until puffed and lightly golden. The tops should look dry and set, while the inside stays soft and airy. Let them rest briefly before serving warm.
Why This Recipe Works for Busy Days
This recipe saves time because there’s no long prep or waiting involved. The dough mixes fast, bakes quickly, and can be stored for later. It’s perfect for Pinterest users who like to plan ahead, freeze extras, or pull together something comforting without stress.
Tips & Tricks
Variations
Meaty Version
Mix in very finely chopped cooked beef or chicken sausage. Keep the pieces small so they blend into the dough and don’t weigh it down. This adds a savory bite while keeping the soft, chewy texture intact.
Vegetarian Option
Add finely chopped spinach or olives for a simple vegetarian twist. Pat vegetables dry before mixing them in, as extra moisture can affect the dough’s structure and prevent proper puffing.
Ingredient Swap
Try using a mix of cheeses instead of one type. A blend of mild and sharp cheese adds depth without changing the texture. Avoid very soft cheeses, which can make the dough greasy.
Flavor or Herb Boost
Add a pinch of garlic powder or dried herbs like oregano. These subtle additions lift the flavor without overpowering the cheesy base, keeping the bread balanced and cozy.
Serving Suggestions
Storage Instructions
Recipe Timing
Nutrition Information
Each piece contains about 90–120 calories and 3–5 grams of protein. It also provides calcium from the cheese and small amounts of carbohydrates from tapioca flour. Values are estimates and may vary depending on cheese type and portion size.
FAQs
Conclusion
This brazilian cheese bread recipe is one of those comforting staples that quietly earns a place in your regular rotation. It’s simple, flexible, and easy to adjust based on what you have at home. You can change the cheese, add small extras, or freeze a batch for later without losing that cozy texture. Whether you serve it fresh for family or keep some ready for busy days, it always feels familiar and satisfying. Save it, revisit it, and make it your own. Warm, cheesy, and comforting, it fits right into everyday cooking.

Brazilian cheese bread
Course: Bread Recipe20
servings10
minutes20
minutes300
kcalSmall, warm cheese breads with a crisp outside and soft, stretchy inside.
Easy to make, comforting, and perfect for snacks or simple meals.
Ingredients
1 cup tapioca flour
½ cup milk
¼ cup water
2 tablespoons oil
½ teaspoon salt
1 cup grated cheese
1 large egg
Directions
- Preheat oven and line a baking tray.
- Heat milk, water, oil, and salt until steaming.
- Pour hot liquid over tapioca flour and stir well.
- Let cool slightly, then mix in the egg.
- Stir in cheese until sticky and smooth.
- Scoop onto tray and bake until puffed and lightly golden.