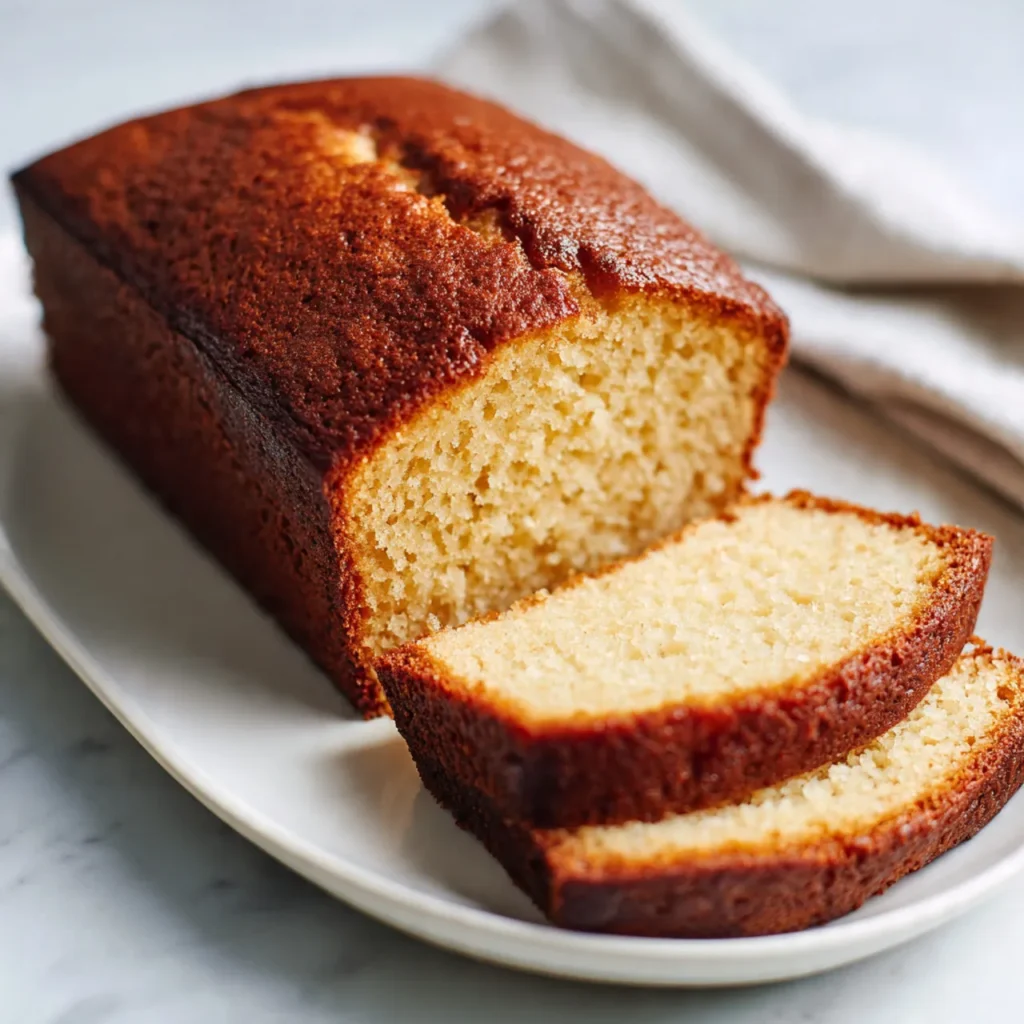
Amish Friendship Bread
Amish friendship bread is one of those recipes that feels like a gentle pause in a busy day. It’s soft, lightly sweet, and baked with a starter that turns a simple loaf into something meaningful and comforting. People love it because it’s easy to keep going, easy to share, and fits naturally into everyday life. It works for quiet evenings, family snacks, and colder nights when the kitchen feels like the warmest place to be. I usually bake it when I want something familiar and low-pressure, the kind of recipe that doesn’t rush you. It’s cozy, forgiving, and made to be enjoyed slowly.
Why You Will Love This Recipe
This recipe feels special without asking much from you. The flavor is gently sweet with a tender crumb that stays soft for days. It’s budget-friendly, using pantry staples, and flexible enough to adjust with simple add-ins. Leftovers freeze well, which makes it freezer-friendly and practical for future treats. It’s also crowd-pleasing in a quiet way, perfect for sharing without fuss. Amish friendship bread fits into real schedules because the hands-on time is short, and the process is familiar once you’ve tried it once. It’s cozy, reliable, and comforting, which is why so many people save it to bake again later.
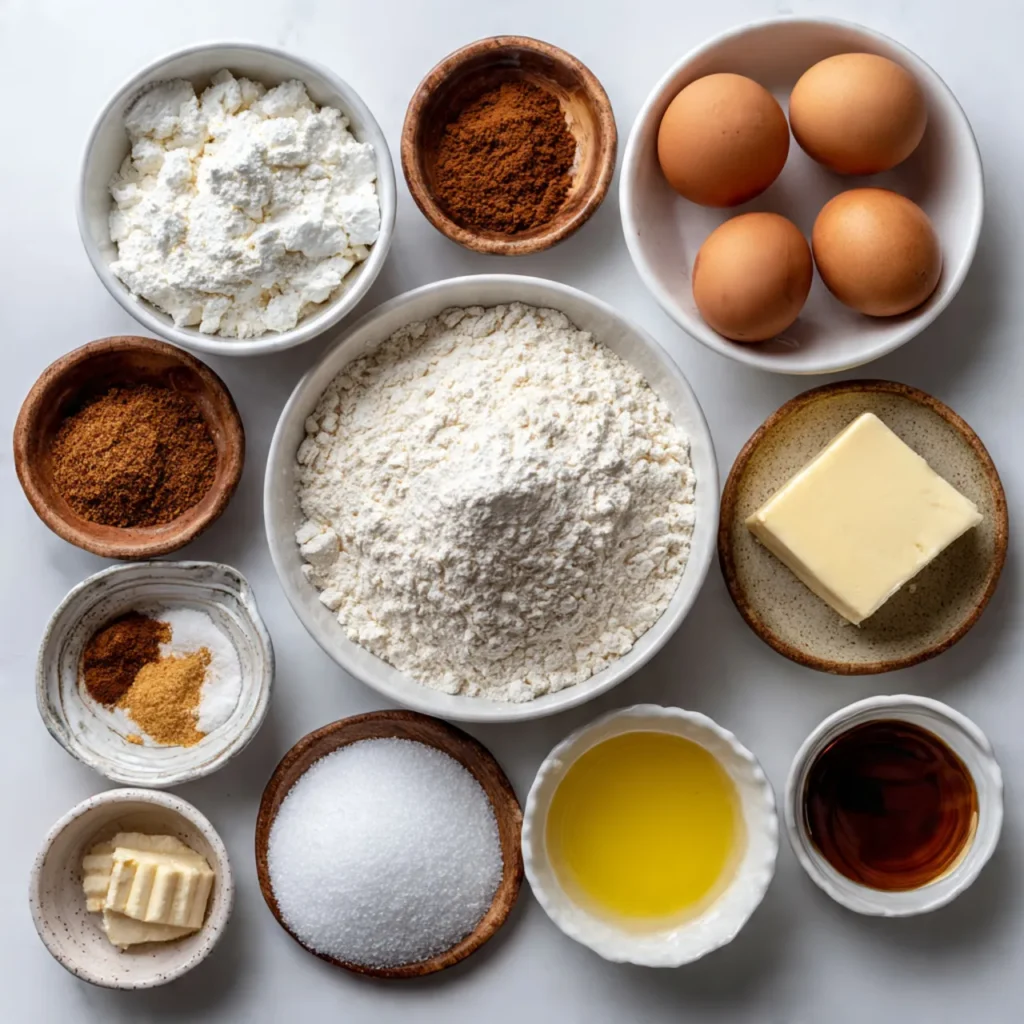
Ingredients
Tip: Use an active, bubbly starter that has been fed recently for the best rise and texture.
Instructions
Step 1: Preparation
Preheat the oven and grease two loaf pans. In a large bowl, stir together the starter, sugar, milk, oil, eggs, and vanilla. The mixture should look smooth and creamy with a light, glossy surface.
Step 2: Main Cooking Process
In a separate bowl, whisk flour, baking powder, baking soda, salt, and cinnamon. Slowly add the dry mixture to the wet ingredients. Stir gently until no dry spots remain and the batter feels thick but pourable.
Step 3: Combining Ingredients
Divide the batter evenly between the prepared pans. Tap them lightly on the counter to release air bubbles. The tops should level out naturally and look slightly shiny before baking.
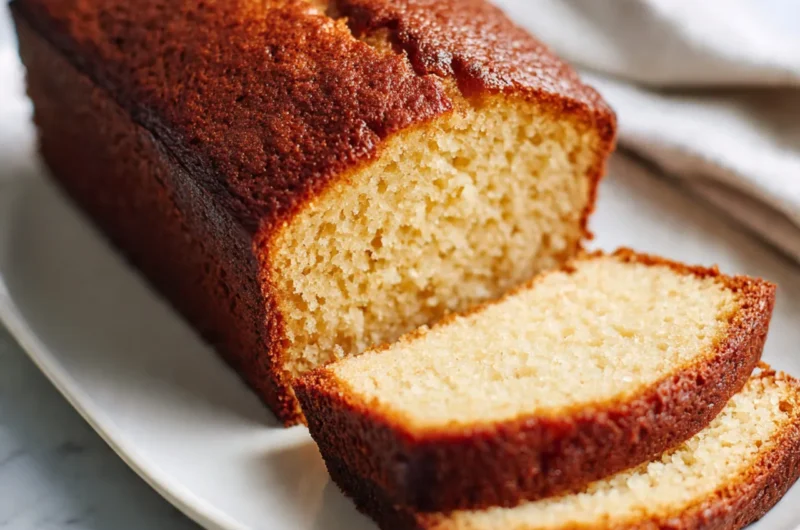
Step 4: Finishing & Final Simmer
Bake until the loaves rise and turn golden, filling the kitchen with a warm, sweet aroma. A toothpick should come out mostly clean. Let the bread cool before slicing so it holds together neatly.
Why This Recipe Works for Busy Days
This recipe spreads the work out instead of piling it into one moment. Most of the time is hands-off, and the baking step takes care of itself. You can bake once and enjoy slices for days, which makes it perfect for saving now and baking later when life feels full.
Tips & Tricks
Variations
Meaty version
Add small pieces of cooked bacon for a sweet-and-savory twist. Fold it in gently at the end so it stays evenly distributed without sinking too much during baking.
Vegetarian option
Mix in chopped nuts like walnuts or pecans. They add texture and a warm, nutty flavor that fits naturally with the soft sweetness of the bread.
Ingredient swap
Use melted butter instead of oil for a richer taste. Let it cool slightly before mixing so it blends smoothly into the batter.
Flavor or herb boost
Add a pinch of nutmeg or extra cinnamon for deeper warmth. These small changes make the loaf feel seasonal without changing the base recipe.
Serving Suggestions
Storage Instructions
Recipe Timing
Nutrition Information (Approximate)
Calories range from 220–260 per slice, depending on size. Protein is approximately 4–6 grams per slice. The bread provides carbohydrates and small amounts of calcium from milk and eggs. Values are estimates and may vary by ingredients and portion size.
FAQs
Conclusion
This recipe is meant to feel comforting, not complicated. Amish friendship bread fits naturally into everyday routines, whether you’re baking for yourself or sharing with others. It’s flexible enough to change, forgiving if you’re distracted, and reliable when you want something familiar. Once you’ve made it, you’ll likely come back to it again, adjusting flavors or baking extra to freeze. That’s part of its charm. It’s warm, simple, and made to be enjoyed at your own pace, one slice at a time.
Amish Friendship Bread
Course: Bread Recipe16
servings15
minutes50
minutes300
kcalA soft, lightly sweet homemade bread made with a simple starter and pantry ingredients. Cozy, comforting, and perfect for sharing or enjoying throughout the week.
Ingredients
1 cup Amish friendship bread starter
2 cups all-purpose flour
1½ cups sugar
1 cup milk
½ cup vegetable oil
3 large eggs
1 teaspoon vanilla extract
1 teaspoon baking powder
½ teaspoon baking soda
½ teaspoon salt
1 teaspoon cinnamon
Directions
- Preheat oven to 325°F (165°C). Grease two loaf pans.
- In a large bowl, mix starter, sugar, milk, oil, eggs, and vanilla.
- In another bowl, mix flour, baking powder, baking soda, salt, and cinnamon.
- Add dry ingredients to wet ingredients. Stir gently until combined.
- Pour batter evenly into prepared pans.
- Bake until golden and a toothpick comes out mostly clean.
- Cool before slicing.